はじめに
This guide is of a dell optiplex mini tower.
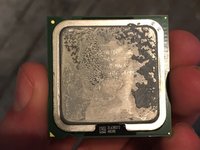
This guide will tell you how to replace your CPU.
必要な工具と部品
-
-
Power down your PC and remove the power cord from the back.
-
-
-
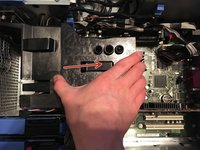
With the computer standing upright, firmly pull on the tab at the back of the computer.
-
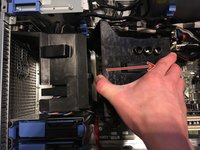
When the side panel pops free, gently pull the panel away from the computer.
-
-
-
-
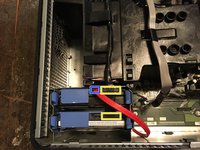
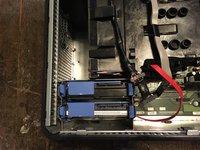
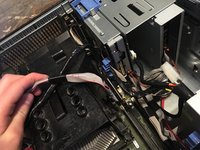
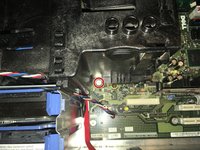
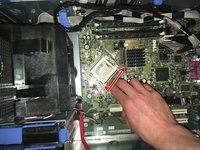
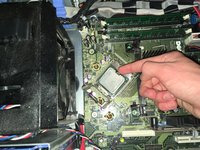
Move the cables out of your way.
-
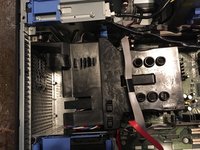
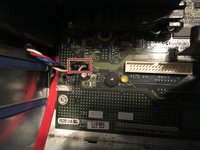
SATA Power
-
SATA Data
-
-
-
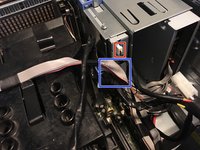
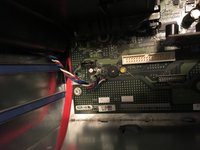
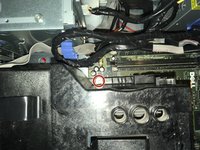
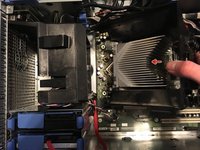
Unplug the power cable
-
Unplug the data cable
-


終わりに
To reassemble your device, follow these instructions in reverse order.
3 の人々がこのガイドを完成させました。
