はじめに
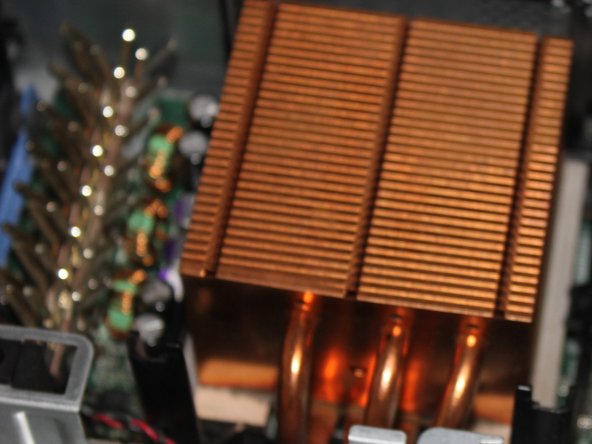
In computers, heat sinks are used to cool CPUs, GPUs, and some chipsets and RAM modules. If your Dell OptiPlex 745's CPU is overheating this is the guide for you. A computer's heat sink needs to be replaced every couple years to prevent it from affecting performance which will slow down your computer or prevent it from functioning. This guide will show you how to remove the CPU heat sink of the Dell OptiPlex 745 Ultra Small Form Factor for it to be replaced. Before starting this guide please ensure all accessories are disconnected and the computer is completely shut down.
-
-
Make sure to shut down the computer! Go to the start menu and click shutdown from the power options first
-
Ensure all cables, speakers and other devices are unplugged and turned off before opening the computer case.
-
-


To reassemble your device, follow these instructions in reverse order. Don't forget to reapply the thermal compound when reinstalling the heat sink.
To reassemble your device, follow these instructions in reverse order. Don't forget to reapply the thermal compound when reinstalling the heat sink.
2 の人々がこのガイドを完成させました。
チーム

Pasco Hernando, Team 1-1, Prince Fall 2014 Pasco Hernando, Team 1-1, Prince Fall 2014人のメンバー
PHSC-PRINCE-F14S1G1
11 メンバー
14のガイドは作成済み