メインコンテンツにスキップ

Dell OptiPlex FX170 RAM Replacement

必要な工具と部品

  1. Dell OptiPlex FX170 RAM  Replacement, Case: 手順 1、 1の画像 1
    • With the base stand facing upwards, unscrew the 6mm Phillips #2 screw.

    • Pull the base stand straight up from the device.

  2. Dell OptiPlex FX170 RAM  Replacement: 手順 2、 2の画像 1 Dell OptiPlex FX170 RAM  Replacement: 手順 2、 2の画像 2
    • Unscrew and remove the eight 4mm Phillips #0 screws (four on top, four on bottom) from the top and bottom of the device.

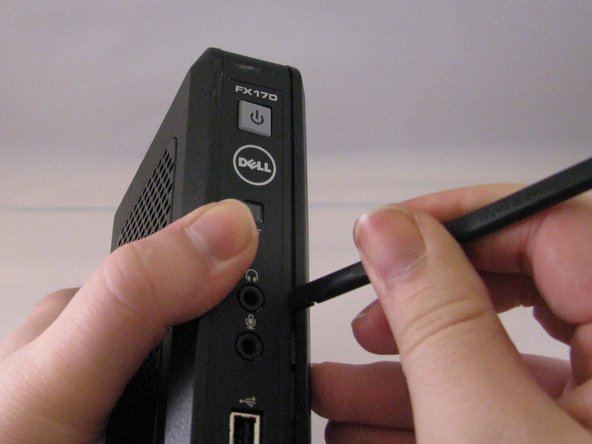
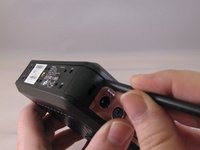
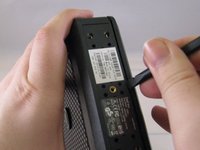
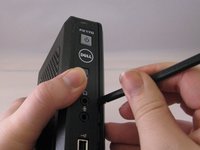
  3. Dell OptiPlex FX170 RAM  Replacement: 手順 3、 3の画像 1 Dell OptiPlex FX170 RAM  Replacement: 手順 3、 3の画像 2 Dell OptiPlex FX170 RAM  Replacement: 手順 3、 3の画像 3
    • Run the flat side of the spudger along the entire line of the case starting from the back where the power plug and a small screw are located.

    • Use care to not apply excessive force that could damage retaining clips while running the spudger along the case.

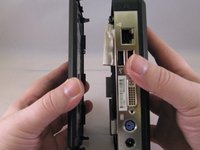
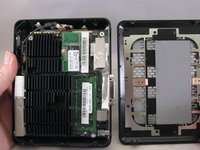
  4. Dell OptiPlex FX170 RAM  Replacement: 手順 4、 2の画像 1 Dell OptiPlex FX170 RAM  Replacement: 手順 4、 2の画像 2
    • Once the clips have been released, gently disengage the cover from the rest of case by pulling in opposite directions.

  5. Dell OptiPlex FX170 RAM  Replacement, RAM: 手順 5、 2の画像 1 Dell OptiPlex FX170 RAM  Replacement, RAM: 手順 5、 2の画像 2
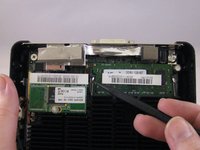
    • Using fingers, push the clips on either side of the RAM. The RAM will pop up at a 45 degree angle when both clips are disengaged.

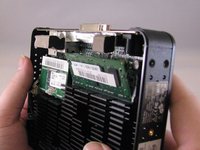
  6. Dell OptiPlex FX170 RAM  Replacement: 手順 6、 1の画像 1
    • Lift and pull out the RAM.

終わりに

To reassemble your device, follow these instructions in reverse order.

2 の人々がこのガイドを完成させました。

作成者

4人の作成者と共同で作成されました。

Ashley Hansen

メンバー登録日: 01/13/15

237 ポイント

2のガイドは作成済み

チーム

Eastern Washington University, Team 1-4, Carnegie Winter 2015 Eastern Washington University, Team 1-4, Carnegie Winter 2015人のメンバー

EWU-CARNEGIE-W15S1G4

3 メンバー

13のガイドは作成済み

0 件のコメント

コメントを追加

統計データ:

過去 24時間: 0

過去 7 日: 1

過去 30 日: 4

今までの合計 1,336