メインコンテンツにスキップ

Dell Latitude E7440 WLAN Card Replacement

必要な工具と部品

  1. Dell Latitude E7440 WLAN Card Replacement, Prepare the laptop: 手順 1、 1の画像 1
    • Power off your laptop before starting.

    • Flip the device over so that the vents on the bottom are facing away from you.

  2. Dell Latitude E7440 WLAN Card Replacement, Release the battery: 手順 2、 3の画像 1 Dell Latitude E7440 WLAN Card Replacement, Release the battery: 手順 2、 3の画像 2 Dell Latitude E7440 WLAN Card Replacement, Release the battery: 手順 2、 3の画像 3
    • Place your finger on the latch located in the center of the laptop.

    • Slide the latch to the right, applying enough force to reveal a red indicator.

    • You will hear a soft click when the latch has been disengaged.

  3. Dell Latitude E7440 WLAN Card Replacement, Remove the battery: 手順 3、 1の画像 1
    • Lift the battery by the top, away from the laptop body.

  4. Dell Latitude E7440 WLAN Card Replacement, WLAN Card: 手順 4、 2の画像 1 Dell Latitude E7440 WLAN Card Replacement, WLAN Card: 手順 4、 2の画像 2
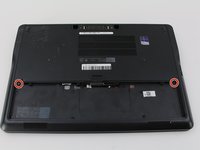
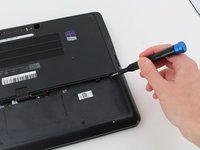
    • Remove two M2 x 3mm Phillips #0 screws from the base cover.

  5. Dell Latitude E7440 WLAN Card Replacement: 手順 5、 3の画像 1 Dell Latitude E7440 WLAN Card Replacement: 手順 5、 3の画像 2 Dell Latitude E7440 WLAN Card Replacement: 手順 5、 3の画像 3
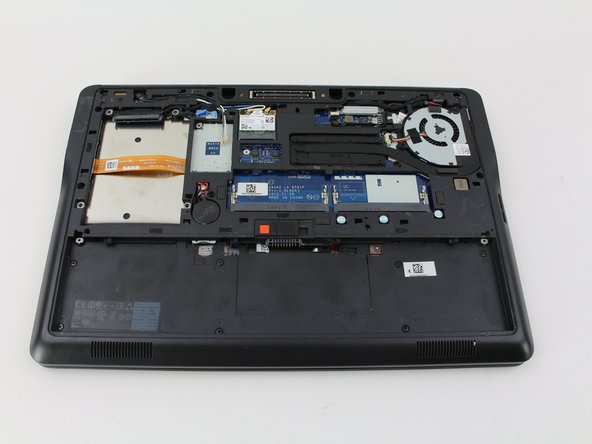
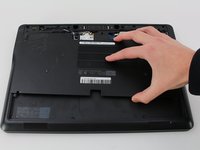
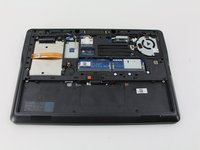
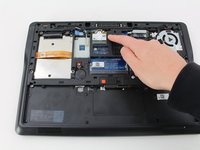
    • Slide the base cover down slightly and remove it to find the WLAN card.

  6. Dell Latitude E7440 WLAN Card Replacement: 手順 6、 3の画像 1 Dell Latitude E7440 WLAN Card Replacement: 手順 6、 3の画像 2 Dell Latitude E7440 WLAN Card Replacement: 手順 6、 3の画像 3
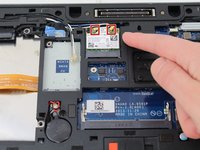
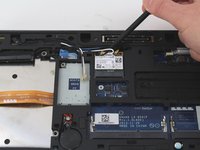
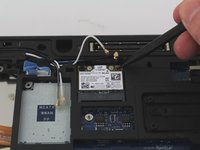
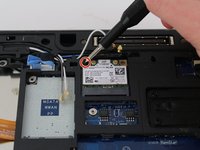
    • Disconnect the white and black wires attached to the WLAN card by pulling them away from the card.

    • You can use the nylon spudger to disconnect a wire by placing it between the curved part of the wire and gently pulling.

    • When attaching the wires to the WLAN card, place the wire head directly above the connectors and apply pressure to the head to reconnect it.

  7. Dell Latitude E7440 WLAN Card Replacement: 手順 7、 3の画像 1 Dell Latitude E7440 WLAN Card Replacement: 手順 7、 3の画像 2 Dell Latitude E7440 WLAN Card Replacement: 手順 7、 3の画像 3
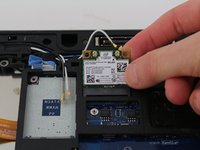
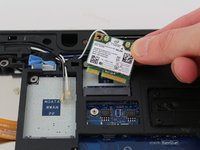
    • Remove a M2 x 3mm Phillips #0 screw from the WLAN card.

    • Gently pull the WLAN card out of its socket.

終わりに

To reassemble your device, follow these instructions in reverse order.

7 の人々がこのガイドを完成させました。

作成者

1人の作成者と共同作成されました。

Akash Kedia

メンバー登録日: 01/24/19

1,397 ポイント

5のガイドは作成済み

チーム

Cal Poly, Team S2-G5, White Winter 2019 Cal Poly, Team S2-G5, White Winter 2019人のメンバー

CPSU-WHITE-W19S2G5

4 メンバー

5のガイドは作成済み

0 件のコメント

コメントを追加

統計データ:

過去 24時間: 2

過去 7 日: 5

過去 30 日: 42

今までの合計 4,004