必要な工具と部品
-
-
Make sure all external components are removed from the device( ie. USBs, power cords, network cables, headphones, etc.) and the device is powered off.
-
-
-
Slide the battery release latches into the unlock position. Then, rotate the outer edge of the battery upward and remove from the system.
-
-
-
-
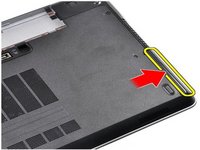
After removing the battery, locate the two screws securing the hard drive assembly in place and remove them.
-
-
-
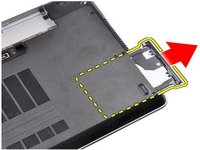
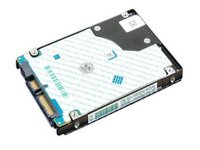
Press on the edge of the hard drive assembly to disengage from the slot. Then, remove the hard drive assembly.
-
-
-
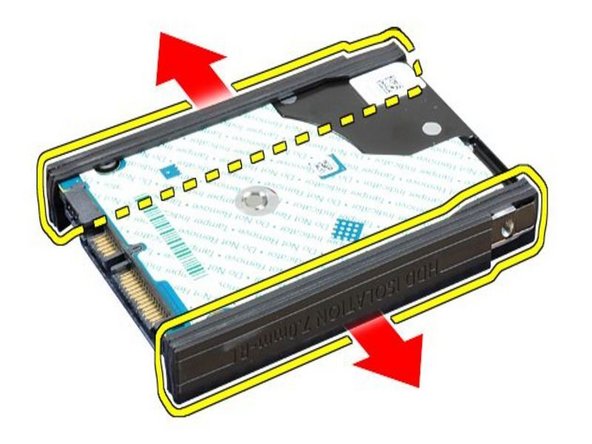
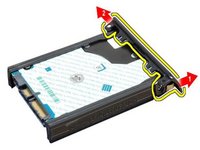
Remove the single screw holding the hard drive door in place. Next, separate the right edge of the hard drive door and remove the hard drive door. Then, peel off and remove the hard drive isolations on both sides.
-
-
-
With your new hard drive, complete the previous steps in reverse order and reinsert the battery.
-


To reassemble your device, follow these instructions in reverse order.
To reassemble your device, follow these instructions in reverse order.
ある他の人がこのガイドを完成しました。

チーム
