はじめに
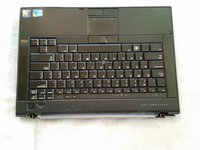
Use this guide to replace the entire Dell Latitude e6410 screen assembly. You will be removing the entire old screen assembly and replacing it with the new screen.
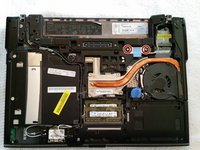
Use this guide only to replace the entire screen assembly. "Screen assembly" refers to the all of the screen components fully assembled into the screen case including the display, camera, and other components.
必要な工具と部品
-
-
Slide both clips in towards each other to remove the battery from the laptop.
-
-
-
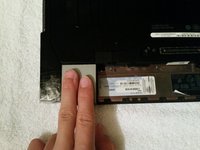
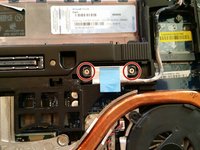
Remove the two 5mm Phillip's screws in the bottom right and the top left corners of the back panel.
-
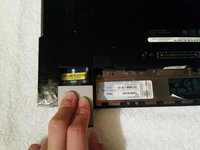
Remove the 3mm Phillip's screw that is near the bottom right corner.
-
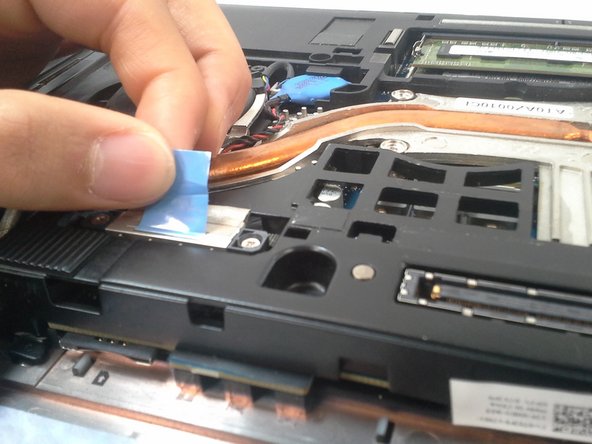
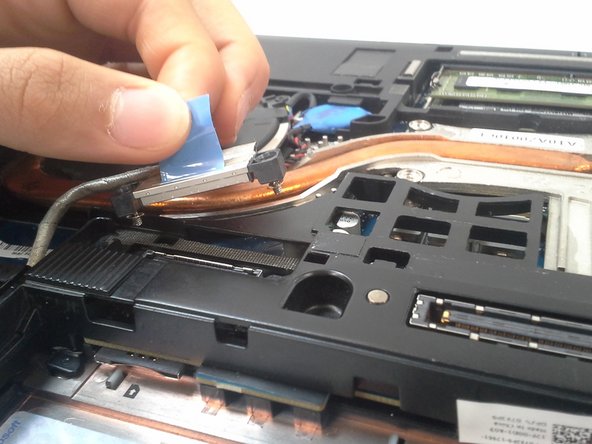
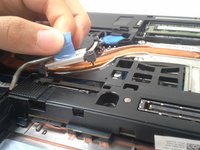
Loosen the Phillip's screw that is near the center until the spring pops up, but do not remove it.
-
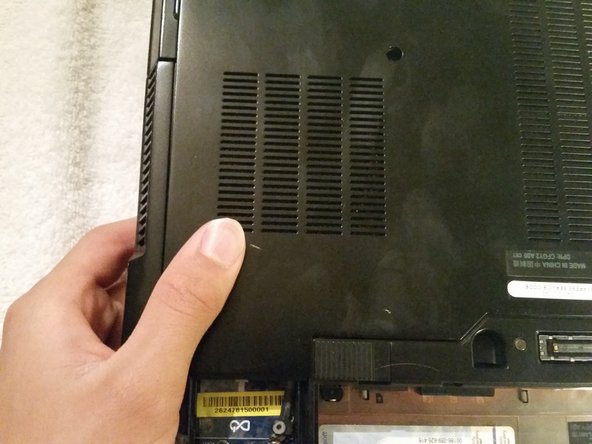
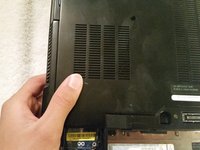
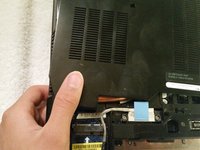
Detach the back case panel by sliding it away from the battery slot and lifting it out of place.
-
-


To reassemble your device, follow these instructions in reverse order.
To reassemble your device, follow these instructions in reverse order.
10 の人々がこのガイドを完成させました。
チーム

Central Coast New Tech High, Team 4-1, Rushing Spring 2016 Central Coast New Tech High, Team 4-1, Rushing Spring 2016人のメンバー
CCNTH-RUSHING-S16S4G1
2 メンバー
1のガイドは作成済み