はじめに
In this guide, we will be showing you how to replace the fan setup within the Dell Latitude 3380.
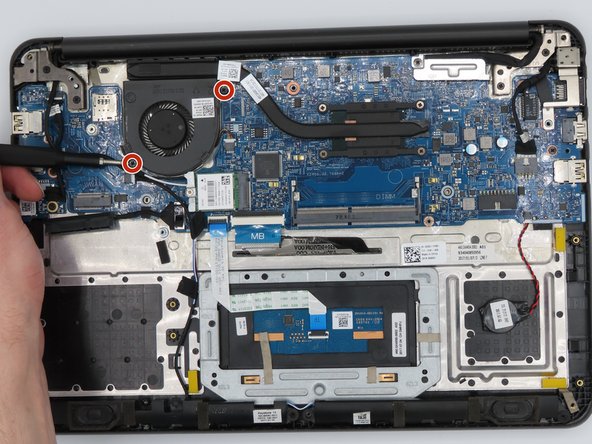
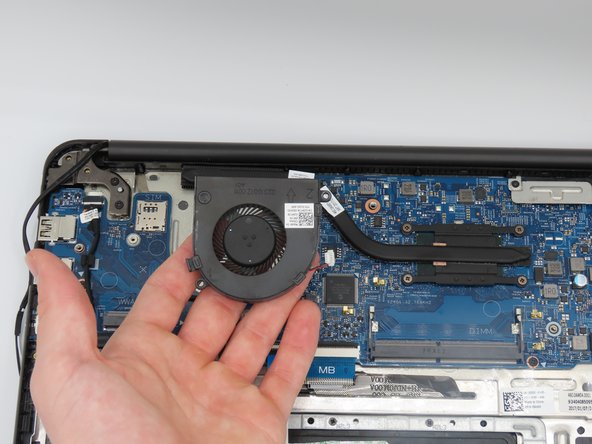
The fan is an important part of the laptop as it helps keep all the parts cool which prevents overheating. When a part is overheated, it will not perform as well as it should.
必要な工具と部品
-
-
Turn the laptop over so that the back is facing up.
-
Remove the nine 3 mm screws with a Phillips #0 screwdriver.
-
-


もう少しです!
To reassemble your device, follow these instructions in reverse order.
終わりに
To reassemble your device, follow these instructions in reverse order.
チーム

University of Kentucky, Team 1-4, Kaufmann Spring 2023 University of Kentucky, Team 1-4, Kaufmann Spring 2023人のメンバー
UKY-KAUFMANN-S23S1G4
2 メンバー
4のガイドは作成済み