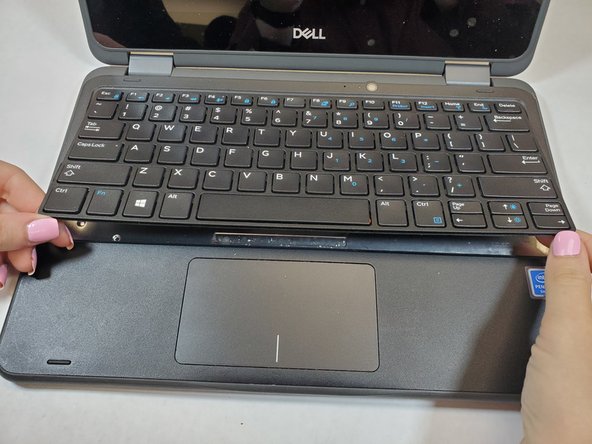
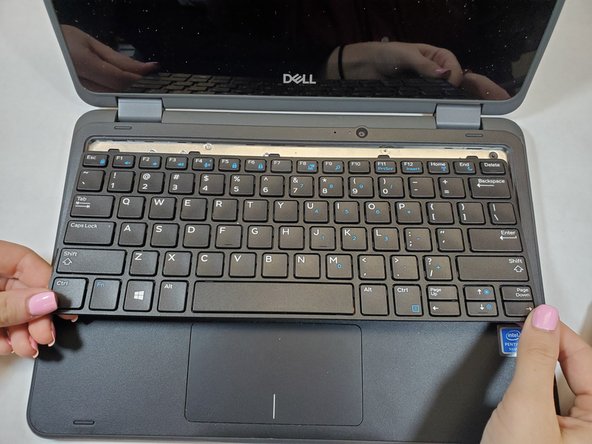
メインコンテンツにスキップ

Dell Latitude 3190 Keyboard Replacement

必要な工具と部品

  1. Dell Latitude 3190 Keyboard Replacement, Base Cover: 手順 1、 2の画像 1 Dell Latitude 3190 Keyboard Replacement, Base Cover: 手順 1、 2の画像 2
    • Use a Phillips #0 screwdriver to remove the seven 7 mm screws securing the back case.

  2. Dell Latitude 3190 Keyboard Replacement: 手順 2、 3の画像 1 Dell Latitude 3190 Keyboard Replacement: 手順 2、 3の画像 2 Dell Latitude 3190 Keyboard Replacement: 手順 2、 3の画像 3
    • Using a plastic opening tool carefully separate the plastic base cover from the rest of the laptop.

    • Lift the bottom cover from the laptop.

  3. Dell Latitude 3190 Keyboard Replacement, Battery: 手順 3、 1の画像 1
    • Locate the battery.

  4. Dell Latitude 3190 Keyboard Replacement: 手順 4、 3の画像 1 Dell Latitude 3190 Keyboard Replacement: 手順 4、 3の画像 2 Dell Latitude 3190 Keyboard Replacement: 手順 4、 3の画像 3
    • Disconnect the battery cable located on the top of the battery.

    • Use the spudger and disconnect the battery cable.

    • Pull the cable out of the way.

  5. Dell Latitude 3190 Keyboard Replacement: 手順 5、 3の画像 1 Dell Latitude 3190 Keyboard Replacement: 手順 5、 3の画像 2 Dell Latitude 3190 Keyboard Replacement: 手順 5、 3の画像 3
    • Use a Phillips #0 screwdriver to remove the three 3 mm screws from the battery.

  6. Dell Latitude 3190 Keyboard Replacement: 手順 6、 3の画像 1 Dell Latitude 3190 Keyboard Replacement: 手順 6、 3の画像 2 Dell Latitude 3190 Keyboard Replacement: 手順 6、 3の画像 3
    • Pull the black battery tap upwards to remove the battery.

    • The battery adhesive is strong, do not be afraid to use force. You may need to use the spudger or opening tool as a wedge.

  7. Dell Latitude 3190 Keyboard Replacement, Keyboard: 手順 7、 2の画像 1 Dell Latitude 3190 Keyboard Replacement, Keyboard: 手順 7、 2の画像 2
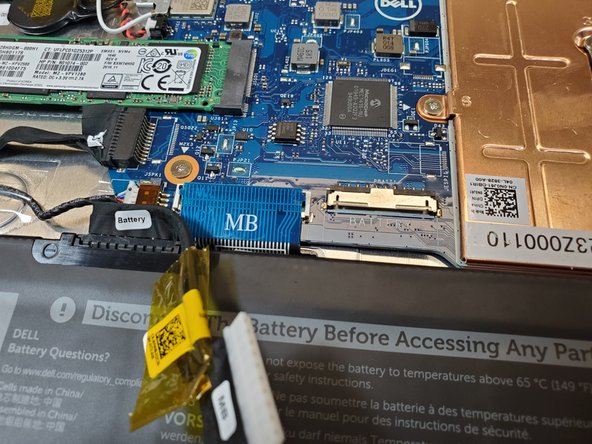
    • Use the spudger to release the small black tab locking down the connector by lightly pushing up on it.

    • Disconnect the keyboard cable from the connector on the system board.

  8. Dell Latitude 3190 Keyboard Replacement: 手順 8、 2の画像 1 Dell Latitude 3190 Keyboard Replacement: 手順 8、 2の画像 2
    • Hold down the laptop securely while pushing into the two release holes using a spudger.

    • You may need to push harder than you think, you will feel it release.

  9. Dell Latitude 3190 Keyboard Replacement: 手順 9、 3の画像 1 Dell Latitude 3190 Keyboard Replacement: 手順 9、 3の画像 2 Dell Latitude 3190 Keyboard Replacement: 手順 9、 3の画像 3
    • Turn the laptop over, so the keyboard is facing up

    • Pry the bottom of the keyboard using a spudger to the release the keyboard.

    • Slide the keyboard outwards, away from the computer, and lift the keyboard away from the computer.

終わりに

To reassemble your device, follow these instructions in reverse order.

作成者

4人の作成者と共同で作成されました。

Haley Smith

メンバー登録日: 09/01/21

305 ポイント

2のガイドは作成済み

チーム

Gateway, Team 1-5, Saknee Fall 2021 Gateway, Team 1-5, Saknee Fall 2021人のメンバー

GCC-SAKNEE-F21S1G5

3 メンバー

6のガイドは作成済み

0 件のコメント

コメントを追加

統計データ:

過去 24時間: 0

過去 7 日: 6

過去 30 日: 35

今までの合計 1,082