はじめに
This guide will teach you how to replace the RAM in the Dell Inspiron M5030 laptop. Replacing the RAM is one way to speed up a slower and/or older computer, and is a fairly simple process.
Once the RAM has been replaced, simply follow the steps in reverse order to reassemble the laptop.
Always exercise caution when handling electronic components.
必要な工具と部品
-
-
Remove all fourteen Phillips #0 7/16" screws from the bottom of the laptop.
-
Remove the two Phillips #0 5/16" screws from the bottom of the laptop.
-
-
-
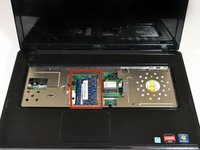
Turn the laptop over and open the lid.
-
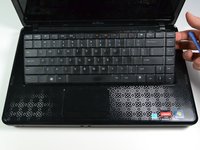
Locate the three tabs above the first row of keys on the top of the keyboard, found above the F1, F6, and PrntScr keys.
-
With one of your hands, push the leftmost tab down with the plastic opening tool (above the F1 key). With your other hand, lift the left side of the keyboard.
-
Push the middle tab down with the plastic opening tool and continue lifting from the left side of the keyboard to the right side (above the F6 key).
-
Push the rightmost tab down with the plastic opening tool and continue lifting from the left side of the keyboard to the right side (above the PrntScr key). The keyboard should be loosened from the laptop after these steps.
-
-
-
-
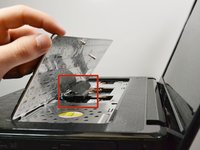
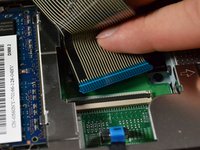
Pull up the bottom side of the keyboard and locate the ribbon connecting the keyboard to the motherboard.
-
Locate the blue end of the ribbon which is connected to the motherboard.
-
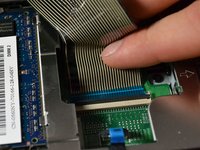
Lift up the black flap on the connector and gently pull the ribbon away from the connector which is parallel to the motherboard.
-
Lift the keyboard up and off of the motherboard. Detach the blue end of the ribbon from the connector.
-
-
-
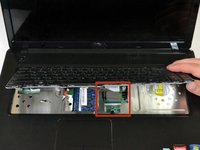
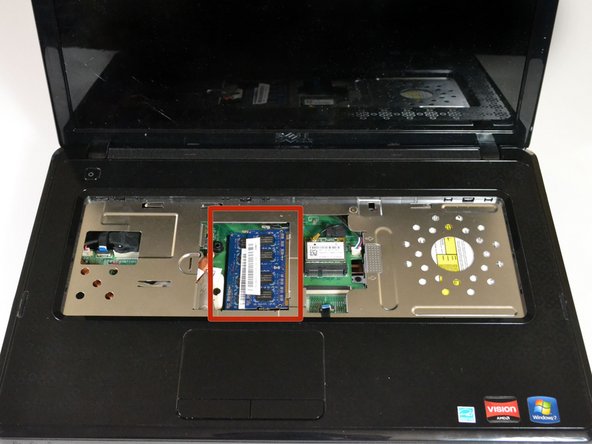
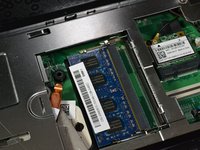
Locate the two blue chips in the middle of the computer. These are the computer's RAM (Random Access Memory) chips.
-
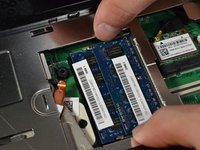
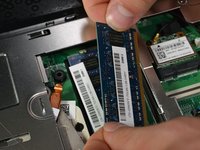
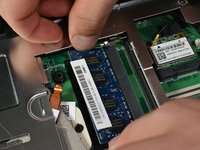
Push outward on the metal tabs on the short ends of the upper RAM chip to loosen it. The left end of the chip should lift up, putting the chip at an angle.
-
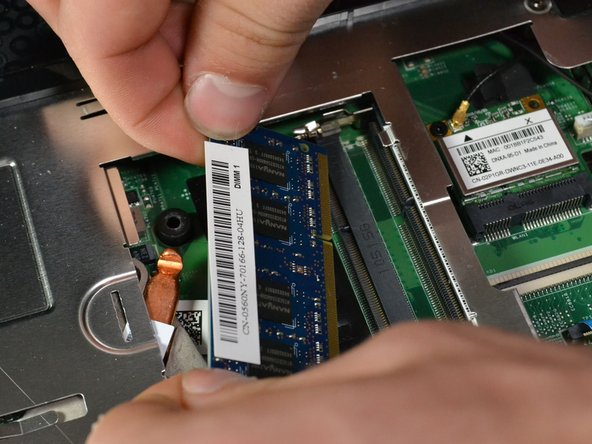
Grab the lifted left edge of the RAM with your fingers, and gently slide it out.
-


To reassemble your device, follow these instructions in reverse order.
To reassemble your device, follow these instructions in reverse order.
4 の人々がこのガイドを完成させました。
チーム

Cal Poly, Team 3-44, Maness Spring 2014 Cal Poly, Team 3-44, Maness Spring 2014人のメンバー
CPSU-MANESS-S14S3G44
4 メンバー
6のガイドは作成済み
コメント 1 件
This is BY FAR the nicest and the most resourceful set of instructions for anything about any thing on the internet so far. And thrust me, when i say so far, it is a loooong time.
So, coincidentally i just gave my youngest (6 y.o.) this DELL Inspirion M5030 to play on it. Bu i really hate to disassemble it again just to look at the RAM module.
Can you help me and tell me which type it is there?
Is it possible that it is "just RAM" as the pre DDR2 type?