メインコンテンツにスキップ

Dell Inspiron 7306 P125 Battery Replacement

必要な工具と部品

  1. Dell Inspiron 7306 P125 Battery Replacement, Battery: 手順 1、 2の画像 1 Dell Inspiron 7306 P125 Battery Replacement, Battery: 手順 1、 2の画像 2
    • Turn off the laptop with the power button and close it.

    • Disconnect any power sources from the laptop.

  2. Dell Inspiron 7306 P125 Battery Replacement: 手順 2、 2の画像 1 Dell Inspiron 7306 P125 Battery Replacement: 手順 2、 2の画像 2
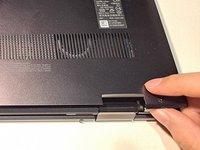
    • Use the Phillips #00 screwdriver to remove the seven M2x4 screws from the back panel of the laptop.

  3. Dell Inspiron 7306 P125 Battery Replacement: 手順 3、 3の画像 1 Dell Inspiron 7306 P125 Battery Replacement: 手順 3、 3の画像 2 Dell Inspiron 7306 P125 Battery Replacement: 手順 3、 3の画像 3
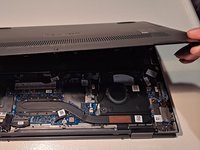
    • Grab a corner of the back cover or use a spudger to lift the cover.

    • Pull the cover up around the edges until it is completely removed.

  4. Dell Inspiron 7306 P125 Battery Replacement: 手順 4、 2の画像 1 Dell Inspiron 7306 P125 Battery Replacement: 手順 4、 2の画像 2
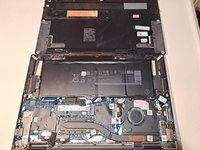
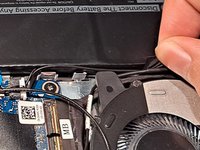
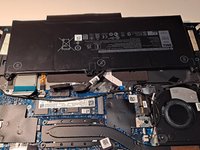
    • Remove the three tapes on the left, middle, and right of the battery.

  5. Dell Inspiron 7306 P125 Battery Replacement: 手順 5、 3の画像 1 Dell Inspiron 7306 P125 Battery Replacement: 手順 5、 3の画像 2 Dell Inspiron 7306 P125 Battery Replacement: 手順 5、 3の画像 3
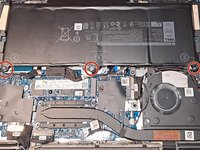
    • Remove the three M2x3.5 screws that have a screw icon above them with the Phillips #00 screwdriver

    • Do not interact with the object located to the left of the middle screw.

  6. Dell Inspiron 7306 P125 Battery Replacement: 手順 6、 2の画像 1 Dell Inspiron 7306 P125 Battery Replacement: 手順 6、 2の画像 2
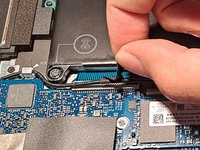
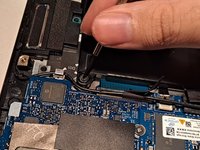
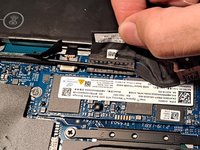
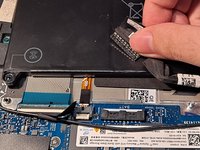
    • Pull the battery cable towards the direction of the opening.

    • Do not pull the cable upwards.

  7. Dell Inspiron 7306 P125 Battery Replacement: 手順 7、 3の画像 1 Dell Inspiron 7306 P125 Battery Replacement: 手順 7、 3の画像 2 Dell Inspiron 7306 P125 Battery Replacement: 手順 7、 3の画像 3
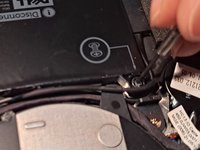
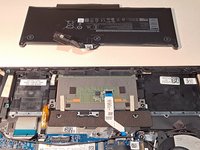
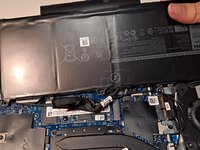
    • Insert the new battery. Align the holes of the screwdriver with the center object.

    • Apply the tape from the wires to the battery once more.

    • Ensure that the cover snaps into place when closing the back cover.

終わりに

To reassemble your device, follow these instructions in reverse order.

ある他の人がこのガイドを完成しました。

作成者

1人の作成者と共同作成されました。

Arturo Gonzalez

メンバー登録日: 03/29/23

172 ポイント

1ガイドが承認済み

チーム

CSU Los Angeles, Team 2-73, Briggs Spring 2023 CSU Los Angeles, Team 2-73, Briggs Spring 2023人のメンバー

CSULA-BRIGGS-S23S2G73

1 メンバー

1のガイドは作成済み

0 件のコメント

コメントを追加

統計データ:

過去 24時間: 4

過去 7 日: 16

過去 30 日: 75

今までの合計 661