メインコンテンツにスキップ
リペアコミュニティに参加 - アカウントの作成

Dell Inspiron 6400 keyboard Replacement

必要な工具と部品

    1. Dell Inspiron 6400 keyboard Replacement, replacing Keyboard: 手順 1、 3の画像 1 Dell Inspiron 6400 keyboard Replacement, replacing Keyboard: 手順 1、 3の画像 2 Dell Inspiron 6400 keyboard Replacement, replacing Keyboard: 手順 1、 3の画像 3
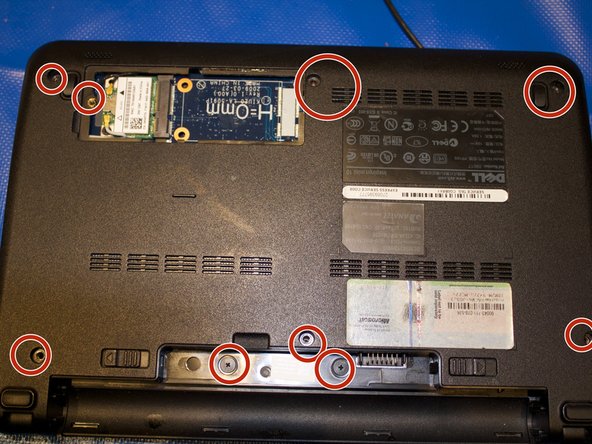
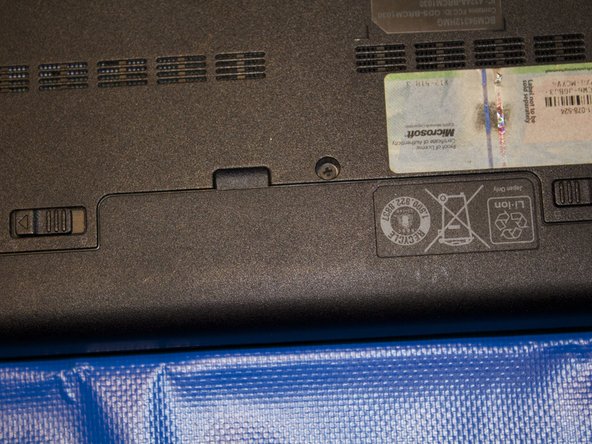
      • Turn over laptop .Remove battery from laptop by pushing the two tabs are highlighted in blue. Place the battery off to the side.

      FixBotに聞いてみる

      コメントを追加

    2. Dell Inspiron 6400 keyboard Replacement: 手順 2、 3の画像 1 Dell Inspiron 6400 keyboard Replacement: 手順 2、 3の画像 2 Dell Inspiron 6400 keyboard Replacement: 手順 2、 3の画像 3
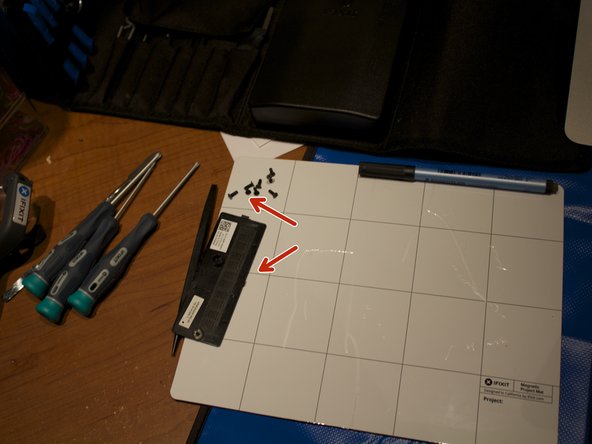
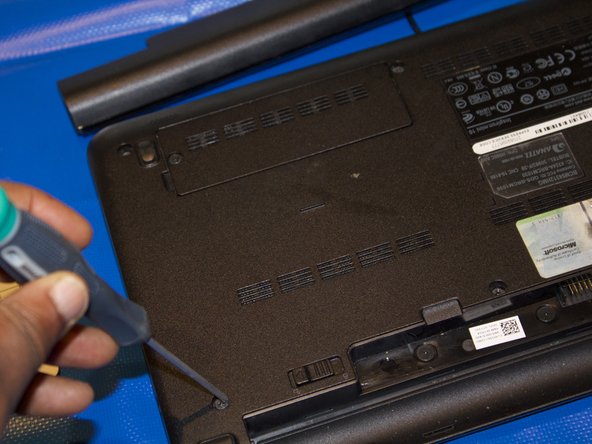
      • Remove the 3 screws highlighted in red that secure the keyboard to the case using the screwdriver with largest phillips head in the box. Make

      FixBotに聞いてみる

      コメントを追加

    3. Dell Inspiron 6400 keyboard Replacement: 手順 3、 3の画像 1 Dell Inspiron 6400 keyboard Replacement: 手順 3、 3の画像 2 Dell Inspiron 6400 keyboard Replacement: 手順 3、 3の画像 3
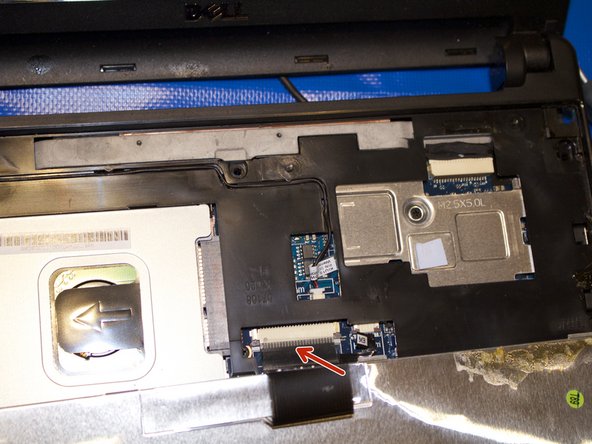
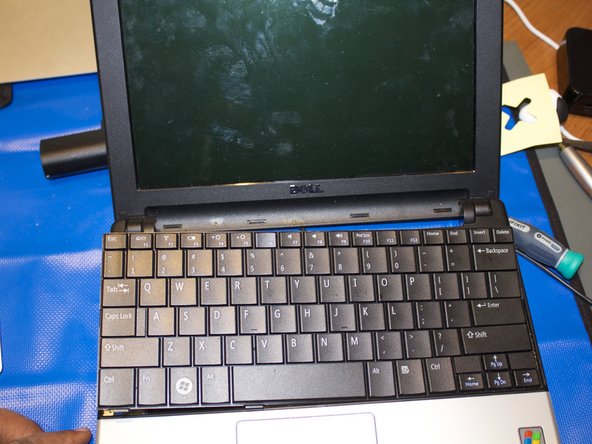
      • Turn the device right side up and open the device to view the keyboard.

      • Remove the keyboard away from the case ,using a plastic spudger if necessary.

      • The keyboard will still be attached to the motherboard by a ribbon cable.

      FixBotに聞いてみる

      コメントを追加

    4. Dell Inspiron 6400 keyboard Replacement: 手順 4、 3の画像 1 Dell Inspiron 6400 keyboard Replacement: 手順 4、 3の画像 2 Dell Inspiron 6400 keyboard Replacement: 手順 4、 3の画像 3
      • Replace the new keyboard with plastic spudger.

      • The keyboard will have to be attached to the motherboard by a ribbon cable.

      • Snapped the keyboard back in place.

      FixBotに聞いてみる

      コメントを追加

    5. Dell Inspiron 6400 keyboard Replacement: 手順 5、 3の画像 1 Dell Inspiron 6400 keyboard Replacement: 手順 5、 3の画像 2 Dell Inspiron 6400 keyboard Replacement: 手順 5、 3の画像 3
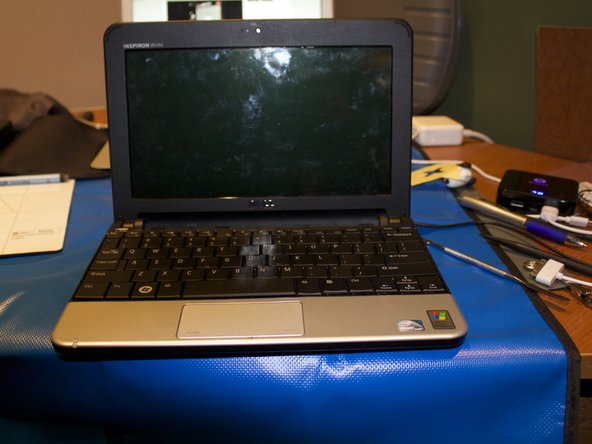
      • Flip over the laptop

      • Put the screws back in laptop

      FixBotに聞いてみる

      コメントを追加

    6. Dell Inspiron 6400 keyboard Replacement: 手順 6、 2の画像 1 Dell Inspiron 6400 keyboard Replacement: 手順 6、 2の画像 2
      • Place the battery and lock it into place

      FixBotに聞いてみる

      コメントを追加

終わりに

To reassemble your device, follow these instructions in reverse order.

キャンセル: このガイドを終了できませんでした。

作成者

1人の作成者と共同作成されました。

kempc8

メンバー登録日: 11/22/13

917 ポイント

7のガイドは作成済み

チーム

K and K Fixit K and K Fixit人のメンバー

Business

1 メンバー

70のガイドは作成済み

0件のガイドコメント

コメントを追加

統計データ:

過去 24時間: 4

過去 7 日: 10

過去 30 日: 32

今までの合計 1,309