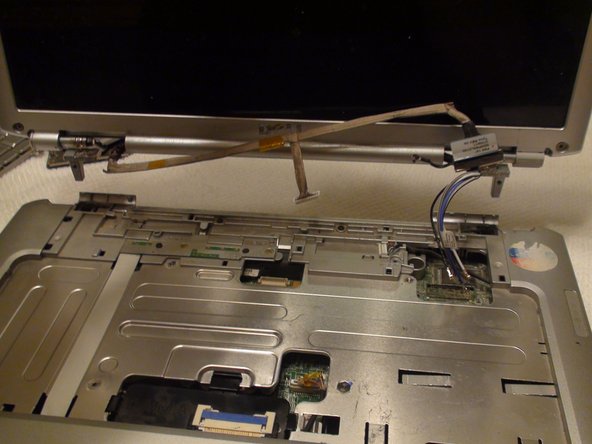
Disconnect the black and white wires attached to the WLAN card by pulling up on the connectors with your fingers.
During reassembly, the black and white wires reconnect to the WLAN card near the black and white triangles, respectively.
Remove the remaining wires from their protective sleeve by hand.
The wires in the sleeve are only used in other Dell laptop models. During reassembly they do not connect to anything so just place them back into the sleeve.
The screws that hold the CPU heat sink in place are attached to the heat sink with springs and washers. They should only be loosened enough to detach the heat sink. Do not try to remove the screws from the heat sink itself.
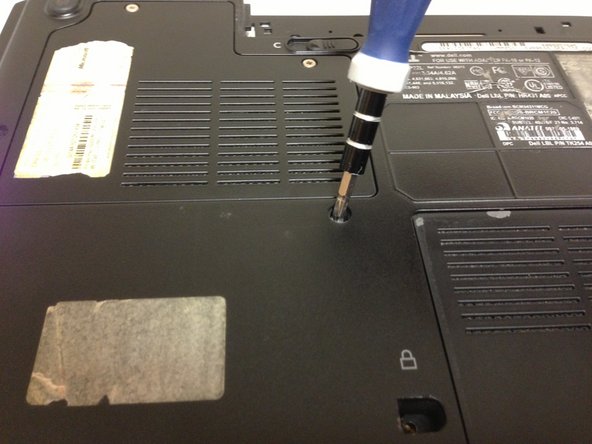
Locate the four Phillips #1 screws securing the heatsink over the CPU.
Remove the screws securing the heat sink with a Phillips #1 screwdriver.
Lift the heat sink off of the CPU upwards with your fingers.
The CPU has many small pins on the underside which can easily be bent. Bending CPU pins will permanently damage the CPU. Handle with extreme care to avoid bending any pins.
Carefully lift the CPU off of the board with your fingers.
If you want to add a new CPU don't forget to clean and apply fresh thermal paste to the new processor.