このバージョンは誤った内容を含んでいる可能性があります。最新の承認済みスナップショットに切り替えてください。
必要な工具と部品
-
この手順は未翻訳です。 翻訳を手伝う。
-
Before flipping the laptop right-side up, remove screws holding the back plate to the laptop frame
-
Remove the backplate screws using a phillips head PH0 screwdriver (11).
-
Remove the screws located underneath the battery and access panel using the same phillips head PH0 screwdriver (3).
-
-
この手順は未翻訳です。 翻訳を手伝う。
-
Locate the wireless card location underneath the removed keyboard.
-
Disengage the antenna cables connecting the laptop to the wireless card.
-
Using a phillips head PH0 screwdriver, unscrew the single screw holding the wireless card to the laptop frame.
-
Remove the wireless card.
-
-
-
この手順は未翻訳です。 翻訳を手伝う。
-
First, remove the power cable, located in the upper left hand side of the laptop. This can be removed using forceps or using your fingers.
-
Second, remove the LCD cable located in the upper center of the laptop. This cablemust be removed using the same unlocking procedure as the palmrest cables used in step 6.
-
-
この手順は未翻訳です。 翻訳を手伝う。
-
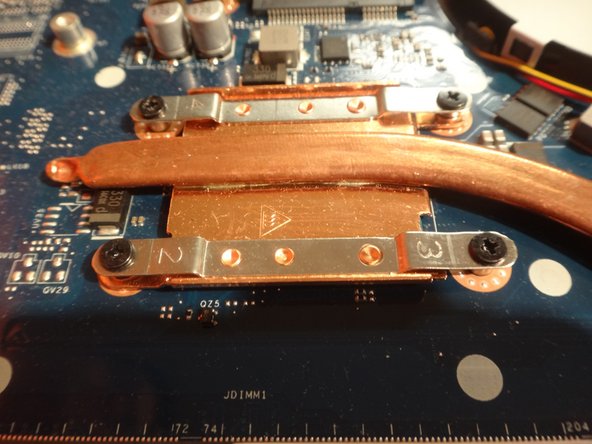
Flip the mother board, so that the heat sink attachment point is visible.
-
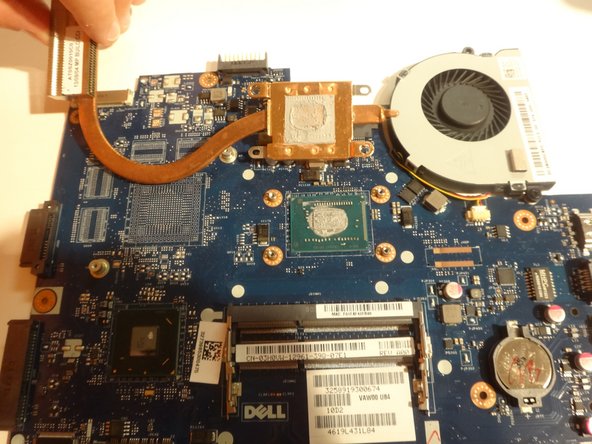
Remove the four screws that are attaching the heat sink (copper) to the motherboard. Use a phillips head PH0 screwdriver to do this.
-
Clean the interface between the motherboard and the heat sink.
-
Attach a new heat sink to the motherboard, make sure to reapply the thermal compound (grey material), lock into place by reattaching screws.
-


5 の人々がこのガイドを完成させました。
チーム

Clemson, Team 3-1, Benson Fall 2014 Clemson, Team 3-1, Benson Fall 2014人のメンバー
CLEM-BENSON-F14S3G1
4 メンバー
9のガイドは作成済み