はじめに
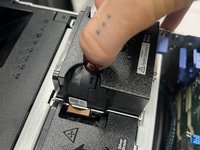
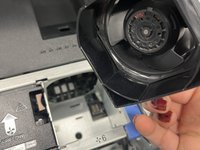
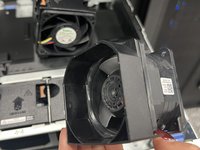
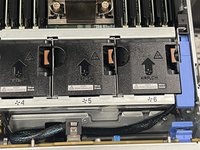
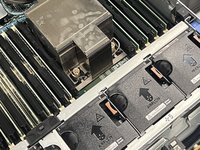
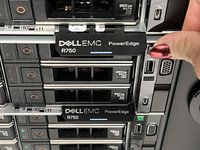
Use this guide to replace a faulty fan in a Dell EMC PowerEdge R750 data server. The fans are designed to run continuously and handle heavy workloads.
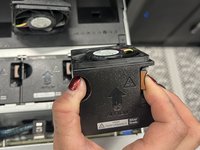
If you work with server hardware, you know cooling is everything. A server fan can be a quiet hero- until it's not. Over time, a fan may become faulty due to wear, debris buildup, or internal damage, leading to overheating risks. But how do you know when a fan needs to be replaced? A common sign could be your server's suddenly sounding like a jet engine.
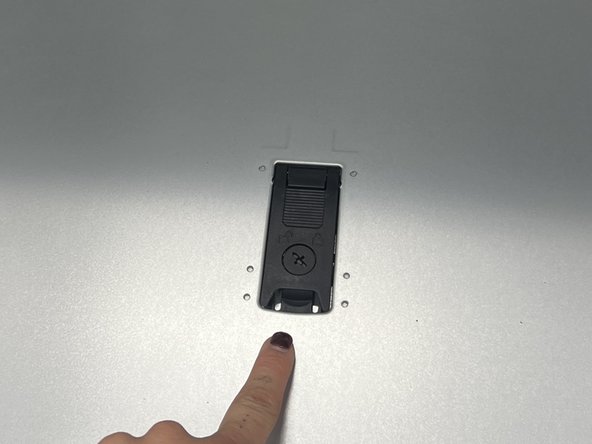
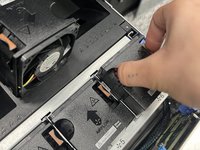
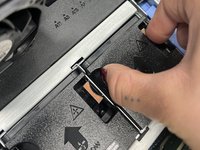
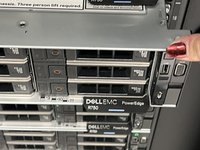
Before continuing, make sure to power off the server or reach out to CNS, (Compliance Navigation Specialist), for system downtime. Place it on a clean, stable surface, ready for maintenance.
必要な工具と部品


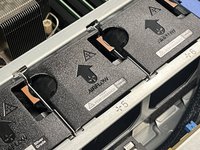


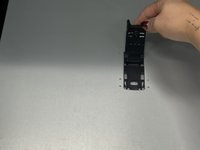
To reassemble your device, follow these instructions in reverse order.
チーム

Austin Community College, Team 8-8, Kapoor Fall 2024 Austin Community College, Team 8-8, Kapoor Fall 2024人のメンバー
AUSTINCC-KAPOOR-F24S8G8
1 メンバー
1のガイドは作成済み