はじめに
This guide will help one identify, clean, and/or repair the issue that causes unresponsive/sticky buttons.
必要な工具と部品
-
-
First check that the lock button is not engaged. If this button has been activated, a small lock symbol will appear on your screen and the buttons on the device will not respond. If this button is not engaged, then proceed to the next step.
-
Using the metal spudger, pop off the rubber cover that encases the buttons.
-
-
-
-
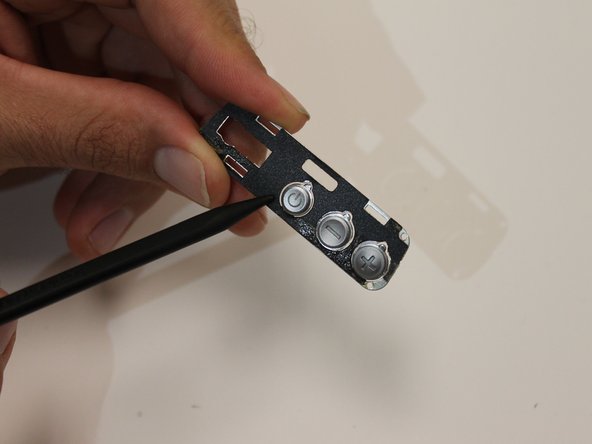
Inspect both the metal plate of buttons and the internal components (circled in red). All three should be intact and at the same height. If any of these are damaged, permanently pushed in or missing, the parts will need to be bought and replaced.
-
Clean all of these parts carefully. Grime that collects under and around buttons can cause them to malfunction.
-
-
-
Reassemble the device, making sure to fully screw in the metal plate before replacing the rubber cover.
-
After the device is assembled, power the device on. The issue should be repaired.
-
If the device buttons are still defective, the circuit board or another internal component may be defective.
-


To reassemble your device, follow these instructions in reverse order.
To reassemble your device, follow these instructions in reverse order.
チーム

USF Sarasota-Manatee, Team 1-1, Stewart Spring 2016 USF Sarasota-Manatee, Team 1-1, Stewart Spring 2016人のメンバー
USFSM-STEWART-S16S1G1
3 メンバー
5のガイドは作成済み