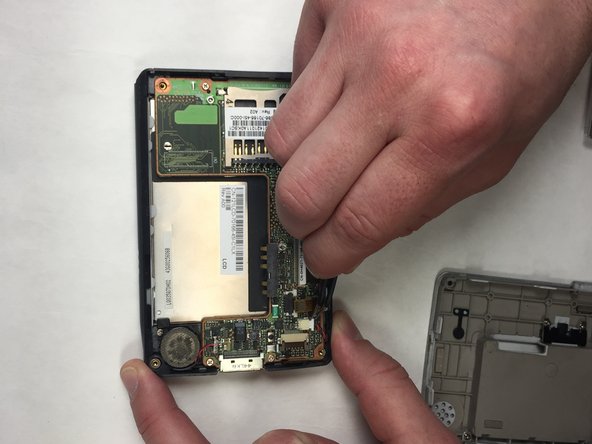
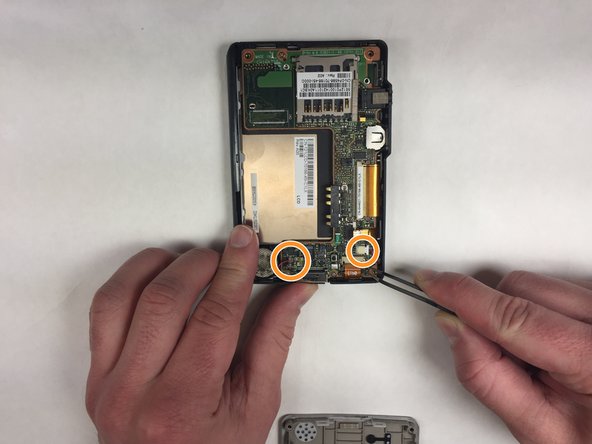
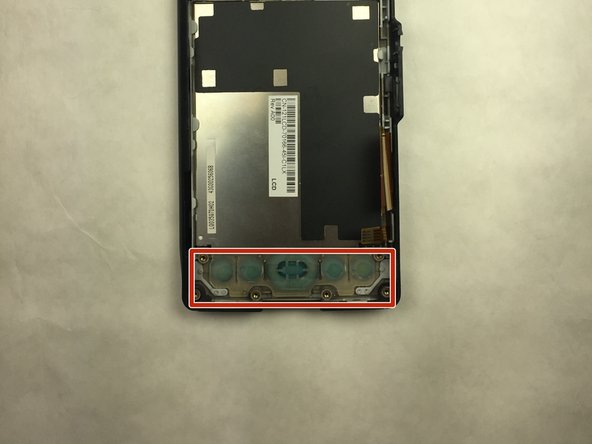
メインコンテンツにスキップ

Dell Axim X30 Screen Replacement

必要な工具と部品

  1. Dell Axim X30 Screen Replacement, Screen: 手順 1、 3の画像 1 Dell Axim X30 Screen Replacement, Screen: 手順 1、 3の画像 2 Dell Axim X30 Screen Replacement, Screen: 手順 1、 3の画像 3
    • Remove the four rubber feet with your fingers.

  2. Dell Axim X30 Screen Replacement: 手順 2、 2の画像 1 Dell Axim X30 Screen Replacement: 手順 2、 2の画像 2
    • Trigger battery release by inserting a nylon spudger into the battery release tab.

    • Slide tab and pull upwards on the battery to remove. Use the finger slots near the battery.

  3. Dell Axim X30 Screen Replacement: 手順 3、 1の画像 1
    • Remove the four 12.7mm screws under rubber feet with a JIS #0 screwdriver.

  4. Dell Axim X30 Screen Replacement: 手順 4、 1の画像 1
    • Remove back panel with a plastic opening tool. Follow the edge of the device around the entire perimeter.

    • The back panel should just pop off.

  5. Dell Axim X30 Screen Replacement: 手順 5、 3の画像 1 Dell Axim X30 Screen Replacement: 手順 5、 3の画像 2 Dell Axim X30 Screen Replacement: 手順 5、 3の画像 3
    • Disconnect ribbon cables.

    • You may need to use a little force to disconnect them.

    • Disconnect red and white wired connector for speaker and motherboard battery.

  6. Dell Axim X30 Screen Replacement: 手順 6、 2の画像 1 Dell Axim X30 Screen Replacement: 手順 6、 2の画像 2
    • Remove three 12.7mm JIS #0 screws.

  7. Dell Axim X30 Screen Replacement: 手順 7、 1の画像 1
    • Carefully remove motherboard.

  8. Dell Axim X30 Screen Replacement: 手順 8、 2の画像 1 Dell Axim X30 Screen Replacement: 手順 8、 2の画像 2
    • Remove the two 9.6 mm screws by the speaker and green battery with a JIS #0 screwdriver.

  9. Dell Axim X30 Screen Replacement: 手順 9、 2の画像 1 Dell Axim X30 Screen Replacement: 手順 9、 2の画像 2
    • Remove black plastic board.

  10. Dell Axim X30 Screen Replacement: 手順 10、 2の画像 1 Dell Axim X30 Screen Replacement: 手順 10、 2の画像 2
    • Gently apply pressure on the right plastic frame by plastic clip marked on the picture.

    • Apply pressure to the bottom of the screen and press it towards you.

    • Remove screen from plastic case.

終わりに

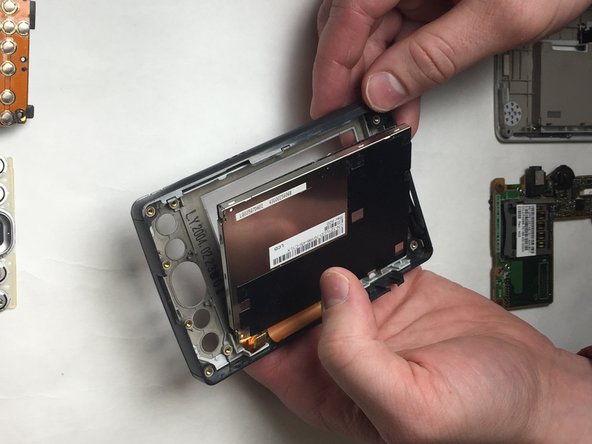
To reassemble your device, follow these instructions in reverse order.

作成者

3人の作成者と共同で作成されました。

Peter Reilly

メンバー登録日: 03/28/18

196 ポイント

1ガイドが承認済み

チーム

IUPUI, Team S2-G5, Harley Spring 2018 IUPUI, Team S2-G5, Harley Spring 2018人のメンバー

IUPUI-HARLEY-S18S2G5

3 メンバー

2のガイドは作成済み

0 件のコメント

コメントを追加

統計データ:

過去 24時間: 0

過去 7 日: 5

過去 30 日: 10

今までの合計 761