メインコンテンツにスキップ

Definitive Technology W7 Access Panel Replacement

必要な工具と部品

  1. Definitive Technology W7 Access Panel Replacement, Access Panel: 手順 1、 1の画像 1
    • Wedge the spudger in any of the four corners of the panel and apply downward pressure on the spudgers handle to pry the panel away from the speaker housing.

    • Repeat this procedure around the perimeter until the panel releases, then lift the panel up by hand.

  2. Definitive Technology W7 Access Panel Replacement: 手順 2、 2の画像 1 Definitive Technology W7 Access Panel Replacement: 手順 2、 2の画像 2
    • Remove the thirteen 5 mm Phillips #0 screws.

    • Once all screws have been removed, gently pull up on the black panel to remove it from the top of the speaker.

  3. Definitive Technology W7 Access Panel Replacement: 手順 3、 3の画像 1 Definitive Technology W7 Access Panel Replacement: 手順 3、 3の画像 2 Definitive Technology W7 Access Panel Replacement: 手順 3、 3の画像 3
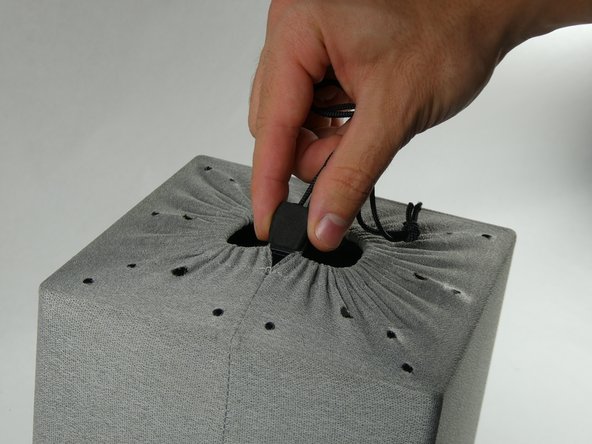
    • The gray mesh bag covering the speaker will now be exposed.

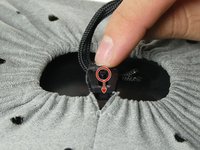
    • Flick the switch on the middle of the lock down to loosen the sack.

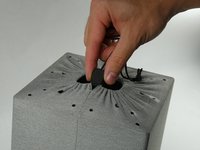
    • Pull upwards on the locking mechanism to loosen the drawstring. Stop pulling when the mesh bag is loose enough that it can be pulled downwards.

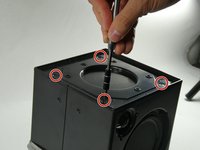
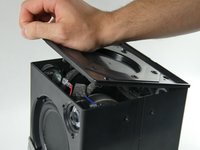
  4. Definitive Technology W7 Access Panel Replacement: 手順 4、 2の画像 1 Definitive Technology W7 Access Panel Replacement: 手順 4、 2の画像 2
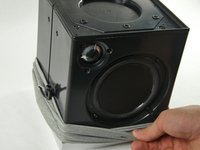
    • Remove the four screws on top of the device on each corner with a Phillips #0 screwdriver.

    • Remove the black panel.

終わりに

To reassemble your device, follow these instructions in reverse order.

作成者

2人の作成者と共同で作成されました。

Brendan Thibault

メンバー登録日: 10/26/22

339 ポイント

3のガイドは作成済み

チーム

UMass Dartmouth, Team 2-5, Petersen Fall 2022 UMass Dartmouth, Team 2-5, Petersen Fall 2022人のメンバー

UMASSD-PETERSEN-F22S2G5

4 メンバー

6のガイドは作成済み

0 件のコメント

コメントを追加

統計データ:

過去 24時間: 1

過去 7 日: 1

過去 30 日: 1

今までの合計 152