はじめに
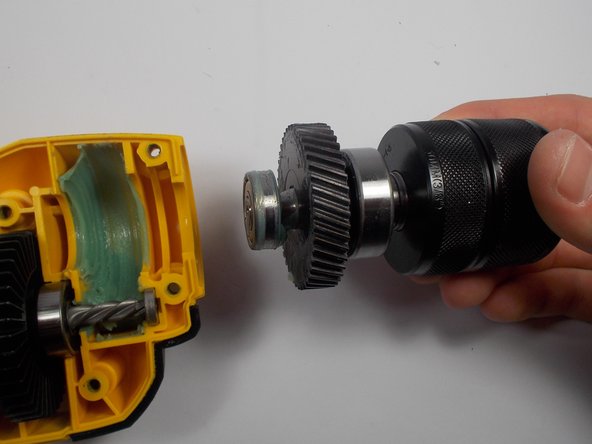
The chuck holds the drill bit in place—and if the chuck becomes broken, the drill serves no function. Use this guide to replace a damaged or broken chuck in the DeWalt DWD112.
必要な工具と部品


To reassemble your device, follow these instructions in reverse order.
To reassemble your device, follow these instructions in reverse order.
ある他の人がこのガイドを完成しました。
チーム

UMass Dartmouth, Team 2-3, Isaacson Spring 2016 UMass Dartmouth, Team 2-3, Isaacson Spring 2016人のメンバー
UMASSD-ISAACSON-S16S2G3
3 メンバー
6のガイドは作成済み
コメント 1 件
Or actually read the manual, and find you can use an allen wrench with no dissasembly at all.