メインコンテンツにスキップ

DeWALT Hammer Drill DW511 Chuck Replacement

必要な工具と部品

  1. DeWALT Hammer Drill DW511 Chuck Replacement, Lever Assembly: 手順 1、 3の画像 1 DeWALT Hammer Drill DW511 Chuck Replacement, Lever Assembly: 手順 1、 3の画像 2 DeWALT Hammer Drill DW511 Chuck Replacement, Lever Assembly: 手順 1、 3の画像 3
    • Remove two 45 mm T20 Torx screws.

    • Remove one 30 mm T20 Torx screw.

  2. DeWALT Hammer Drill DW511 Chuck Replacement: 手順 2、 1の画像 1
    • Pull off the top case and set it aside.

  3. DeWALT Hammer Drill DW511 Chuck Replacement: 手順 3、 3の画像 1 DeWALT Hammer Drill DW511 Chuck Replacement: 手順 3、 3の画像 2 DeWALT Hammer Drill DW511 Chuck Replacement: 手順 3、 3の画像 3
    • Grab the gear case cover and gently pull it out just enough to where it exposes the lever assembly.

    • It is important that the brushes are removed before you do this step or you may damage your brushes.

    • The lever assembly can now be lifted out.

  4. DeWALT Hammer Drill DW511 Chuck Replacement: 手順 4、 1の画像 1
    • With the old lever assembly removed you can now replace it with a new one.

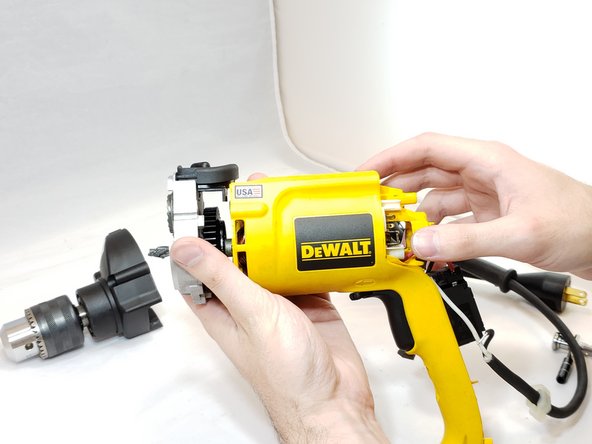
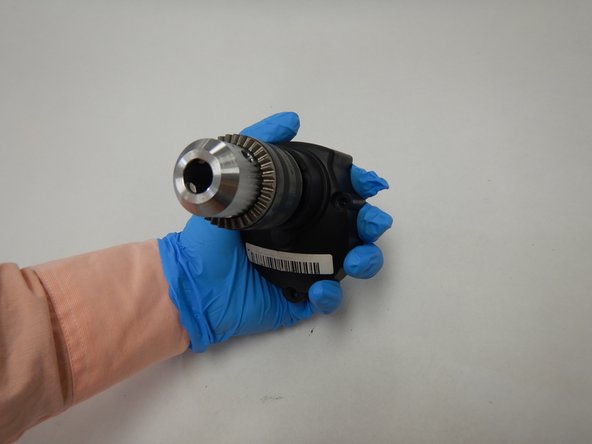
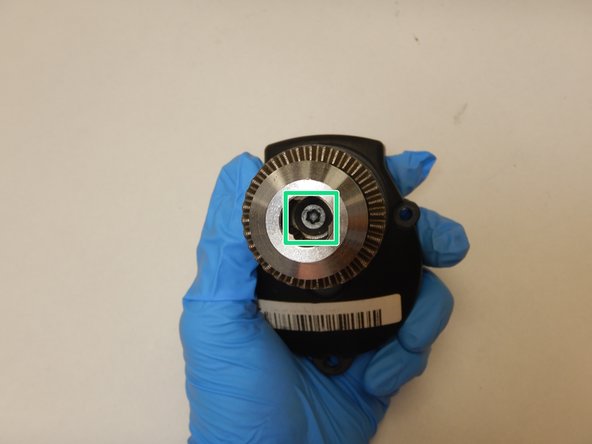
  5. DeWALT Hammer Drill DW511 Chuck Replacement, Chuck: 手順 5、 3の画像 1 DeWALT Hammer Drill DW511 Chuck Replacement, Chuck: 手順 5、 3の画像 2 DeWALT Hammer Drill DW511 Chuck Replacement, Chuck: 手順 5、 3の画像 3
    • Gently separate the chuck and plastic housing from the hammer drill body.

    • The removal of the screw from the chuck to separate the plastic housing requires hand strength and specialized tools.

    • The plastic housing is prone to damage if excessive force is applied during the replacement.

終わりに

To reassemble your device, follow these instructions in reverse order.

作成者

3人の作成者と共同で作成されました。

Andrew Grayson Crawford

メンバー登録日: 10/01/20

241 ポイント

3のガイドは作成済み

0 件のコメント

コメントを追加

統計データ:

過去 24時間: 1

過去 7 日: 1

過去 30 日: 6

今までの合計 606