はじめに
Unfortunately, this issue occurs often with De Longhi ECAM machines. The expansion chamber is sealed very poorly, and therefore, the problem is difficult to fix. Here's how you can try sealing the expansion chamber with a piece of household rubber.
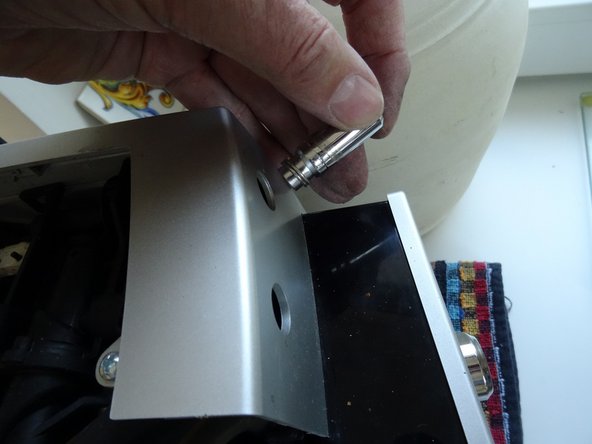
Keep the screws well sorted, they have different lengths.
必要な工具と部品
-
-
Remove all attachments such as water tank, pulp drawer, brew group.
-
Turn the machine with the back facing you.
-
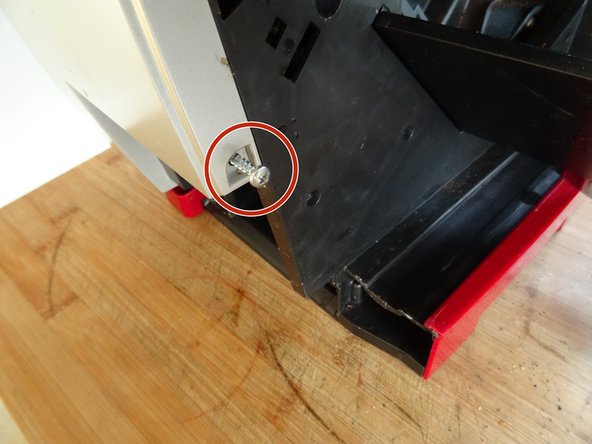
Remove five Torx T20 security screws.
-
-
-
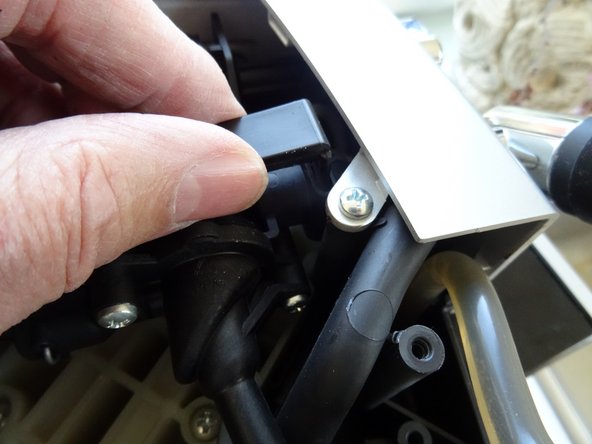
Push the side panel back about 1.5 cm.
-
Lift off the panel.
-
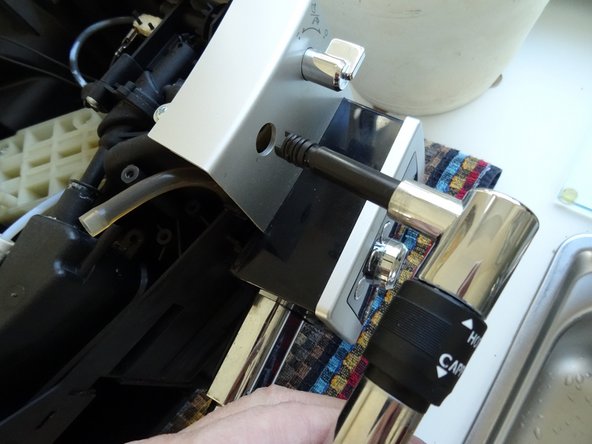
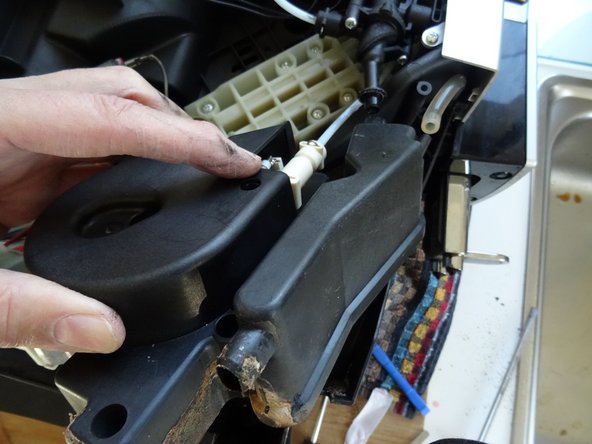
The following compononents are exposed:
-
Heater
-
Expansion chamber
-
Gear drive
-
Steam valve
-
-
-
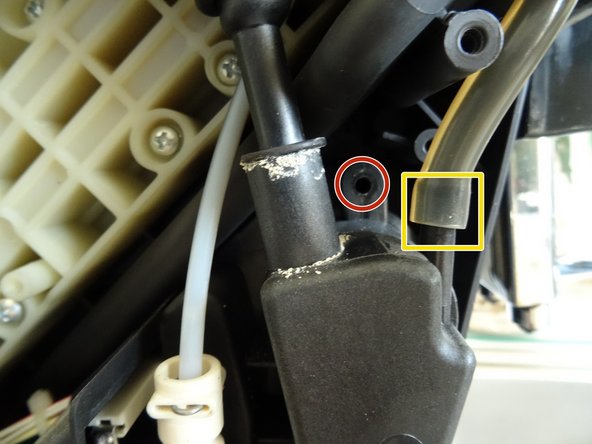
The leak is easy to recognize from the traces of lime under the heater.
-
from a defective pressure relief valve in front of the heater
-
from a leaking steam valve
-
from the upper brew piston if it is defective/leaky
-
-


Work the steps in reverse order to reassemble your device.
Work the steps in reverse order to reassemble your device.
11 の人々がこのガイドを完成させました。
以下の翻訳者の皆さんにお礼を申し上げます:
100%


これらの翻訳者の方々は世界を修理する私たちのサポートをしてくれています。 あなたも貢献してみませんか?
翻訳を始める ›
チーム

21 件のコメント
Als Dichtung eignet sich Silikonschlauch Außen 3mm x Innen 2mm hervorragend. Ein Stück von 15-20cm ist ausreichend. Wichtig ist ja vor allem der untere Bereich.
Can you please post a link to a gasket that fits ? Amazon or similar?
Ok; do you think it would be better to cut the hose in the direction of the length, in order to wrap the other piece of plastic? or it has to be put in the slot as it is?
Use it, as it is. I myself took a normal rubber band from the kitchen and it worked.
VauWeh -