メインコンテンツにスキップ

D-Link DIR-890L Motherboard Replacement

必要な工具と部品

  1. D-Link DIR-890L Motherboard  Replacement, Case: 手順 1、 3の画像 1 D-Link DIR-890L Motherboard  Replacement, Case: 手順 1、 3の画像 2 D-Link DIR-890L Motherboard  Replacement, Case: 手順 1、 3の画像 3
    • Peel off the four rubber rectangular feet with your fingers.

    • The feet may be hard to remove. Apply additional force if necessary.

  2. D-Link DIR-890L Motherboard  Replacement: 手順 2、 3の画像 1 D-Link DIR-890L Motherboard  Replacement: 手順 2、 3の画像 2 D-Link DIR-890L Motherboard  Replacement: 手順 2、 3の画像 3
    • Unscrew the 5mm screws in each corner using the Phillips #1 screwdriver.

  3. D-Link DIR-890L Motherboard  Replacement: 手順 3、 3の画像 1 D-Link DIR-890L Motherboard  Replacement: 手順 3、 3の画像 2 D-Link DIR-890L Motherboard  Replacement: 手順 3、 3の画像 3
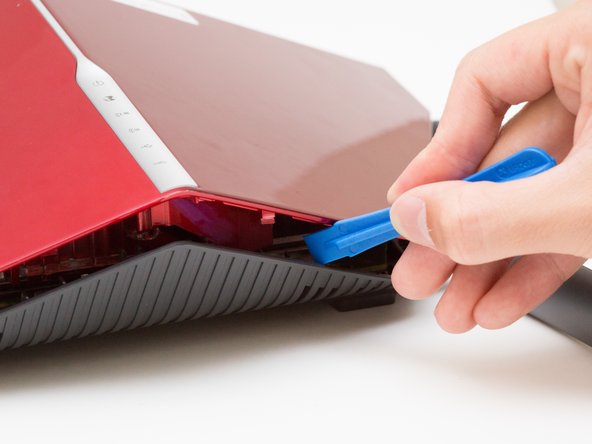
    • Wedge the opening tool between the red top panel and the gray bottom panel.

    • Twist the opening tool to separate the panels. Work your way around the case until both of the panels are separated.

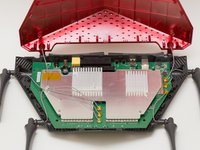
  4. D-Link DIR-890L Motherboard  Replacement, Motherboard: 手順 4、 1の画像 1
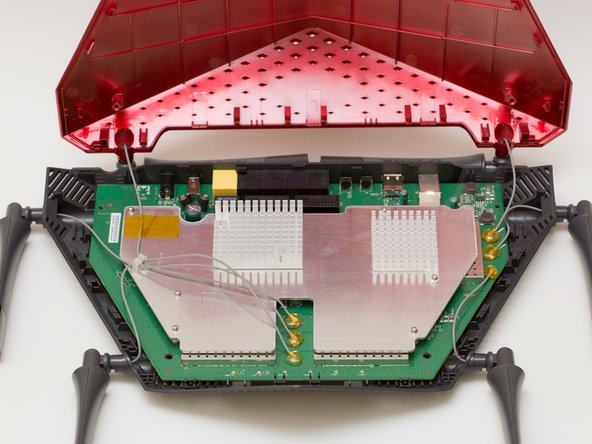
    • Orient the router so the narrow end of the router faces you and the ports face away from you.

    • The six, hot-glued antenna connections are in the middle and at the top right of the motherboard.

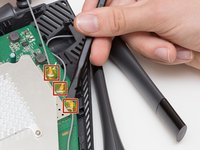
  5. D-Link DIR-890L Motherboard  Replacement: 手順 5、 3の画像 1 D-Link DIR-890L Motherboard  Replacement: 手順 5、 3の画像 2 D-Link DIR-890L Motherboard  Replacement: 手順 5、 3の画像 3
    • Pry off the antenna connectors using a heavy-duty spudger.

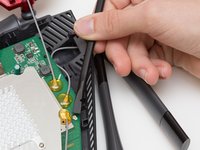
  6. D-Link DIR-890L Motherboard  Replacement: 手順 6、 2の画像 1 D-Link DIR-890L Motherboard  Replacement: 手順 6、 2の画像 2
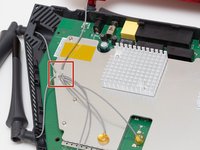
    • Continue to pry off the last three antenna connections on the upper right portion of the motherboard.

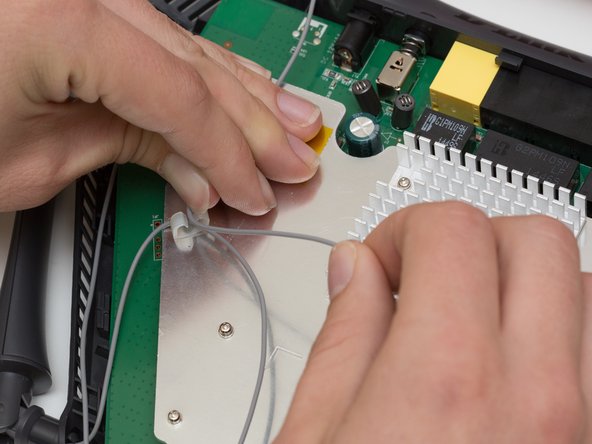
  7. D-Link DIR-890L Motherboard  Replacement: 手順 7、 3の画像 1 D-Link DIR-890L Motherboard  Replacement: 手順 7、 3の画像 2 D-Link DIR-890L Motherboard  Replacement: 手順 7、 3の画像 3
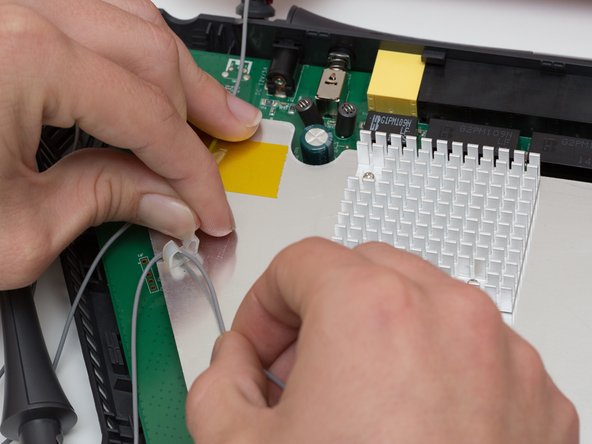
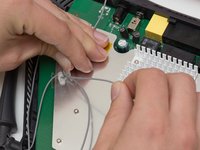
    • Open the plastic bracket enclosing the three antenna wires and pull the wires out with your hands.

  8. D-Link DIR-890L Motherboard  Replacement: 手順 8、 3の画像 1 D-Link DIR-890L Motherboard  Replacement: 手順 8、 3の画像 2 D-Link DIR-890L Motherboard  Replacement: 手順 8、 3の画像 3
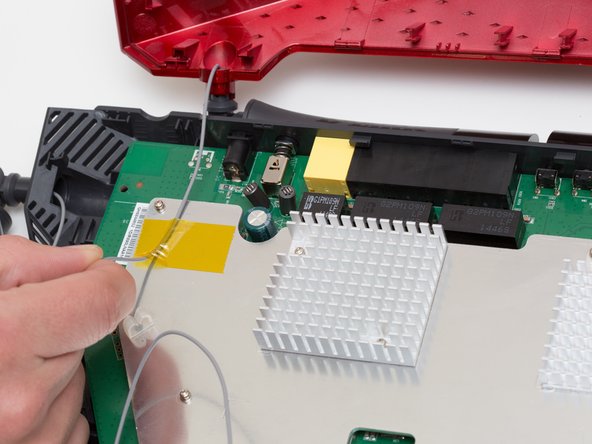
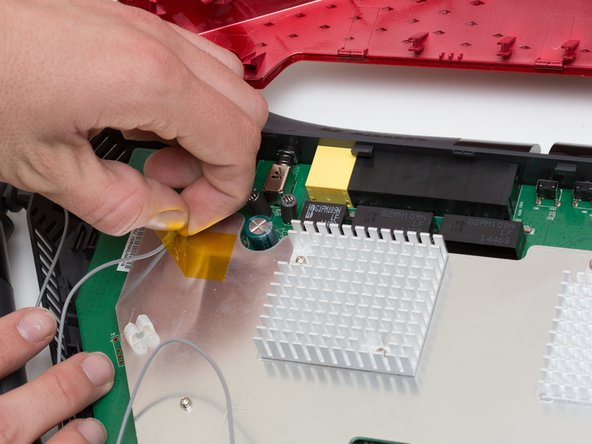
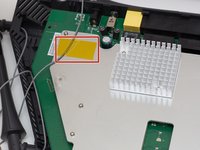
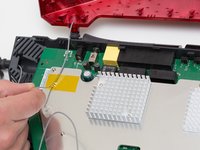
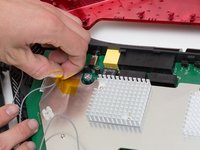
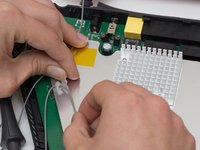
    • Pull the yellow tape off of the motherboard to release the final antenna wire.

  9. D-Link DIR-890L Motherboard  Replacement: 手順 9、 2の画像 1 D-Link DIR-890L Motherboard  Replacement: 手順 9、 2の画像 2
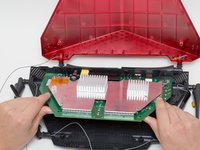
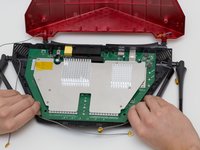
    • Pull the the motherboard away from the case to remove it. Start on the side closest to you, and pull up and out.

終わりに

To reassemble your device, follow these instructions in reverse order.

3 の人々がこのガイドを完成させました。

作成者

4人の作成者と共同で作成されました。
Rachel Shaw

メンバー登録日: 10/06/16

553 ポイント

5のガイドは作成済み

チーム

Cal Poly, Team 10-7, Livingston Fall 2016 Cal Poly, Team 10-7, Livingston Fall 2016人のメンバー

CPSU-LIVINGSTON-F16S10G7

4 メンバー

12のガイドは作成済み

0 件のコメント

コメントを追加

統計データ:

過去 24時間: 0

過去 7 日: 2

過去 30 日: 10

今までの合計 2,266