このバージョンは誤った内容を含んでいる可能性があります。最新の承認済みスナップショットに切り替えてください。
分解
この分解は修理ガイドでは ありません。 お持ちのCyclops Heliosを修理する際は、iFixitの修理ガイドをご利用ください。
この手順は未翻訳です。 翻訳を手伝う。
Power off Cyclops Helios before tearing down by pushing the black button until the LEDs no longer emit visible light.
Black button - circled in red
Using two hands, carefully separate the front panel and back panel of the Cyclops Helios.
Front panel - boxed in red
Back panel - boxed in blue
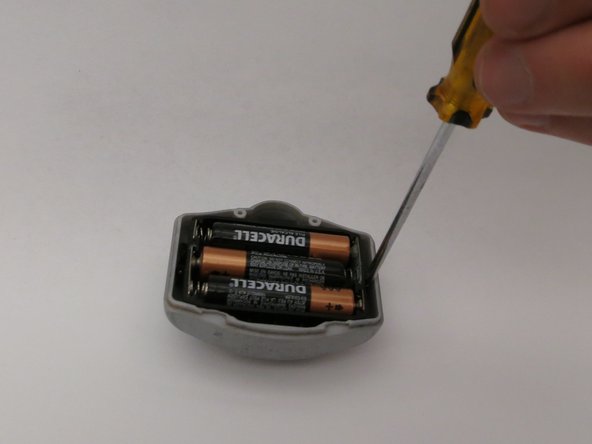
Use a Phillips head screwdriver to remove two screws from the front panel.
The two screws fasten the outer enclosure with the inner electronics of the front panel.
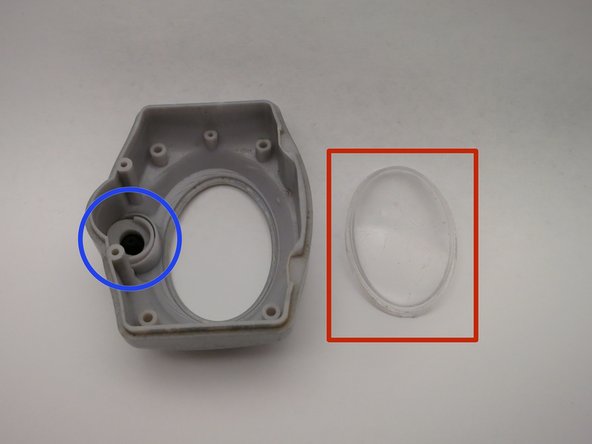
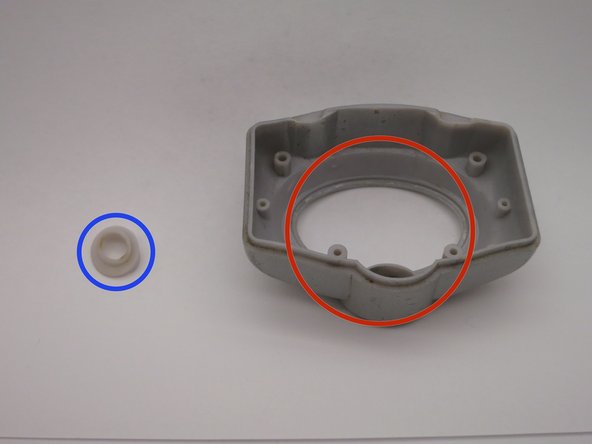
Within the enclosure of the front panel there is a clear plastic lens, and plastic button insert. Both are removable.
Clear plastic lens - boxed in red
Plastic button insert - circled in blue
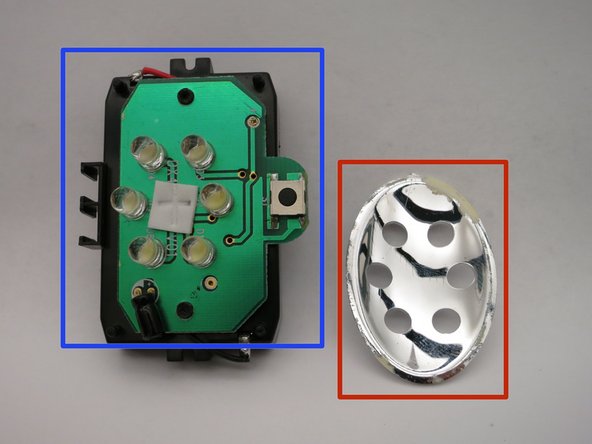
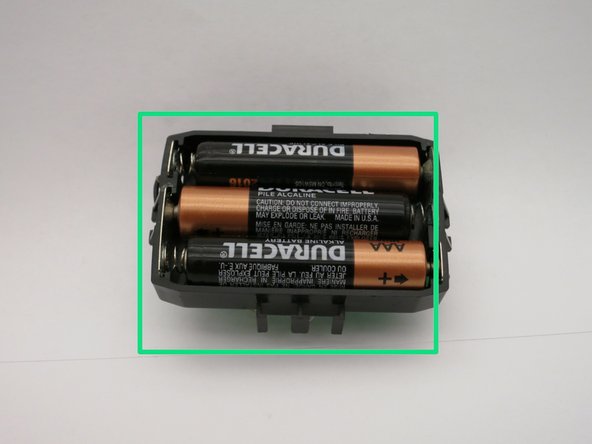
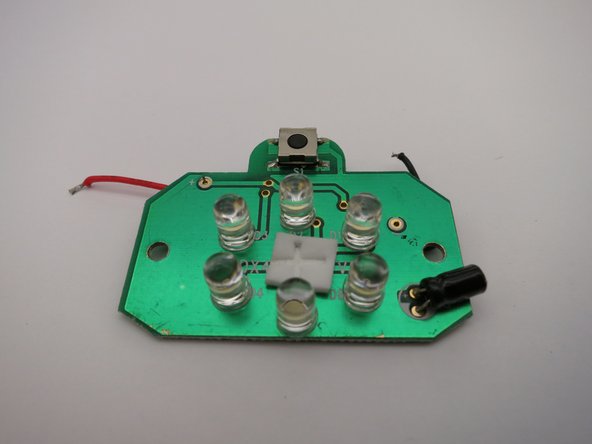
The inner electronics of module of the front panel includes a parabolic mirror, circuit board, and battery holder.
Circuit board - boxed in blue
Parabolic mirror - boxed in red
Battery holder - boxed in green
Separate the circuit board from the battery holder by desoldering the black and red wires from the battery holder.
2人の作成者と共同で作成されました。
メンバー登録日: 11/14/13
161 ポイント
1ガイドが承認済み
バッジ: 0
サイズを選択し、以下のコードをコピーして、このガイドを小さなウィジェットとしてサイト/フォーラムに埋め込みます。
過去 24時間: 1
過去 7 日: 6
過去 30 日: 15
今までの合計 905