メインコンテンツにスキップ

必要な工具と部品

この分解は修理ガイドでは ありません。 お持ちのCyclops Heliosを修理する際は、iFixitの修理ガイドをご利用ください。

  1. Cyclops Helios Teardown, Cyclops Helios Teardown: 手順 1、 1の画像 1
    • Power off Cyclops Helios before tearing down by pushing the black button until the LEDs no longer emit visible light.

    • Black button - circled in red

  2. Cyclops Helios Teardown: 手順 2、 3の画像 1 Cyclops Helios Teardown: 手順 2、 3の画像 2 Cyclops Helios Teardown: 手順 2、 3の画像 3
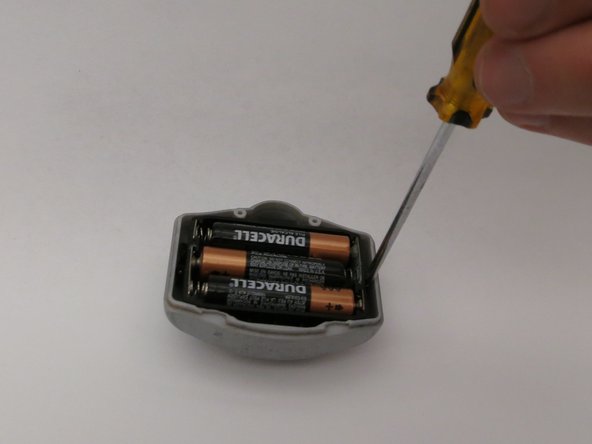
    • Using two hands, carefully separate the front panel and back panel of the Cyclops Helios.

    • Front panel - boxed in red

    • Back panel - boxed in blue

  3. Cyclops Helios Teardown: 手順 3、 2の画像 1 Cyclops Helios Teardown: 手順 3、 2の画像 2
    • Use a Phillips head screwdriver to remove two screws from the front panel.

    • The two screws fasten the outer enclosure with the inner electronics of the front panel.

  4. Cyclops Helios Teardown: 手順 4、 3の画像 1 Cyclops Helios Teardown: 手順 4、 3の画像 2 Cyclops Helios Teardown: 手順 4、 3の画像 3
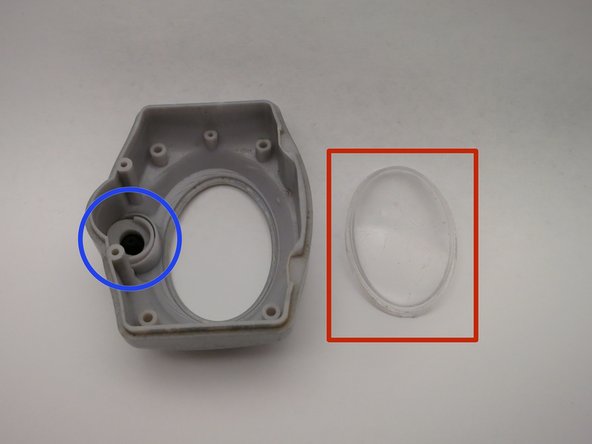
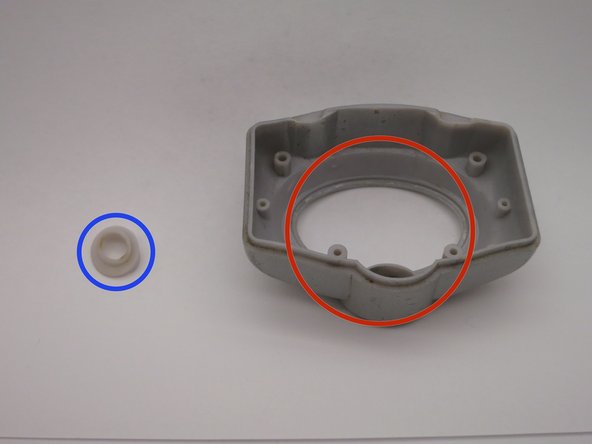
    • Within the enclosure of the front panel there is a clear plastic lens, and plastic button insert. Both are removable.

    • Clear plastic lens - boxed in red

    • Plastic button insert - circled in blue

  5. Cyclops Helios Teardown: 手順 5、 3の画像 1 Cyclops Helios Teardown: 手順 5、 3の画像 2 Cyclops Helios Teardown: 手順 5、 3の画像 3
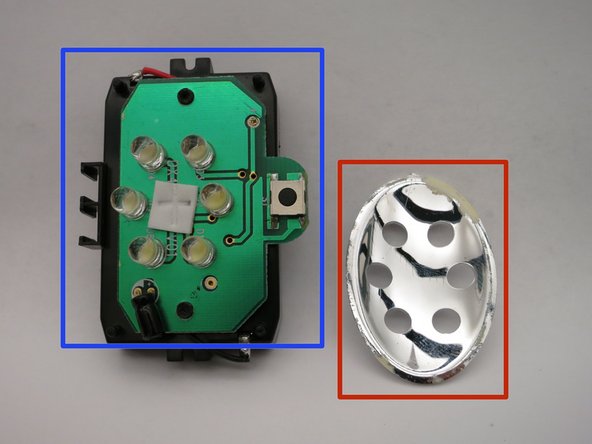
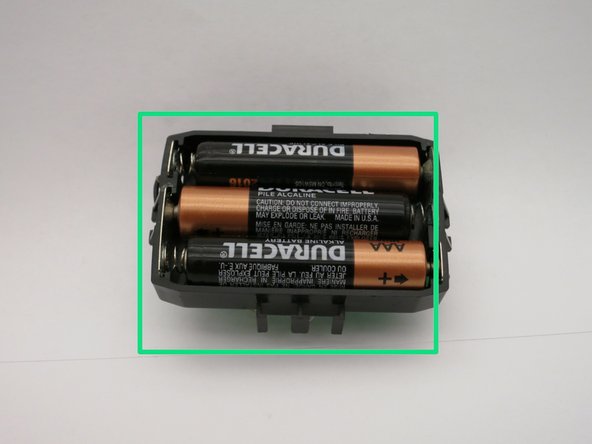
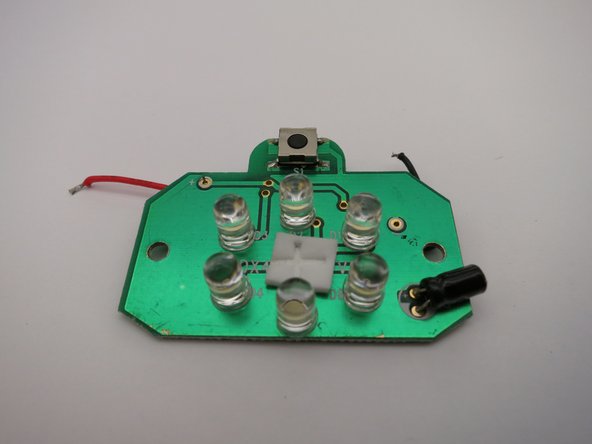
    • The inner electronics of module of the front panel includes a parabolic mirror, circuit board, and battery holder.

    • Circuit board - boxed in blue

    • Parabolic mirror - boxed in red

    • Battery holder - boxed in green

  6. Cyclops Helios Teardown: 手順 6、 2の画像 1 Cyclops Helios Teardown: 手順 6、 2の画像 2
    • Separate the circuit board from the battery holder by desoldering the black and red wires from the battery holder.

作成者

2人の作成者と共同で作成されました。

Shaun Koide

メンバー登録日: 11/14/13

161 ポイント

1ガイドが承認済み

0 件のコメント

コメントを追加

統計データ:

過去 24時間: 0

過去 7 日: 0

過去 30 日: 3

今までの合計 891