はじめに
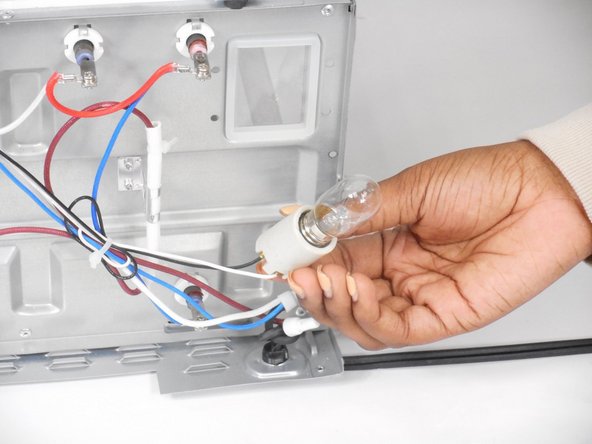
Are you having trouble with a flickering light bulb in your Cuisinart TOA-60FR? If so, this guide will help you know if you need to replace your lightbulb or find other solutions.
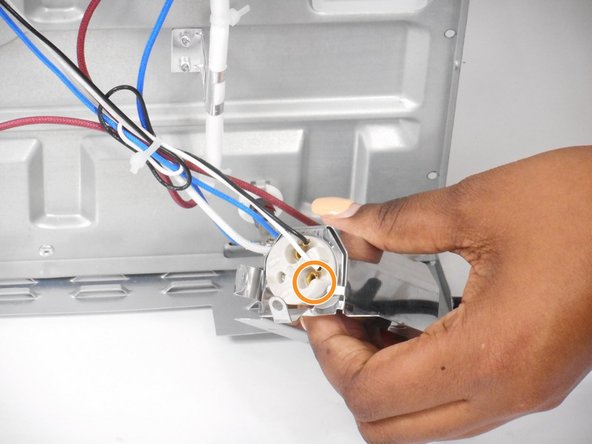
Make sure you set aside a fair amount of time to complete this; even if you replace your lightbulb, it isn't easy without removing the whole outside of the device. The lightbulb illuminates the entire toaster oven; it may appear insignificant, but it is an essential component.
必要な工具と部品
-
-
-
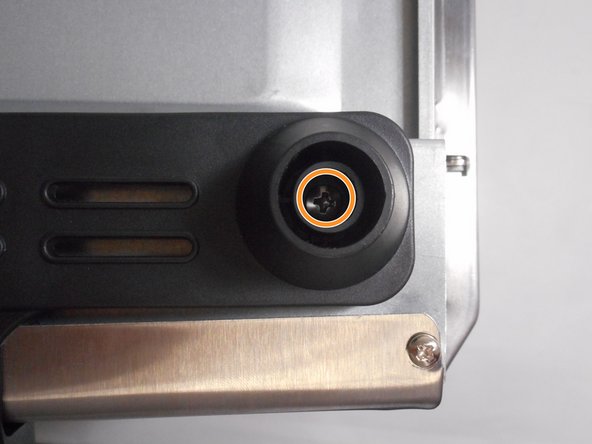
Remove these two 12.8 mm screws at the top on each side.
-
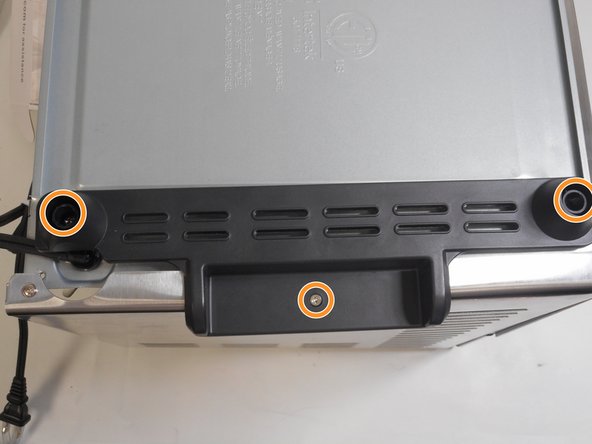
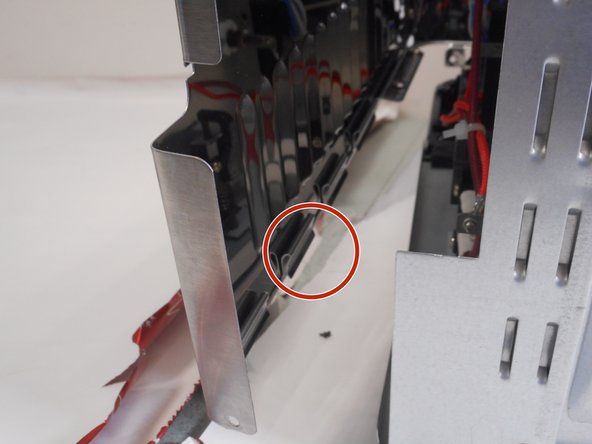
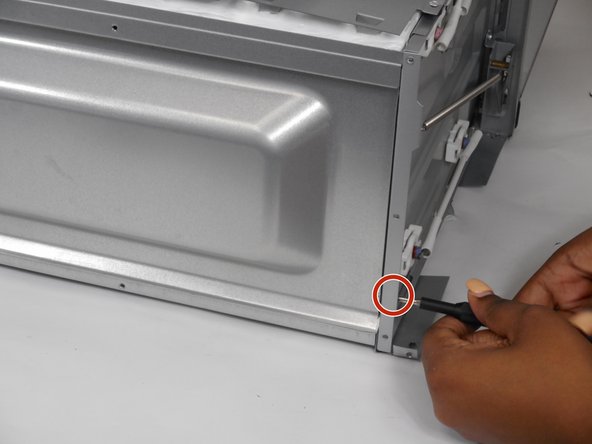
Remove two 12.8 mm screws at the bottom, as demonstrated in the first picture.
-


To reassemble your device, follow these instructions in reverse order.
To reassemble your device, follow these instructions in reverse order.

チーム

University of New Orleans, Team 4-6, McDonald Fall 2023 University of New Orleans, Team 4-6, McDonald Fall 2023人のメンバー
UNO-MCDONALD-F23S4G6
4 メンバー
5のガイドは作成済み