はじめに
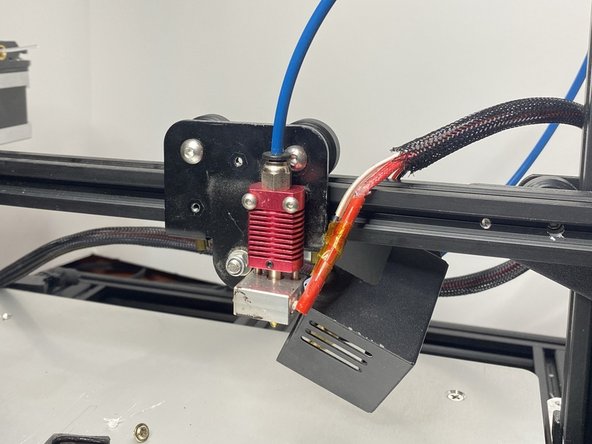
Have you noticed your Creality CR-10s-3D Printer producing lower quality prints than usual? This problem could be due to a worn down nozzle. When continuously running a 3D printer, nozzle wear is imminent and requires eventual replacement. This guide will walk you through the steps of detaching the filament line, removing the nozzle housing, and finally replacing the nozzle itself. This guide requires no special expertise and only minor tool use.
必要な工具と部品
-
-
Carefully unthread the golden colored filament hose connector until it is completely detached.
-
Once the threaded hose connector is detached, squeeze the spring-enabled mechanism to release some filament.
-
-
-
-
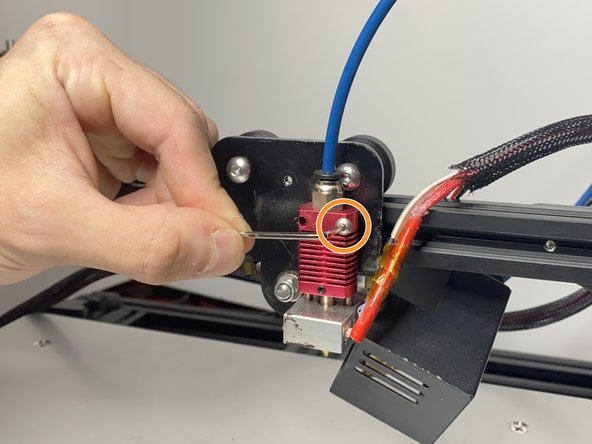
Using a 2 mm Allen key, unthread the two 5.5 mm screws from the nozzle fan casing. Unthread the top screw and then the side screw as shown.
-
While unthreading the screws, hold the fan casing with one hand so as not to allow it fall once completely detached.
-
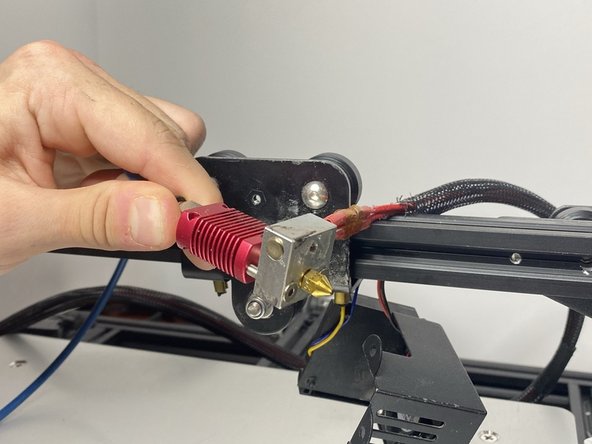
Once the fan casing is detached, ensure that it's positioned in a way that doesn't damage the external wires and attachments.
-
-
-
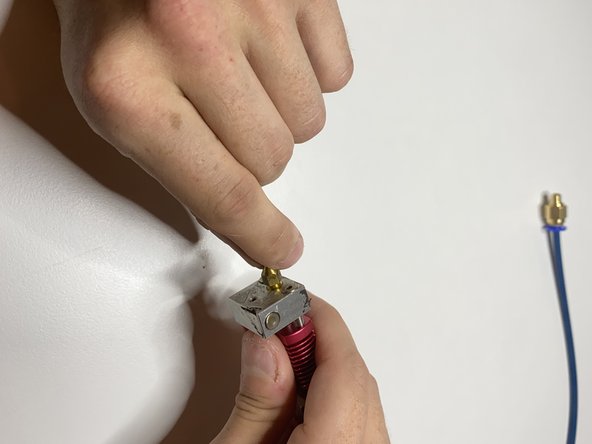
Once the nozzle is completely unthreaded, inspect the assembly for filament debris.
-
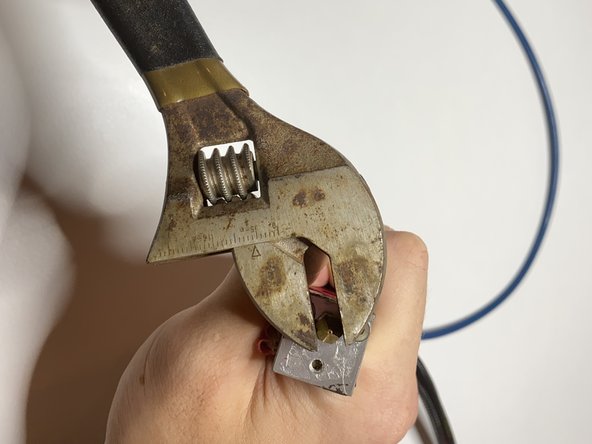
Start by threading the new nozzle into the assembly by hand. Using the same crescent wrench, tighten the new nozzle onto the assembly.
-
This completes the tutorial to replace a Creality CR-10s 3D printer nozzle!
-


- To reassemble your device, follow these instructions in reverse order.
- If you would like to ensure the nozzle replacement has been followed correctly, calibrate your 3D printer.
- To reassemble your device, follow these instructions in reverse order.
- If you would like to ensure the nozzle replacement has been followed correctly, calibrate your 3D printer.
ある他の人がこのガイドを完成しました。

チーム

University of Memphis, Team S1-G4, Bishop Fall 2020 University of Memphis, Team S1-G4, Bishop Fall 2020人のメンバー
UM-BISHOP-F20S1G4
2 メンバー
1のガイドは作成済み
コメント 1 件
Old post, but …
In Step 5, if the nozzle just isn’t coming loose, hang the hotend (being VERY careful of the wires - they break if you look at them) so that it’s in free space. Then bring the nozzle to about 200°C. When it’s hot, grab the heat block (the part the nozzle is screwed into) either with a pair of pliers (plain old pliers, if you’re careful) … OR an “Ove Glov” and the nozzle should come out easily. With a 6mm box wrench or Spin Tight. (If you slip with a crescent wrench, throw the nozzle out.)