メインコンテンツにスキップ

Craftsman 944.360480 Carburetor O-Ring Replacement

必要な工具と部品

  1. Craftsman 944.360480 Carburetor O-Ring Replacement, Carburetor O-Ring: 手順 1、 1の画像 1
    • Make sure your engine is completely shut down and cooled off prior to starting this repair.

    • Put gloves on, so you don’t get any oil or gasoline on your skin.

  2. Craftsman 944.360480 Carburetor O-Ring Replacement: 手順 2、 1の画像 1
    • Use a flathead screwdriver and remove the 40 mm screw that secures the air filter and the case to the lawn mower.

  3. Craftsman 944.360480 Carburetor O-Ring Replacement: 手順 3、 1の画像 1
    • Carefully remove the air filter and set it aside.

  4. Craftsman 944.360480 Carburetor O-Ring Replacement: 手順 4、 1の画像 1
    • Slowly remove the air filter case from the hinges by tilting it slightly and pulling it out.

  5. Craftsman 944.360480 Carburetor O-Ring Replacement: 手順 5、 1の画像 1
    • Use the socket wrench and put the 5/16” inch hex bit on to remove the three 20 mm bolts located behind the air filter.

  6. Craftsman 944.360480 Carburetor O-Ring Replacement: 手順 6、 1の画像 1
    • Pull the plastic backing off which will expose the carburetor.

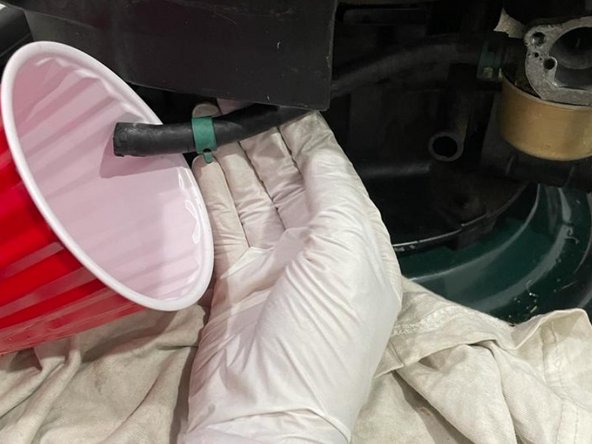
  7. Craftsman 944.360480 Carburetor O-Ring Replacement: 手順 7、 2の画像 1 Craftsman 944.360480 Carburetor O-Ring Replacement: 手順 7、 2の画像 2
    • Use utility pliers to pull out the fuel line slowly by wiggling it up and down.

    • Have a container ready to pour out any extra fuel left in the mower.

    • Be sure to put a cloth or rag under if you don’t want it spilling anywhere.

  8. Craftsman 944.360480 Carburetor O-Ring Replacement: 手順 8、 1の画像 1
    • Use the socket wrench with a ½” inch hex bit to remove the 11 mm screw on the bottom of the tank.

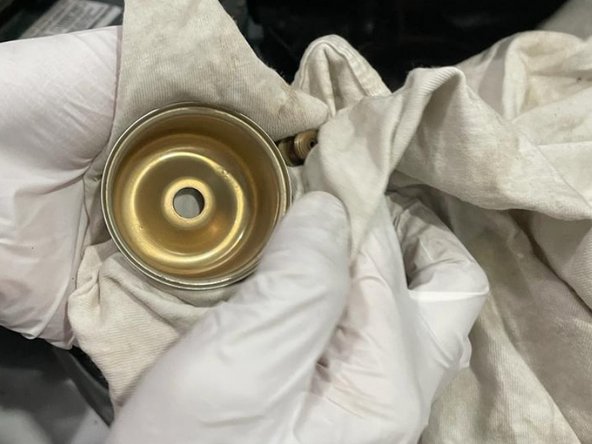
  9. Craftsman 944.360480 Carburetor O-Ring Replacement: 手順 9、 2の画像 1 Craftsman 944.360480 Carburetor O-Ring Replacement: 手順 9、 2の画像 2
    • Pull the carburetor tank down slowly.

    • Empty any extra gasoline and use a rag to clean it out.

  10. Craftsman 944.360480 Carburetor O-Ring Replacement: 手順 10、 1の画像 1
    • Remove the O-Ring from the carburetor tank and replace it with a new one. You are ready to reassemble your lawnmower!

終わりに

To reassemble your device, follow these instructions in reverse order.

作成者

1人の作成者と共同作成されました。

Priyum Mistry

メンバー登録日: 01/10/22

181 ポイント

1ガイドが承認済み

チーム

York University, Team R-16, Melo-Thaiss Winter 2022 York University, Team R-16, Melo-Thaiss Winter 2022人のメンバー

YORK-MELO-THAISS-W22SRG16

1 メンバー

1のガイドは作成済み

0 件のコメント

コメントを追加

統計データ:

過去 24時間: 0

過去 7 日: 7

過去 30 日: 31

今までの合計 527