メインコンテンツにスキップ

Coolpad 3300A Disassembly

必要な工具と部品

  1. Coolpad 3300A Disassembly, Coolpad 3300A Disassembly: 手順 1、 1の画像 1
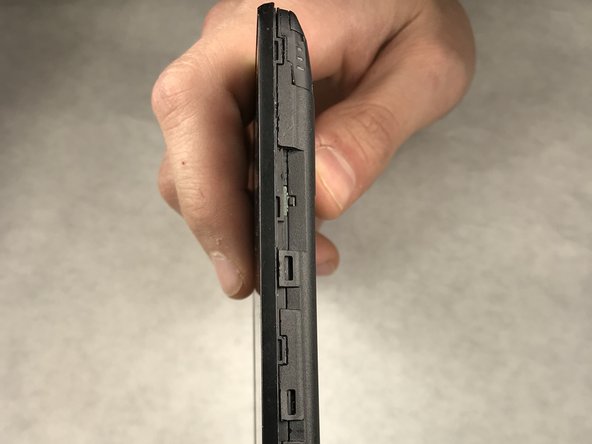
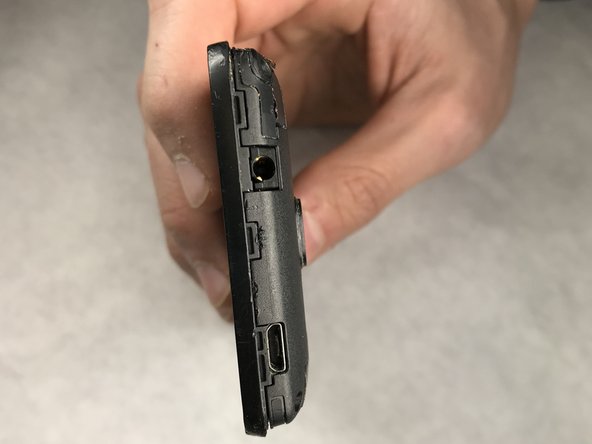
    • After removing the back of the phone (not pictured), remove the battery by lifting up from the bottom with your thumb. There will be a groove that allows you to remove the battery with your thumb.

  2. Coolpad 3300A Disassembly: 手順 2、 3の画像 1 Coolpad 3300A Disassembly: 手順 2、 3の画像 2 Coolpad 3300A Disassembly: 手順 2、 3の画像 3
    • Remove the four screws (30 mm long) which hold the front and back half of the unit together using a Phillips #000 screwdriver. There will be one screw in each corner.

  3. Coolpad 3300A Disassembly: 手順 3、 3の画像 1 Coolpad 3300A Disassembly: 手順 3、 3の画像 2 Coolpad 3300A Disassembly: 手順 3、 3の画像 3
    • Use a metal spudger to release all of the clips around the phone. These clips are used to hold the front and back panel on the phone together.

  4. Coolpad 3300A Disassembly: 手順 4、 1の画像 1
    • After the clips are released, carefully separate the back housing from the phone. Notice the sticker that appears in the red box holds the phone together, but can be peeled apart.

終わりに

To reassemble your device, follow these instructions in reverse order.

6 の人々がこのガイドを完成させました。

作成者

2人の作成者と共同で作成されました。

Riley Casteel

メンバー登録日: 03/26/18

395 ポイント

1ガイドが承認済み

チーム

IUPUI, Team S1-G3, Harley Spring 2018 IUPUI, Team S1-G3, Harley Spring 2018人のメンバー

IUPUI-HARLEY-S18S1G3

6 メンバー

8のガイドは作成済み

0 件のコメント

コメントを追加

統計データ:

過去 24時間: 0

過去 7 日: 3

過去 30 日: 8

今までの合計 1,110