メインコンテンツにスキップ
リペアコミュニティに参加 - アカウントの作成

Conair Infiniti Pro Model 259NP Fan Motor Assembly Replacement

必要な工具と部品

    1. Conair Infiniti Pro Model 259NP Fan Motor Assembly Replacement, Back Panel: 手順 1、 1の画像 1
      • Caution: Unplug the hair dryer before attempting this guide. Leaving the device plugged in may result in electrocution and damage to the device.

      • Hold the hair dryer by the handle so that the back panel faces up.

      FixBotに聞いてみる

      コメントを追加

    2. Conair Infiniti Pro Model 259NP Fan Motor Assembly Replacement: 手順 2、 2の画像 1 Conair Infiniti Pro Model 259NP Fan Motor Assembly Replacement: 手順 2、 2の画像 2
      • Remove the two 15.875 mm Phillips #2 screws from the back panel.

      FixBotに聞いてみる

      コメントを追加

    3. Conair Infiniti Pro Model 259NP Fan Motor Assembly Replacement: 手順 3、 3の画像 1 Conair Infiniti Pro Model 259NP Fan Motor Assembly Replacement: 手順 3、 3の画像 2 Conair Infiniti Pro Model 259NP Fan Motor Assembly Replacement: 手順 3、 3の画像 3
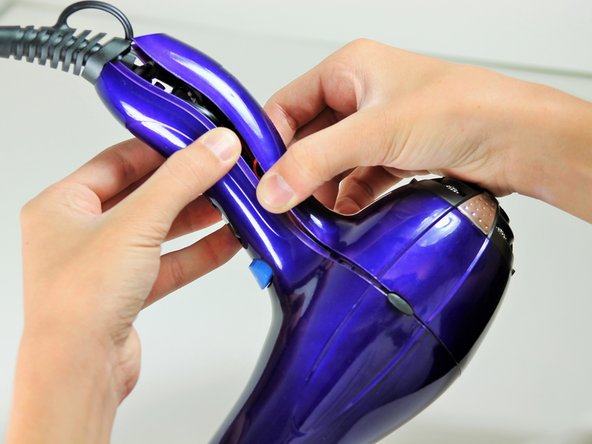
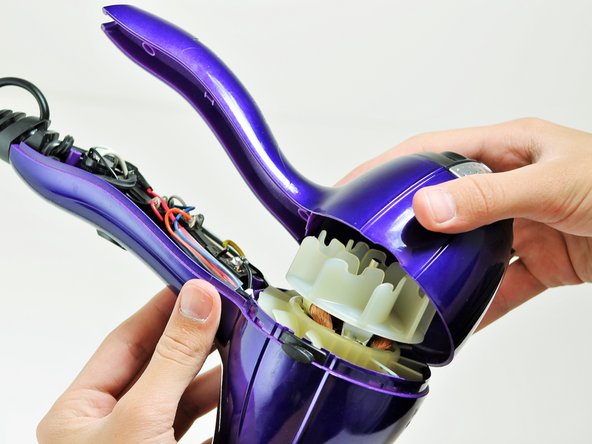
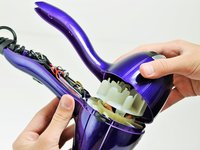
      • Starting from where the cord attaches to the handle, pull apart the two plastic panels.

      • Continue separating the back panel, working along the seam.

      • With moderate force, completely remove the back panel from the hair dryer.

      FixBotに聞いてみる

      コメントを追加

    1. Conair Infiniti Pro Model 259NP Fan Motor Assembly Replacement, Fan Motor Assembly: 手順 4、 2の画像 1 Conair Infiniti Pro Model 259NP Fan Motor Assembly Replacement, Fan Motor Assembly: 手順 4、 2の画像 2
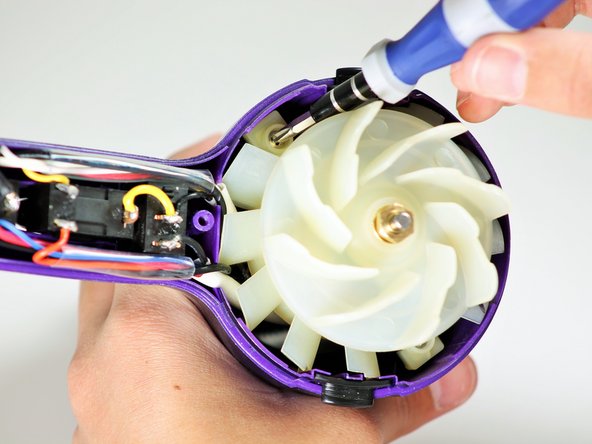
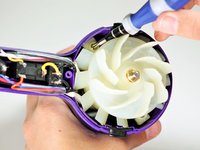
      • Hold the hair dryer by the nozzle so that the handle points to the left.

      • Remove the two 1-inch Phillips #2 screws from the back of the fan motor.

      FixBotに聞いてみる

      コメントを追加

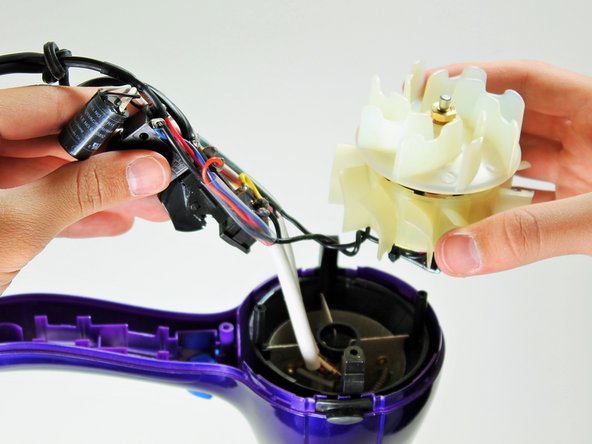
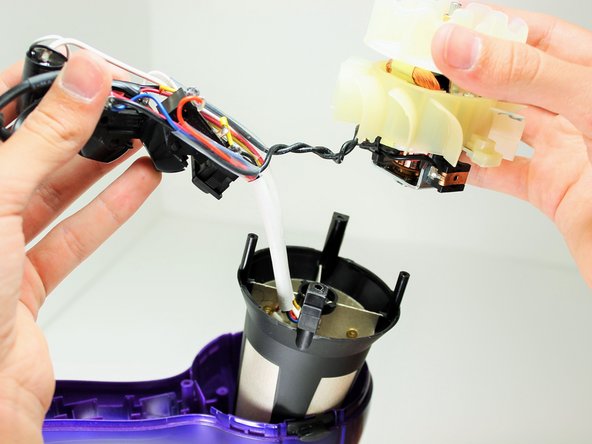
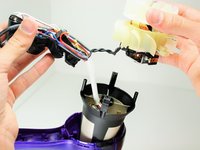
    2. Conair Infiniti Pro Model 259NP Fan Motor Assembly Replacement: 手順 5、 3の画像 1 Conair Infiniti Pro Model 259NP Fan Motor Assembly Replacement: 手順 5、 3の画像 2 Conair Infiniti Pro Model 259NP Fan Motor Assembly Replacement: 手順 5、 3の画像 3
      • Caution: If you recently used the hair dryer, wait at least 10 minutes before attempting this step. The heating element may still be very hot and can cause serious burns.

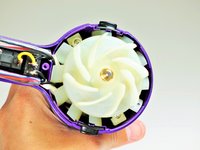
      • Pull on the back of the fan motor to gently lift the motor out of the hair dryer.

      • Lift the attached electrical wiring and heat shield completely out of the hair dryer.

      FixBotに聞いてみる

      コメントを追加

終わりに

To reassemble your device, follow these instructions in reverse order.

キャンセル: このガイドを終了できませんでした。

4 の人々がこのガイドを完成させました。

作成者

3人の作成者と共同で作成されました。

Timothy Lo

メンバー登録日: 04/22/14

1,214 ポイント

7のガイドは作成済み

チーム

Cal Poly, Team 10-58, Amido Spring 2014 Cal Poly, Team 10-58, Amido Spring 2014人のメンバー

CPSU-AMIDO-S14S10G58

4 メンバー

28のガイドは作成済み

0件のガイドコメント

コメントを追加

統計データ:

過去 24時間: 1

過去 7 日: 5

過去 30 日: 48

今までの合計 8,597