はじめに
Having trouble with your Conair 169XR blowdryer cord retracting? This guide is for you if your cord will not retract at the bottom of your Conair blowdryer.
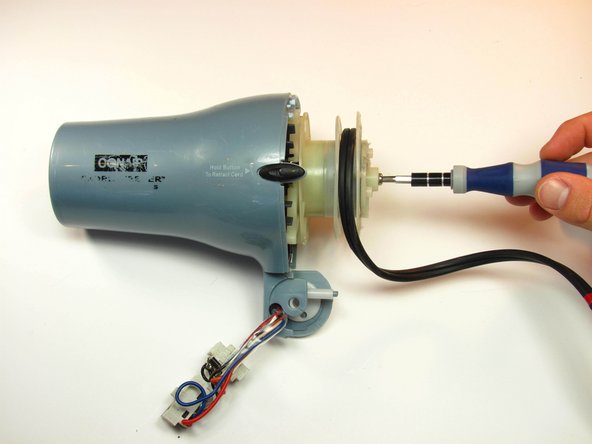
The retracting wheel retracts the cord into the bottom of the blowdryer. A faulty retracting wheel will not work when the "retract" button is pressed.
Make sure to power your Conair blowdryer off and disconnect from any external power sources before beginning to ensure safety.
Conair Troubleshooting Page: Conair Cord-Keeper 169XR Troubleshooting Page
必要な工具と部品
-
-
-
Once the three screws are removed, pop the back of the dryer off by wiggling it until it comes loose. This shouldn't take too much effort.
Fantastic detail you provide. Thanks. Although I am generally good at this time of thing, reassembly would have been most difficult had it not been for your post. You saved my day. Again thank you. Dryer now clean and up and running as if new.
James Shaw - 返信
-
-
-
To remove the coil, use your screw driver to pop the coil out of the slot.
What is simplest way to rewind cord? Mine looked like the second image when I got that far with removing the parts. It was already a tangled mess. I am going to try and rewind. Where do the bent ends of the coil go? I have started with putting one in groved slot....but if even can get it wound tight enough....I don't see where the other bend would go. Thank you, Susan
-


To reassemble your device, follow these instructions in reverse order.
To reassemble your device, follow these instructions in reverse order.
ある他の人がこのガイドを完成しました。
チーム

Cal Poly, Team 10-33, Maness Winter 2014 Cal Poly, Team 10-33, Maness Winter 2014人のメンバー
CPSU-MANESS-W14S10G33
3 メンバー
7のガイドは作成済み
コメント 1 件
Nicely done, just a suggestion, in Step #10 would suggest using fingers or flat object on top of spring when disengaging from frame …to ensure it won’t unravel and jump (as shown in 2nd picture + have some strong tape, string, wire ties, etc. to keep the spring wound up. This works for me when dealing with lawn mower recoil mechanism or tape measures. Tape measures are the worst to work on. lol - AHNauss