メインコンテンツにスキップ

必要な工具と部品

この分解は修理ガイドでは ありません。 お持ちのMacintosh Color Classicを修理する際は、iFixitの修理ガイドをご利用ください。

  1. この手順は未翻訳です。 翻訳を手伝う。

    : 手順 1、 1の画像 1
    • My Macintosh Color Classic running under MacOS 7.6 some days before it died

  2. この手順は未翻訳です。 翻訳を手伝う。

    : 手順 2、 1の画像 1
    • Machine completely emptied

  3. この手順は未翻訳です。 翻訳を手伝う。

    : 手順 3、 1の画像 1
    • all original components…

  4. この手順は未翻訳です。 翻訳を手伝う。

    : 手順 4、 1の画像 1
    • ...were replaced with the new ones

  5. この手順は未翻訳です。 翻訳を手伝う。

    : 手順 5、 1の画像 1
    • Testing the new HDMI 8” LCD screen.

  6. この手順は未翻訳です。 翻訳を手伝う。

    : 手順 6、 1の画像 1
    • The chassis and the power supply board were cleaned up and adapted for fitting the new components.

  7. この手順は未翻訳です。 翻訳を手伝う。

    : 手順 7、 1の画像 1
    • Installing the new screen

  8. この手順は未翻訳です。 翻訳を手伝う。

    : 手順 8、 1の画像 1
    • Closing the back case

  9. この手順は未翻訳です。 翻訳を手伝う。

    : 手順 9、 1の画像 1
    • Sliding in and connecting the MacMini 2014

  10. この手順は未翻訳です。 翻訳を手伝う。

    : 手順 10、 1の画像 1
    • Closing the clip-in backplane

  11. この手順は未翻訳です。 翻訳を手伝う。

    : 手順 11、 1の画像 1
    • Plugging in the computer

  12. この手順は未翻訳です。 翻訳を手伝う。

    : 手順 12、 1の画像 1
    • Starting the computer

  13. この手順は未翻訳です。 翻訳を手伝う。

    : 手順 13、 1の画像 1
    • Macintosh Color Classic running under MacOS Mojave

  14. この手順は未翻訳です。 翻訳を手伝う。

    : 手順 14、 3の画像 1 : 手順 14、 3の画像 2 : 手順 14、 3の画像 3
    • Insert wisdom here.

作成者

2人の作成者と共同で作成されました。

Roberto

メンバー登録日: 06/08/17

245 ポイント

1ガイドが承認済み

12 件のコメント

Wow, such a clean built. Thanks for sharing!

Luke - 返信

La pantalla es lo que mas temor da retirar si es igual a las de la emac y imacs, me gustaría haberlo hecho con la que me dañaron en un taller, no la guarde y tire la basura, en fin jamas se sabe lo que la tecnología nueva nos permite hacer con las viejas carcazas, debe ser grato ver la cara de la gente que te ve trabajar en ella con teclado y ratón inalámbricos.

javiersconde - 返信

Do you have a more detailed breakdown, including exact parts used. I have one of these Macs and it has died. The sentimental value is huge so doing to it what you did to yours is an awesome idea. Thanks

Nathan Fletcher - 返信

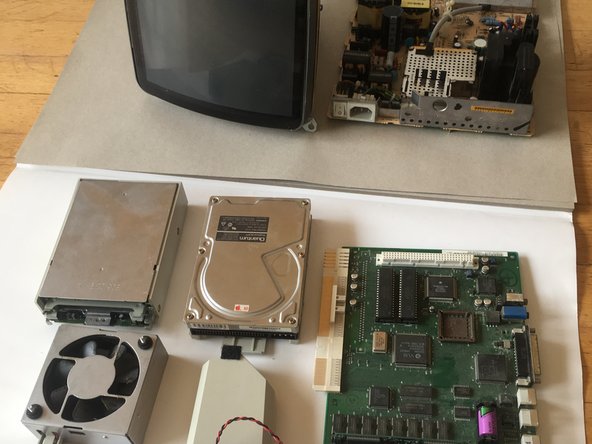
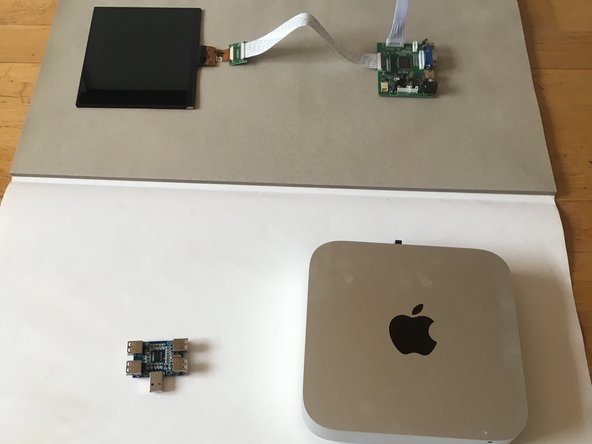
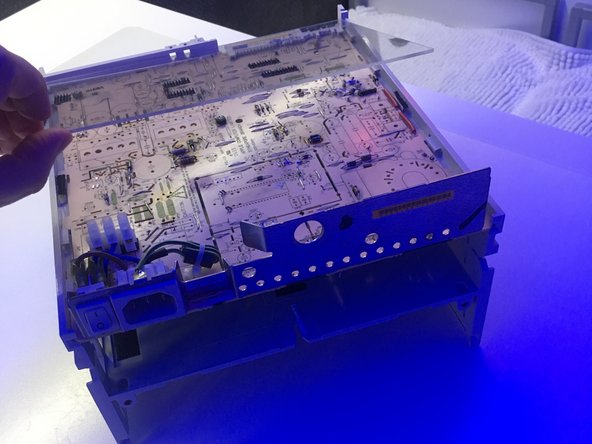
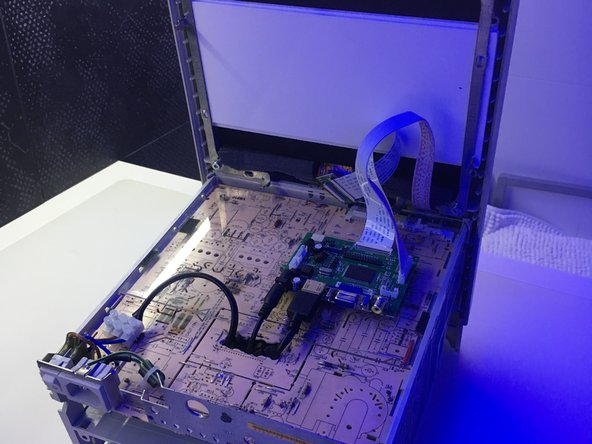
Sorry, I haven’t more details of the breakdown. The most difficult part was to clean up the power supply board and to saw parts of the plastic chassis to fit the MacMini inside. The parts I kept from the original machine are the chassis, the power supply board and the framework that sustained the original screen.

Roberto -

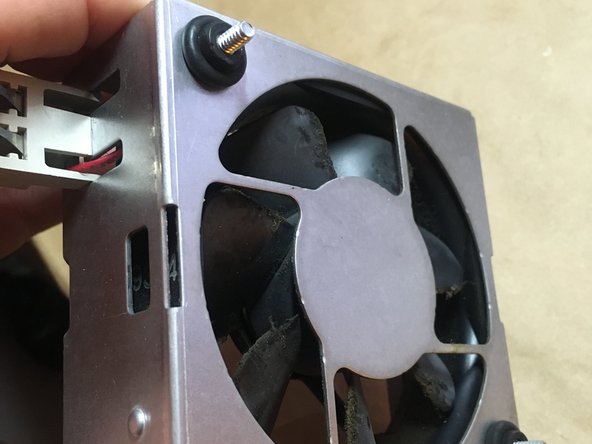
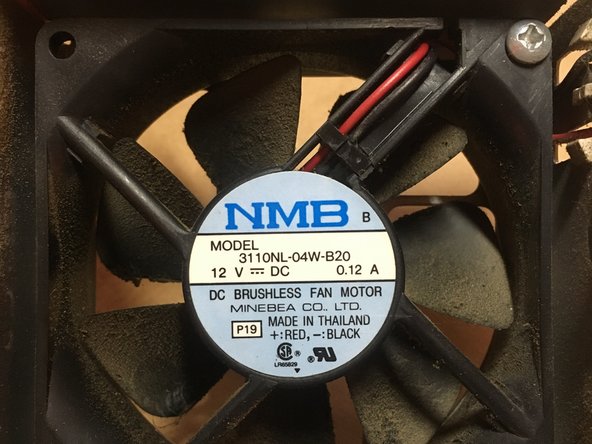
Roberto, what size is the fan? 60x25mm? And can you remove the stock fan from that metal housing so as to replace it with a quieter modern version? Thanks.

James Wages - 返信

コメントを追加

統計データ:

過去 24時間: 0

過去 7 日: 5

過去 30 日: 18

今までの合計 4,185