はじめに
You will learn how to take apart the necessary parts of the controller, how to clean the inside, and how certain parts are supposed to aligned or inserted into other parts.
必要な工具と部品
-
-
Remove the 9 external screws (4.8 mm Phillips head) on the back of the controller.
-
Remove the back panel from the controller.
 FixBotに聞いてみる
-
-
-
Remove the 3 screws (4.8 mm Phillips head) from the back of the white box.
-
Remove the back panel of the joystick box.
-
Separate the rubber pads and plastic buttons from the controller.
-
-
-
-
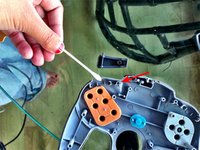
Using a soft cleaning material, clean the plastic buttons.
-
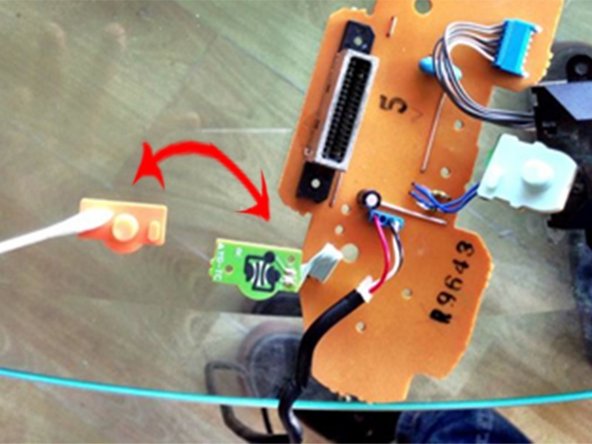
Using a toothpick, clean the pole slot, shown at the right of the Q-Tip.
-
-
-
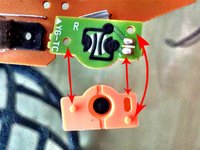
Reinsert the buttons, ensuring that the rubber, cylindrical pieces protruding from the buttons are lined up with their corresponding circuits.
-


Follow these steps in reverse order to reassemble your device.
7 の人々がこのガイドを完成させました。
チーム

UC Santa Barbara, Team 1-3, Bradley Spring 2013 UC Santa Barbara, Team 1-3, Bradley Spring 2013人のメンバー
UCSB-BRADLEY-S13S1G3
2 メンバー
1のガイドは作成済み