メインコンテンツにスキップ

Chefman RJ38-V2-35 Repair Temperature Knob Replacement

必要な工具と部品

  1. Chefman RJ38-V2-35 Repair Temperature Knob  Replacement, Temperature Knob: 手順 1、 1の画像 1
    • Please be sure that the device is unplugged and remove the frying basket from the device.

    • Orient your device where the both the timer knob and temperature knob are facing you.

    • Slide the plastic opening tool under the temperature knob to lift it up.

    • You can slide your fingers in between the gap and take the temperature knob off.

  2. Chefman RJ38-V2-35 Repair Temperature Knob  Replacement: 手順 2、 1の画像 1
    • Using the Phillips #1 screwdriver, remove the two 4mm screws found under the temperature knob.

    • Place you fingers under the silver top and firmly lift it up.

  3. Chefman RJ38-V2-35 Repair Temperature Knob  Replacement: 手順 3、 3の画像 1 Chefman RJ38-V2-35 Repair Temperature Knob  Replacement: 手順 3、 3の画像 2 Chefman RJ38-V2-35 Repair Temperature Knob  Replacement: 手順 3、 3の画像 3
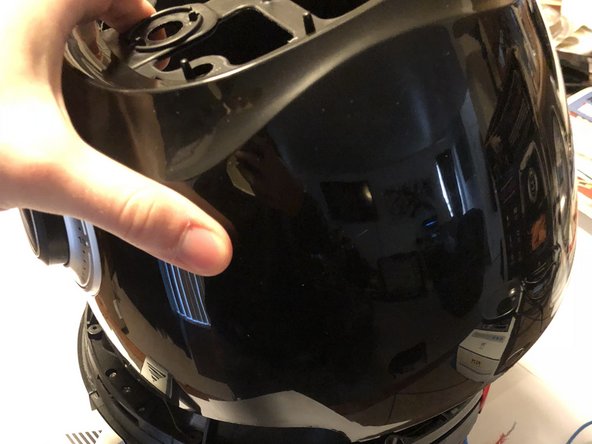
    • Using the Phillips #1 screwdriver, remove the two 3 mm screws found at the top of the black panel.

    • Pop off the top panel of the device with your fingers.

  4. Chefman RJ38-V2-35 Repair Temperature Knob  Replacement: 手順 4、 1の画像 1
    • Using a pair of scissors, cut off the cable cord that is securing the wire cords.

  5. Chefman RJ38-V2-35 Repair Temperature Knob  Replacement: 手順 5、 3の画像 1 Chefman RJ38-V2-35 Repair Temperature Knob  Replacement: 手順 5、 3の画像 2 Chefman RJ38-V2-35 Repair Temperature Knob  Replacement: 手順 5、 3の画像 3
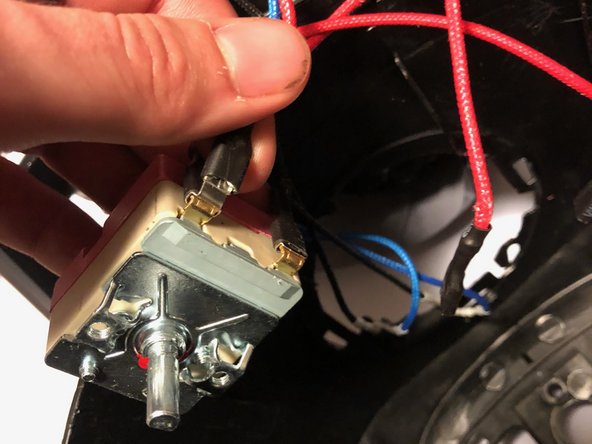
    • Detach the device’s wires from the potentiometer.

  6. Chefman RJ38-V2-35 Repair Temperature Knob  Replacement: 手順 6、 1の画像 1
    • Replace a new potentiometer to the device.

    • Attach the wires back to the new potentiometer.

終わりに

To reassemble your device, follow these instructions in reverse order.

ある他の人がこのガイドを完成しました。

作成者

3人の作成者と共同で作成されました。

Lucas Yi

メンバー登録日: 10/29/18

156 ポイント

1ガイドが承認済み

0 件のコメント

コメントを追加

統計データ:

過去 24時間: 2

過去 7 日: 7

過去 30 日: 36

今までの合計 2,290