はじめに
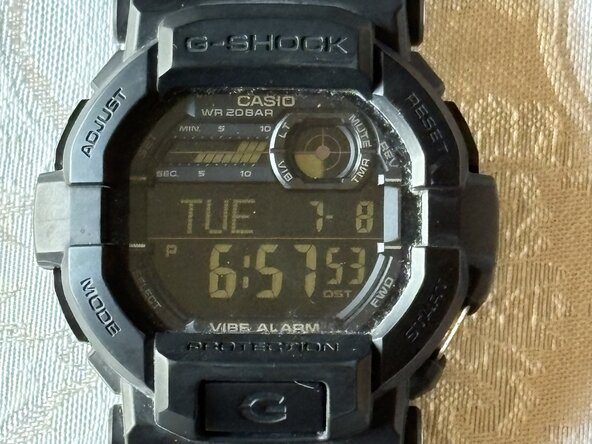
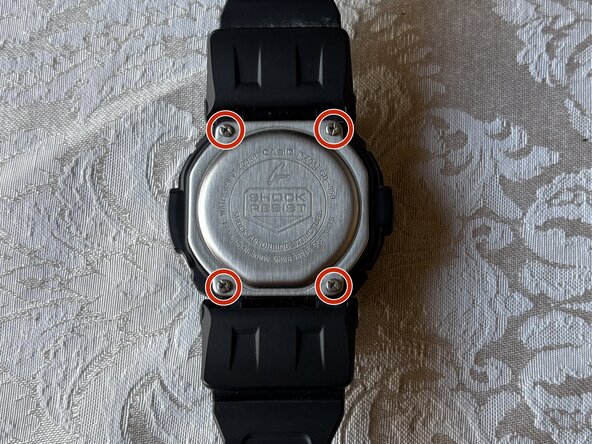
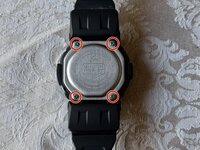
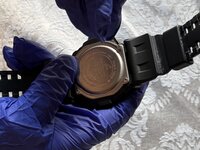
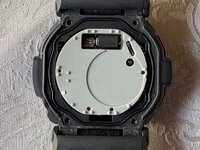
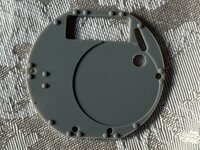
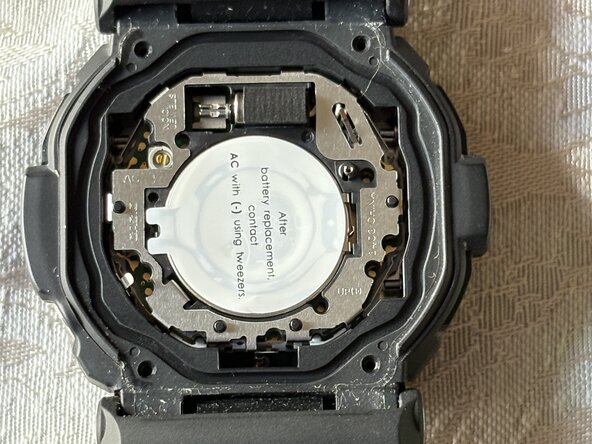
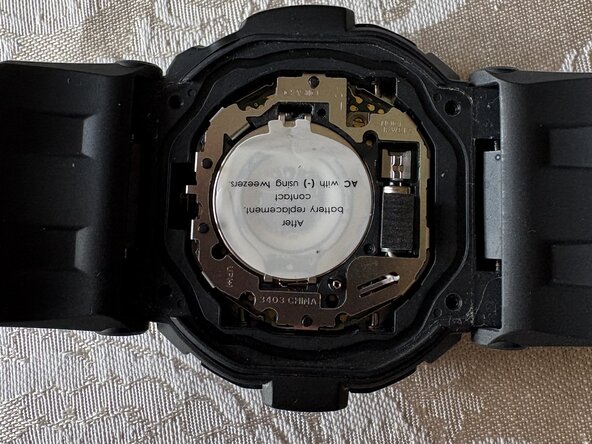
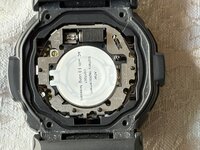
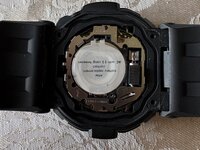
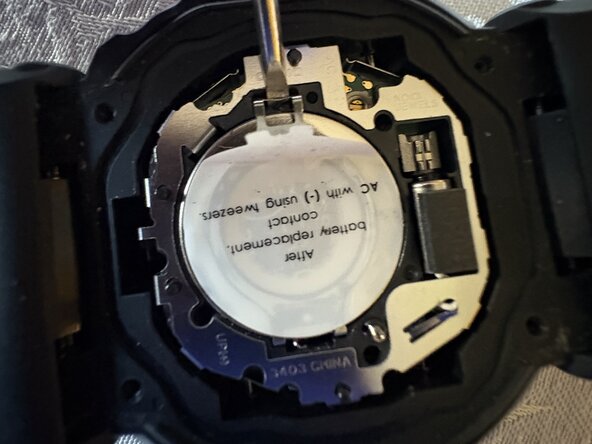
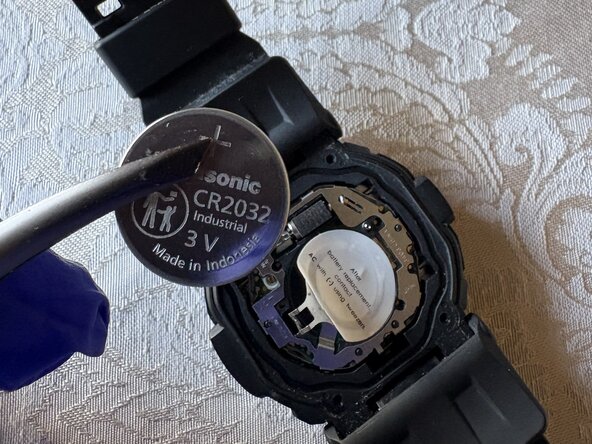
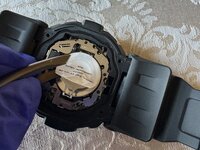
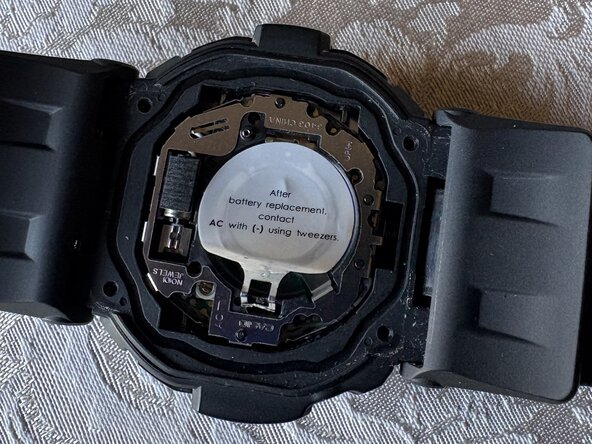
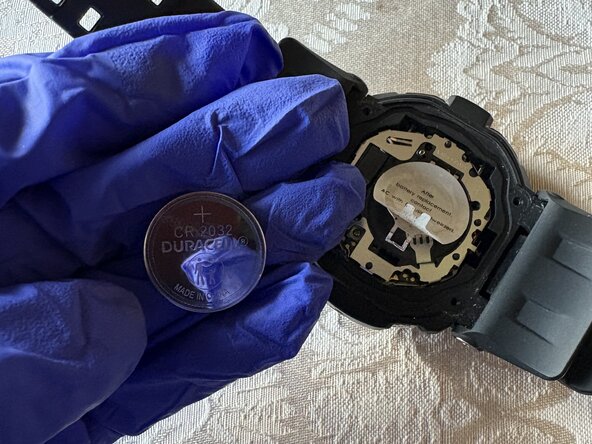
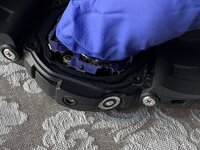
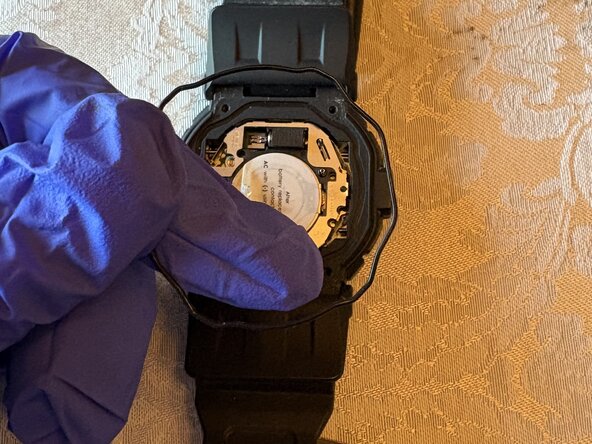
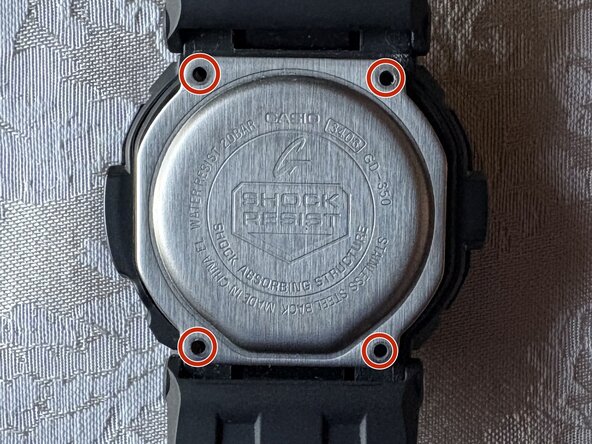
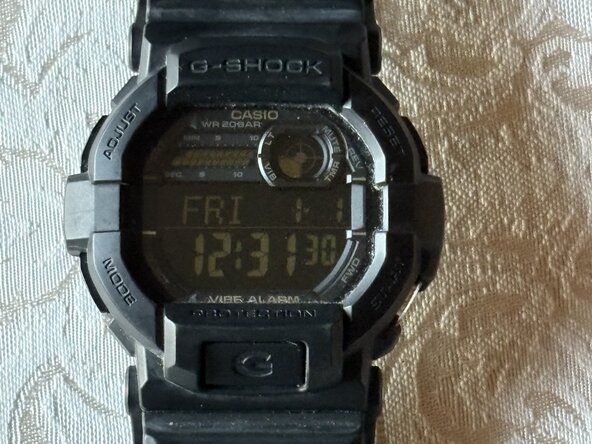
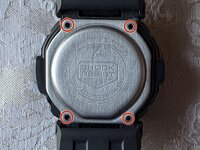
Is your G-Shock telling you the battery is low? This guide will demonstrate how to replace the battery for a Casio G-Shock GD-350 watch. This particular watch has a negative display, but the steps are the same whether your watch has a positive or negative display.
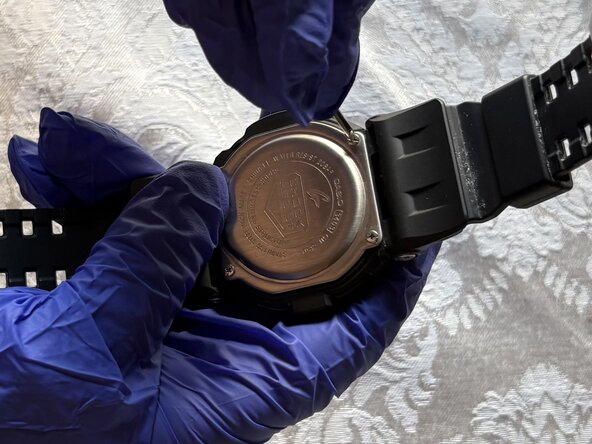
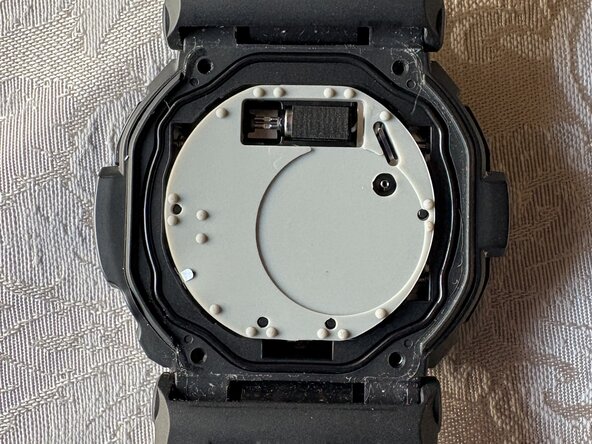
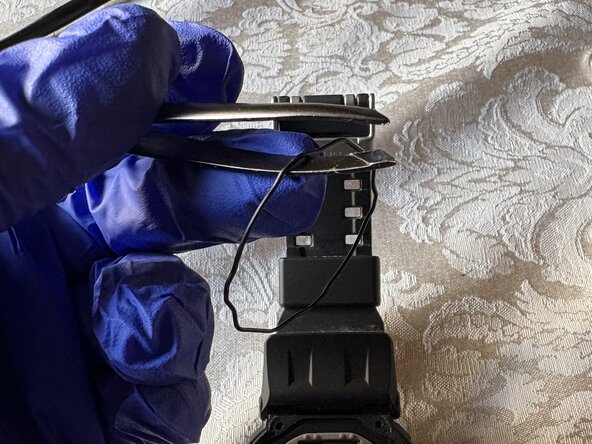
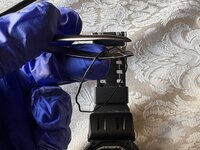
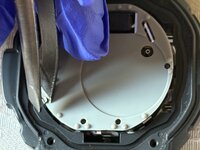
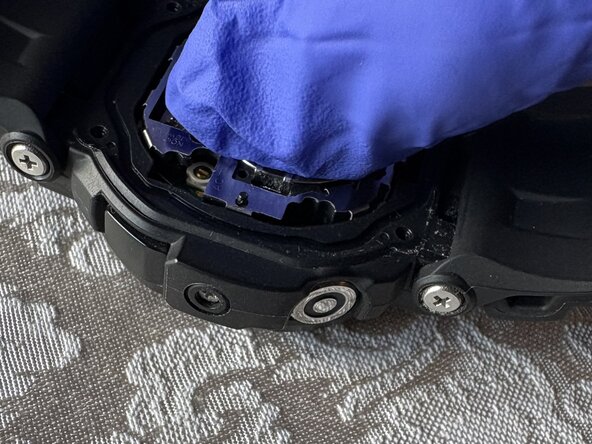
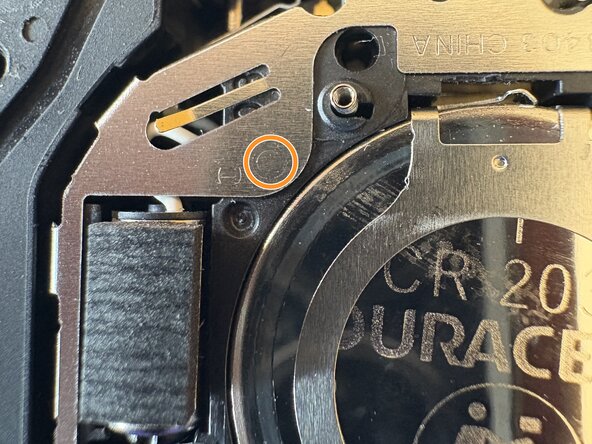
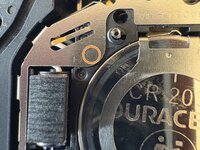
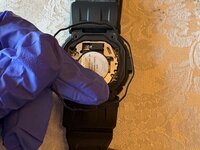
The steps for this guide should be a straightforward process without needing any special skills. Many of the basic tools for this guide may already be at your disposal, and if not, they're accessible to acquire. Latex or nitrile gloves should be used. Gloves are recommended for this guide to protect any of the components from the watch being shorted or damaged.
必要な工具と部品

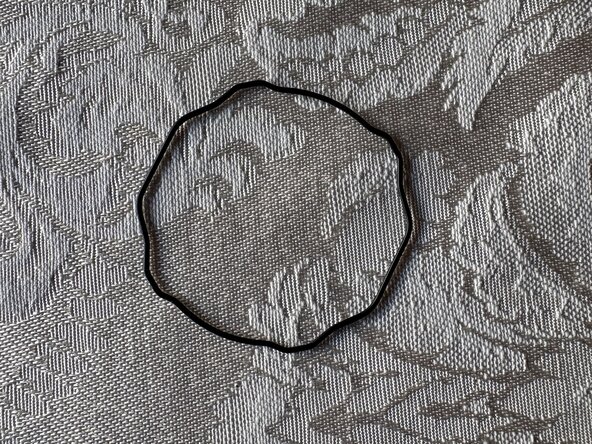

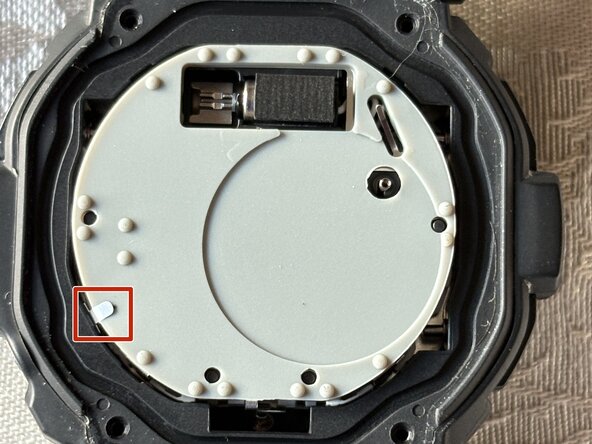

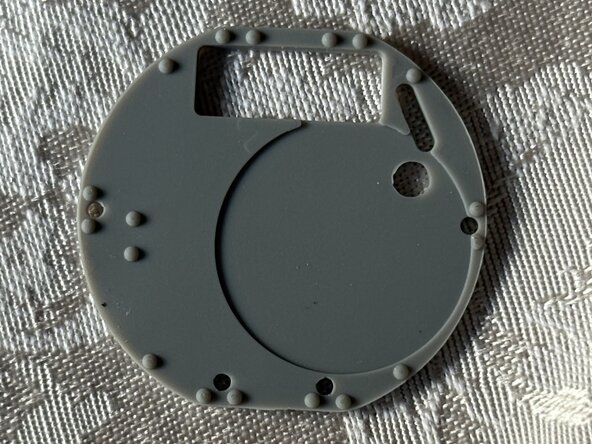


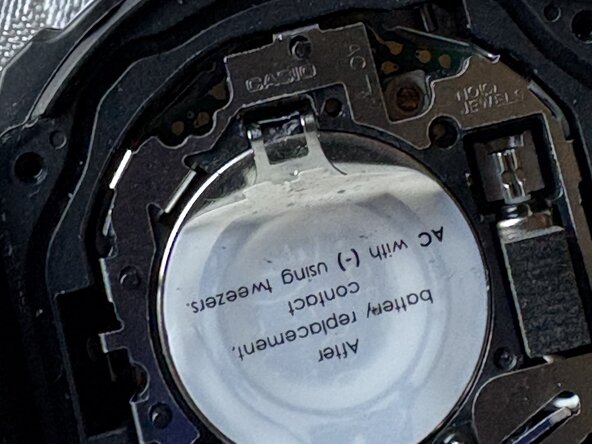


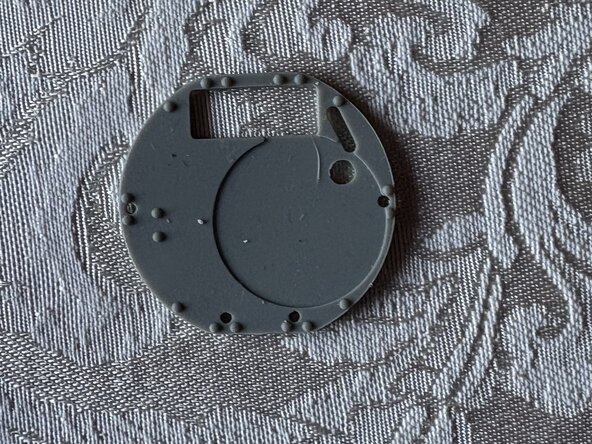
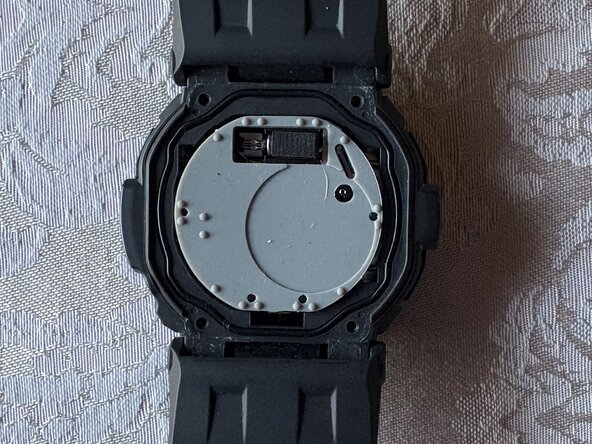
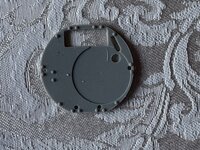


To reassemble your device, follow these instructions in reverse order.
チーム

University of North Texas, Team 40-1, Kilpatrick Summer 2025 University of North Texas, Team 40-1, Kilpatrick Summer 2025人のメンバー
UNT-KILPATRICK-SU25S40G1
1 メンバー
1のガイドは作成済み