メインコンテンツにスキップ

Casio FX-115MS Individual Keys Replacement

必要な工具と部品

  1. Casio FX-115MS Individual Keys Replacement, Back Plate: 手順 1、 1の画像 1
    • Remove the 6 screws, which are 5mm long, using a PH1 screwdriver.

  2. Casio FX-115MS Individual Keys Replacement: 手順 2、 3の画像 1 Casio FX-115MS Individual Keys Replacement: 手順 2、 3の画像 2 Casio FX-115MS Individual Keys Replacement: 手順 2、 3の画像 3
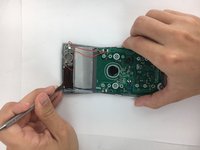
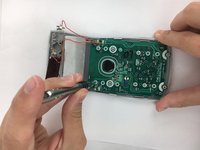
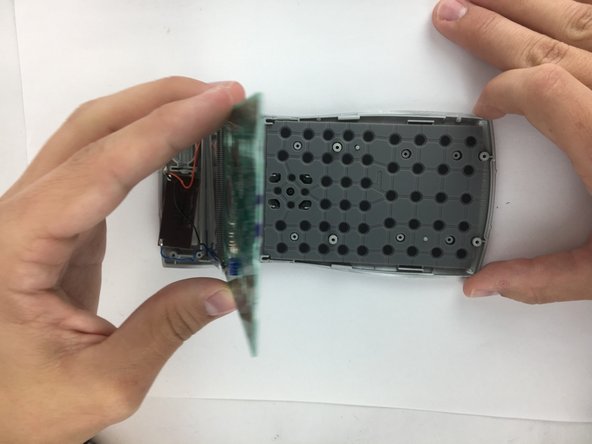
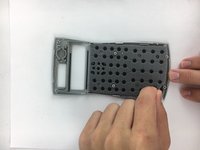
    • Use plastic spudger to separate backplate from the front-plate. Place the flat end of the spudger in the seam between the front and back, near one end of the calculator. Then slide the spudger towards the calculator's center. The two sides will pop free from each other as you go through it with the spudger.

  3. Casio FX-115MS Individual Keys Replacement, Battery: 手順 3、 2の画像 1 Casio FX-115MS Individual Keys Replacement, Battery: 手順 3、 2の画像 2
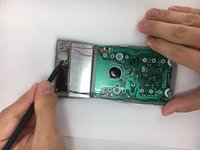
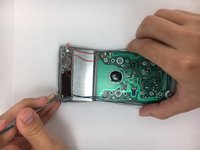
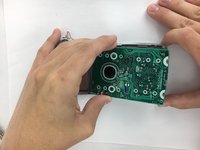
    • Using the pointed end of the nylon spudger, carefully pry an edge of the battery, and lift the battery from its socket.

  4. Casio FX-115MS Individual Keys Replacement, Motherboard and Screen: 手順 4、 2の画像 1 Casio FX-115MS Individual Keys Replacement, Motherboard and Screen: 手順 4、 2の画像 2
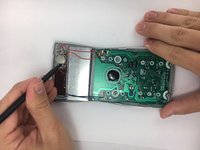
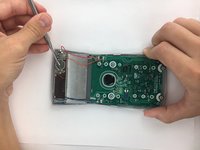
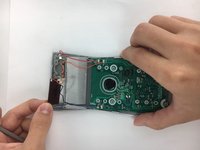
    • Using the plastic spudger, carefully pry the battery terminals from the front plate. If the plastic spudger is too weak for prying out the terminals, use the small metal spudger.By Carefully bending and/or prying the little teeth on the terminals upwards you can easily remove them.

  5. Casio FX-115MS Individual Keys Replacement: 手順 5、 3の画像 1 Casio FX-115MS Individual Keys Replacement: 手順 5、 3の画像 2 Casio FX-115MS Individual Keys Replacement: 手順 5、 3の画像 3
    • Using the small metal spudger. Carefully pry around the edge of the solar panel until it becomes loose. Then simply pull it from its socket using your hands.

  6. Casio FX-115MS Individual Keys Replacement: 手順 6、 2の画像 1 Casio FX-115MS Individual Keys Replacement: 手順 6、 2の画像 2
    • Using a PH0 phillips screwdriver, unscrew the four, 4mm, pan head screws from the motherboard.

  7. Casio FX-115MS Individual Keys Replacement: 手順 7、 3の画像 1 Casio FX-115MS Individual Keys Replacement: 手順 7、 3の画像 2 Casio FX-115MS Individual Keys Replacement: 手順 7、 3の画像 3
    • Carefully lift the motherboard, screen, solar panel, and battery terminal combination from the front plate. Start from the motherboard and lift at an angle toward the solar panel.

  8. Casio FX-115MS Individual Keys Replacement, Keyboard Mat: 手順 8、 3の画像 1 Casio FX-115MS Individual Keys Replacement, Keyboard Mat: 手順 8、 3の画像 2 Casio FX-115MS Individual Keys Replacement, Keyboard Mat: 手順 8、 3の画像 3
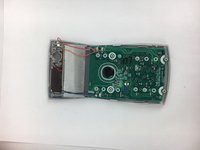
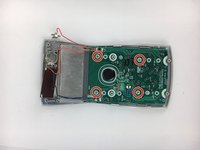
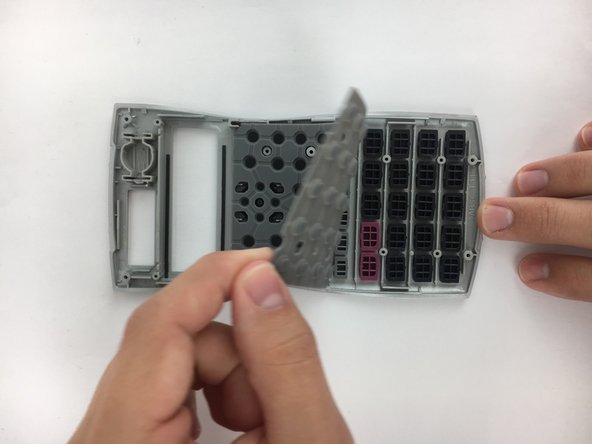
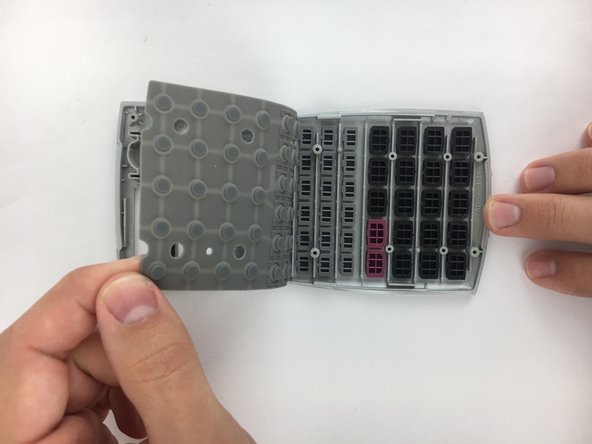
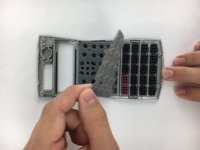
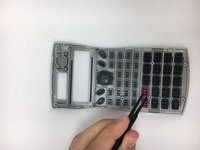
    • Starting from one corner of the keyboard mat, slowly peel the mat from the front plate and individual keys.
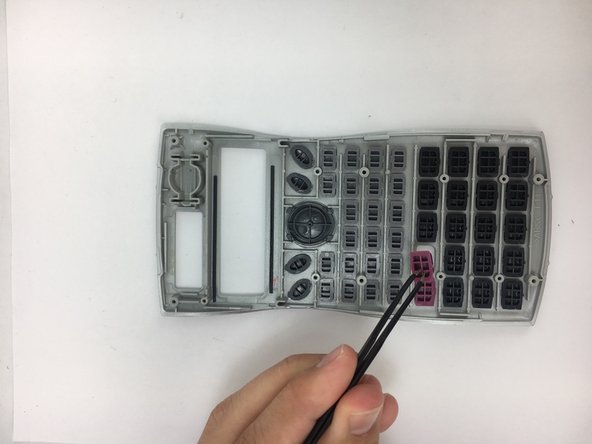
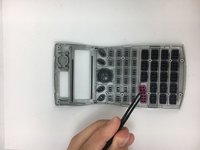
  9. Casio FX-115MS Individual Keys Replacement, Individual Keys: 手順 9、 3の画像 1 Casio FX-115MS Individual Keys Replacement, Individual Keys: 手順 9、 3の画像 2 Casio FX-115MS Individual Keys Replacement, Individual Keys: 手順 9、 3の画像 3
    • Select which key you need to remove, then using the Angled ESD Tweezers pick up the key, and pull it free from the face plate.

終わりに

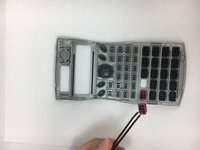
To reassemble your device, follow these instructions in reverse order.

ある他の人がこのガイドを完成しました。

作成者

4人の作成者と共同で作成されました。

Fady Baskharoun

メンバー登録日: 10/04/16

274 ポイント

2のガイドは作成済み

チーム

USF Tampa, Team 2-2, Nance Fall 2016 USF Tampa, Team 2-2, Nance Fall 2016人のメンバー

USFT-NANCE-F16S2G2

4 メンバー

15のガイドは作成済み

0 件のコメント

コメントを追加

統計データ:

過去 24時間: 0

過去 7 日: 2

過去 30 日: 17

今までの合計 1,289