メインコンテンツにスキップ

Casio CZ-1000 Barrel Plug Replacement

必要な工具と部品

  1. Casio CZ-1000 Barrel Plug Replacement, Backplate: 手順 1、 2の画像 1 Casio CZ-1000 Barrel Plug Replacement, Backplate: 手順 1、 2の画像 2
    • Use a Phillips #1 screwdriver to remove the eleven 7.5 mm screws securing the back plate.

  2. Casio CZ-1000 Barrel Plug Replacement: 手順 2、 3の画像 1 Casio CZ-1000 Barrel Plug Replacement: 手順 2、 3の画像 2 Casio CZ-1000 Barrel Plug Replacement: 手順 2、 3の画像 3
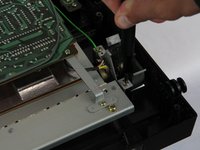
    • Using a Phillips #1 screwdriver, remove all 14 5.5 mm screws from the two motherboards.

    • These screws secure the motherboards to the keyboard assembly and the dial on the right side.

  3. Casio CZ-1000 Barrel Plug Replacement: 手順 3、 3の画像 1 Casio CZ-1000 Barrel Plug Replacement: 手順 3、 3の画像 2 Casio CZ-1000 Barrel Plug Replacement: 手順 3、 3の画像 3
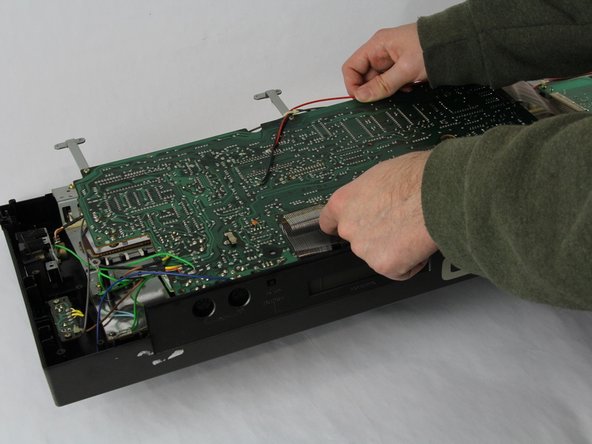
    • Carefully cut the zip tie located in the right-hand corner using a pair of scissors or wire cutters.

    • Be sure to avoid cutting any nearby wires or components.

    • Gently slide all the plugs out of their sockets.

    • This will prevent them from catching on anything or damaging the connectors as you lift.

  4. Casio CZ-1000 Barrel Plug Replacement, Barrel Plug: 手順 4、 1の画像 1
    • Clean the area around the barrel plug on the board using a lint-free cloth or a paper towel to remove dust or debris.

    • This ensures a clean working surface and better visibility of the solder joints.

  5. Casio CZ-1000 Barrel Plug Replacement: 手順 5、 2の画像 1 Casio CZ-1000 Barrel Plug Replacement: 手順 5、 2の画像 2
    • Hold the soldering iron against the solder joint for a few seconds to melt it, then gently pull the barrel plug out while the solder is liquid.

終わりに

To reassemble your device, follow these instructions in reverse order.

作成者

2人の作成者と共同で作成されました。

Jace Alexander

メンバー登録日: 10/24/24

181 ポイント

2のガイドは作成済み

チーム

Cuesta, Team 60-3, Krynen Fall 2024 Cuesta, Team 60-3, Krynen Fall 2024人のメンバー

CUESTA-KRYNEN-F24S60G3

4 メンバー

5のガイドは作成済み

0件のガイドコメント

コメントを追加

統計データ:

過去 24時間: 0

過去 7 日: 0

過去 30 日: 6

今までの合計 46