メインコンテンツにスキップ

Canon Selphy CP720 Screen Replacement

必要な工具と部品

  1. Canon Selphy CP720 Screen Replacement, Screen: 手順 1、 1の画像 1
    • Remove the three 6mm Phillips #1 screws.

  2. Canon Selphy CP720 Screen Replacement: 手順 2、 2の画像 1 Canon Selphy CP720 Screen Replacement: 手順 2、 2の画像 2
    • Remove the four 8mm Phillips #1 screws, located in each corner of the device.

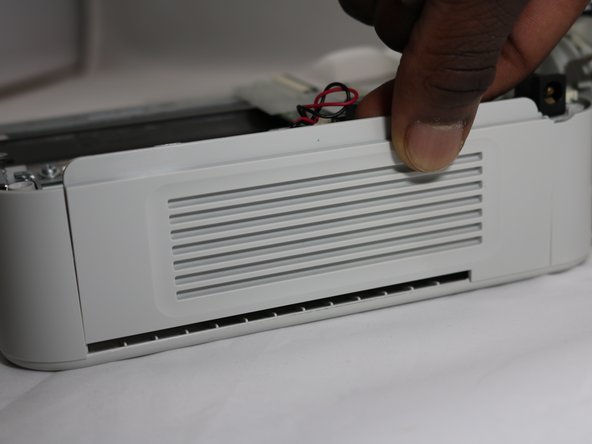
  3. Canon Selphy CP720 Screen Replacement: 手順 3、 1の画像 1
    • Grasp one half of the device's shell in each hand, and pull them apart. They are connected, so don't separate them completely.

  4. Canon Selphy CP720 Screen Replacement: 手順 4、 2の画像 1 Canon Selphy CP720 Screen Replacement: 手順 4、 2の画像 2
    • Lift the side panel off to expose the inside of the printer.

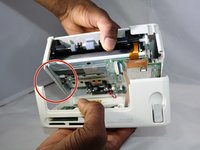
  5. Canon Selphy CP720 Screen Replacement: 手順 5、 1の画像 1
    • Remove the four 8mm Phillips #00 screws that hold the upper circuit board to the shell.

  6. Canon Selphy CP720 Screen Replacement: 手順 6、 1の画像 1
    • Remove two 8mm Phillips #00 screws from the yellow board.

  7. Canon Selphy CP720 Screen Replacement: 手順 7、 1の画像 1
    • Remove the two 8mm Phillips #00 screws from the screen.

    • Lift off the circuit board, yellow board, and screen.

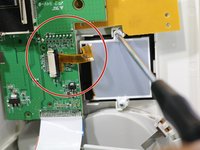
  8. Canon Selphy CP720 Screen Replacement: 手順 8、 3の画像 1 Canon Selphy CP720 Screen Replacement: 手順 8、 3の画像 2 Canon Selphy CP720 Screen Replacement: 手順 8、 3の画像 3
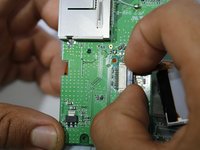
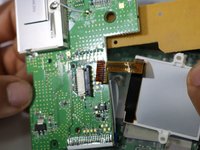
    • To separate the screen from the circuit board, grasp the data ribbon cable near the base of the black connector on the circuit board and pull parallel to the surface of the board, toward the screen.

終わりに

To reassemble your device, follow these instructions in reverse order.

作成者

3人の作成者と共同で作成されました。

Peter Ely

メンバー登録日: 09/26/18

836 ポイント

5のガイドは作成済み

チーム

Eastern Washington University, Team S1-G1, Carnegie Fall 2018 Eastern Washington University, Team S1-G1, Carnegie Fall 2018人のメンバー

EWU-CARNEGIE-F18S1G1

4 メンバー

10のガイドは作成済み

0 件のコメント

コメントを追加

統計データ:

過去 24時間: 0

過去 7 日: 1

過去 30 日: 5

今までの合計 365