メインコンテンツにスキップ

Canon Powershot SX500 IS Control Dial Replacement

必要な工具と部品

  1. Canon Powershot SX500 IS Control Dial Replacement, Battery: 手順 1、 1の画像 1
    • Rotate the camera to expose the underside of the camera.

  2. Canon Powershot SX500 IS Control Dial Replacement: 手順 2、 1の画像 1
    • Slide the rounded rectangle tab to the left to release the battery cover.

  3. Canon Powershot SX500 IS Control Dial Replacement: 手順 3、 1の画像 1
    • Push the small orange tab forward to release the battery (Battery is ready for removal).

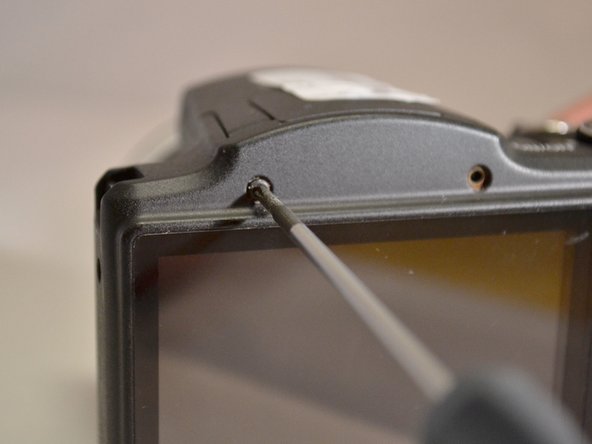
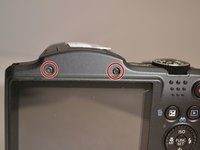
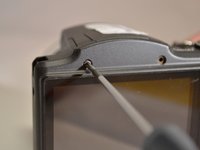
  4. Canon Powershot SX500 IS Control Dial Replacement, Back Cover: 手順 4、 3の画像 1 Canon Powershot SX500 IS Control Dial Replacement, Back Cover: 手順 4、 3の画像 2 Canon Powershot SX500 IS Control Dial Replacement, Back Cover: 手順 4、 3の画像 3
    • Using the Phillips 00 screwdriver, remove the two 4mm top screws above the LCD screen.

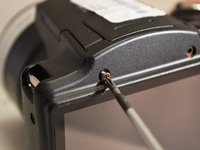
  5. Canon Powershot SX500 IS Control Dial Replacement: 手順 5、 1の画像 1
    • Using the Phillips 00 screwdriver, remove the two 4mm side screws to the left of the LCD screen.

  6. Canon Powershot SX500 IS Control Dial Replacement: 手順 6、 1の画像 1
    • Using the Phillips 00 screwdriver, remove the two 4mm side screws to the left of the LCD screen.

  7. Canon Powershot SX500 IS Control Dial Replacement: 手順 7、 1の画像 1
    • Using the Phillips 00 screwdriver, remove the three 4mm screws from the underside of the camera.

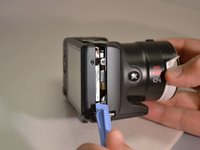
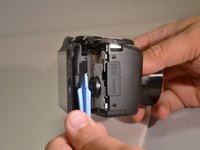
  8. Canon Powershot SX500 IS Control Dial Replacement: 手順 8、 2の画像 1 Canon Powershot SX500 IS Control Dial Replacement: 手順 8、 2の画像 2
    • Using the plastic pry tool, remove the back cover from camera.

  9. Canon Powershot SX500 IS Control Dial Replacement, Control Dial: 手順 9、 1の画像 1
    • Using the Phillips 00 screwdriver, remove the two 3mm screws closest to the right of the LCD screen.

  10. Canon Powershot SX500 IS Control Dial Replacement: 手順 10、 1の画像 1
    • Using the Phiillips 00 screwdriver, remove the 4mm screw to the right of the control dial.

  11. Canon Powershot SX500 IS Control Dial Replacement: 手順 11、 1の画像 1
    • Using the spudger, lift the control dial to the right of the LCD screen.

  12. Canon Powershot SX500 IS Control Dial Replacement: 手順 12、 1の画像 1
    • Using the spudger, lift the connection tab and remove the control dial's orange ribbon from motherboard.

終わりに

To reassemble your device, follow these instructions in reverse order.

ある他の人がこのガイドを完成しました。

作成者

3人の作成者と共同で作成されました。

Shelby Spiering

メンバー登録日: 04/07/15

252 ポイント

1ガイドが承認済み

チーム

Eastern Washington University, Team 1-4, Plummer Spring 2015 Eastern Washington University, Team 1-4, Plummer Spring 2015人のメンバー

EWU-PLUMMER-S15S1G4

4 メンバー

6のガイドは作成済み

コメント 1 件

Gracias gracias gracias

edgarlugo20111917 - 返信

コメントを追加

統計データ:

過去 24時間: 0

過去 7 日: 7

過去 30 日: 8

今までの合計 447