メインコンテンツにスキップ

Canon PowerShot SD850 IS Housing Replacement

アーカイブされたガイド
このガイドは将来的な使用のためにのみ保存されてます。ご自身の修理作業には更新バージョンをご利用ください。

必要な工具と部品

  1. Canon PowerShot SD850 IS Housing Replacement, Housing: 手順 1、 3の画像 1 Canon PowerShot SD850 IS Housing Replacement, Housing: 手順 1、 3の画像 2 Canon PowerShot SD850 IS Housing Replacement, Housing: 手順 1、 3の画像 3
    • To avoid severe electric shock do not remove or tamper with internal camera flash components. An electrical capacitor is attached to the flash that can discharge if contact is made.

    • Remove the two side screws, indicated by the red circles, using a Phillips #00 screwdriver.

    • Remove the screw in the battery port, indicated by the blue circle, again using a Phillips #00 screwdriver.

    • Remove the front face by gently peeling the housing away from the camera.

  2. Canon PowerShot SD850 IS Housing Replacement: 手順 2、 3の画像 1 Canon PowerShot SD850 IS Housing Replacement: 手順 2、 3の画像 2 Canon PowerShot SD850 IS Housing Replacement: 手順 2、 3の画像 3
    • Remove the back face by using a spudger to lift the tab highlighted in yellow

    • Pivot the back face clockwise as seen in the second photo.

  3. Canon PowerShot SD850 IS Housing Replacement: 手順 3、 2の画像 1 Canon PowerShot SD850 IS Housing Replacement: 手順 3、 2の画像 2
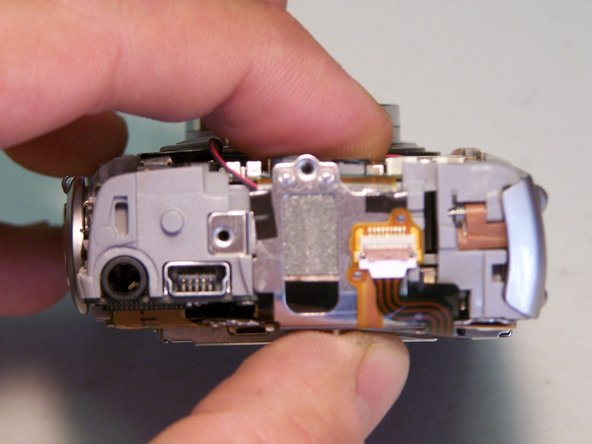
    • Remove the A/V port cover [no tools are necessary]

終わりに

To reassemble your device, follow these instructions in reverse order.

作成者

7人の作成者と共同で作成されました。

iDeleted

メンバー登録日: 07/07/10

2,101 ポイント

39のガイドは作成済み

0 件のコメント

コメントを追加

統計データ:

過去 24時間: 0

過去 7 日: 0

過去 30 日: 0

今までの合計 841