メインコンテンツにスキップ

このバージョンは誤った内容を含んでいる可能性があります。最新の承認済みスナップショットに切り替えてください。

必要な工具と部品

  1. この手順は未翻訳です。 翻訳を手伝う。

    : 手順 1、 2の画像 1 : 手順 1、 2の画像 2
    • Remove the knot on the wrist lanyard.

    • Remove the battery and the memory card.

  2. この手順は未翻訳です。 翻訳を手伝う。

    : 手順 2、 2の画像 1 : 手順 2、 2の画像 2
    • Begin removing the screws on the bottom of the outer casing.

    • Next, remove the rest of the screws from the outer casing.

  3. この手順は未翻訳です。 翻訳を手伝う。

    : 手順 3、 3の画像 1 : 手順 3、 3の画像 2 : 手順 3、 3の画像 3
    • Gently pull the front cover off of the camera.

  4. この手順は未翻訳です。 翻訳を手伝う。

    : 手順 4、 3の画像 1 : 手順 4、 3の画像 2 : 手順 4、 3の画像 3
    • Open the "A/V Out Digital" cover. Remove the screw inside.

    • Gently pull off the back casing.

    • Remove the black "L" shaped piece of metal.

  5. この手順は未翻訳です。 翻訳を手伝う。

    : 手順 5、 1の画像 1
    • Remove the three screws that are holding the screen in place. Free the screen from the underlying components.

    • Be careful with the ribbon wire that is still attached on the left side of the screen.

  6. この手順は未翻訳です。 翻訳を手伝う。

    : 手順 6、 2の画像 1 : 手順 6、 2の画像 2
    • With the spudger, gently lift the black flap that is holding the wide ribbon cable wire in place.

    • Unplug the wide ribbon cable.

    • Unplug the narrow ribbon cable to free the LCD screen from the camera body.

ゴール

3 の人々がこのガイドを完成させました。

作成者

7人の作成者と共同で作成されました。

BrettH

メンバー登録日: 10/28/09

219 ポイント

5のガイドは作成済み

チーム

Cal Poly, Team 19-5, Maness SU 2012 Cal Poly, Team 19-5, Maness SU 2012人のメンバー

CPSU-MANESS-SU12S19G5

1 メンバー

5のガイドは作成済み

2 件のコメント

I presume the narrow ribbon cable supplies power to the backlight behind the screen? I replaced the combined screen and backlight assembly. I now have an image but it is extremely dark, barely visible. Perhaps the backlight didn't come on?

The contacts on both the wide ribbon and the narrow ribbon were corroded, probably the source of the problem.

Any suggestions?

Clive Williams - 返信

I found very easy to follow the instructions provided. I just commenta that the last step should be completed by the separation between the screen and the support plate, which is not shown. However if one reaches that point (having the replacement part at hands) it has easy to find the next step of the “surgery”.

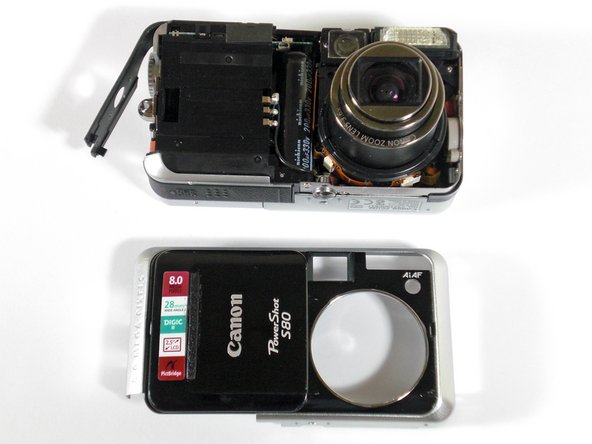
Goodinstruction. Thanks to this I brought to new life my Canon Powrr shot S80

attilio.brighenti - 返信

コメントを追加

統計データ:

過去 24時間: 2

過去 7 日: 9

過去 30 日: 21

今までの合計 7,262