はじめに
Use this guide to replace the lens assembly. A broken lens may cause photos to be blurry, contain artifacts, or other defects in quality and composition.
必要な工具と部品
-
-
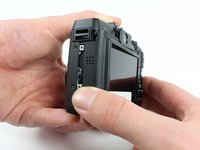
Open the battery flap on the bottom of the camera by applying pressure and pushing in the direction of the arrow.
-
Remove your finger and allow the flap to pop open.
-
-
-
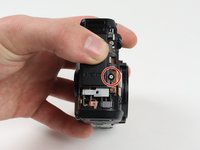
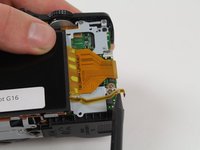
Remove the ring around the lens by simultaneously pressing the black button located at the bottom right of the ring and rotating the ring counterclockwise.
-
-
-
-
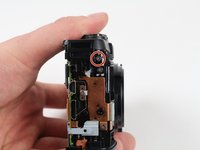
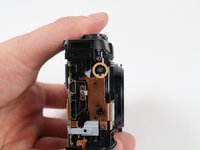
Remove the newly uncovered 2.8 mm screw from the right of the viewfinder using a Phillips #00 screwdriver.
-
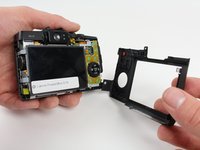
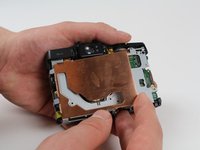
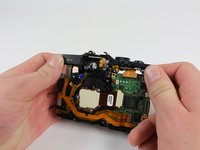
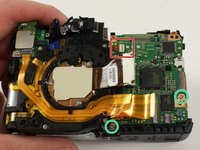
Remove the 4.9 mm screw from top right of the metal casing on the back using a Phillips #00 screwdriver.
-
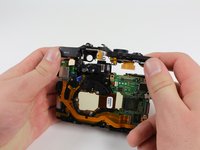
Remove the 4.3 mm screw from bottom right of the metal casing on the back using a Phillips #00 screwdriver.
-
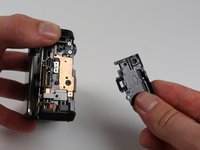
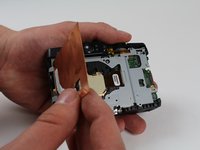
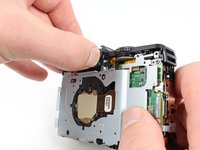
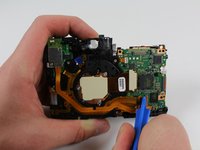
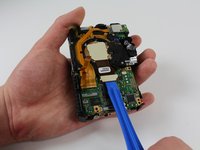
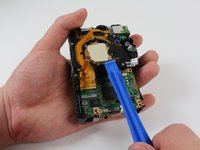
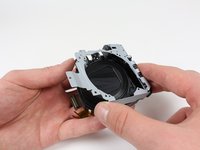
Remove the newly uncovered screws from the right of the viewfinder using a Phillips #00 screwdriver. (Note, they're already removed on the picture)
-


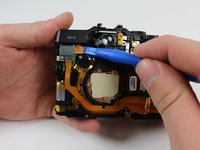


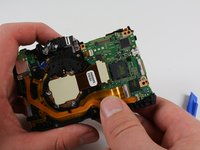


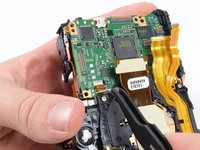


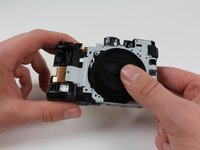


To reassemble your Canon PowerShot G16, follow these instructions in reverse order.
To reassemble your Canon PowerShot G16, follow these instructions in reverse order.
13 の人々がこのガイドを完成させました。
チーム

Cal Poly, Team 70-6, Forte Winter 2016 Cal Poly, Team 70-6, Forte Winter 2016人のメンバー
CPSU-FORTE-W16S70G6
4 メンバー
7のガイドは作成済み
7 件のコメント
I would like to thank you for the guide. I used this guide yesterday to change the lenses of a G15. It has some differences, but your guide helped me a lot. I'm not a technician and I almost gave up on the way, but in the end everything worked out. Thanks!
You haven’t disassembled the lens yet or exposed the sensor which may have dust on it and be in need of cleaning or even replacement. How is that done, wise guy?
Anybody knows a good and reliable seller where i can buy the lens replacement part for the canon g16? Thanks!
To be clear, can this procedure be used to replace a lens that has got stuck due to a drop? And a source(s) for the replacement part would be great.
Greg Scott - 返信