この修理ガイドは変更されています。最新の未承認バージョンに切り替えます。
はじめに
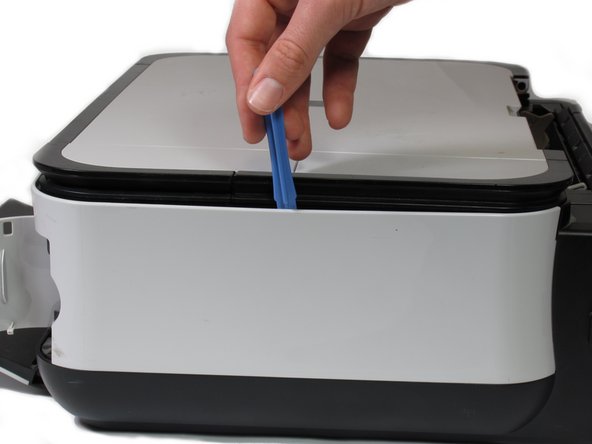
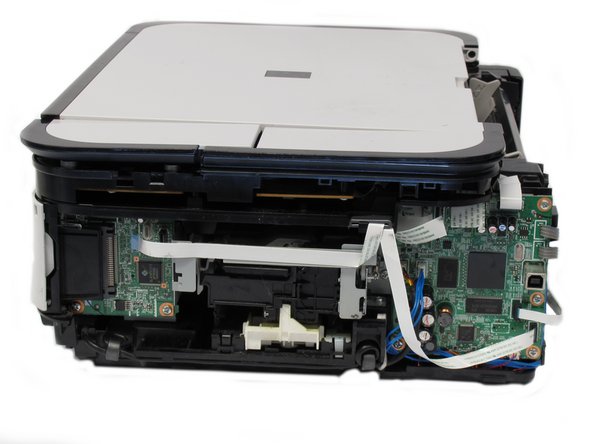
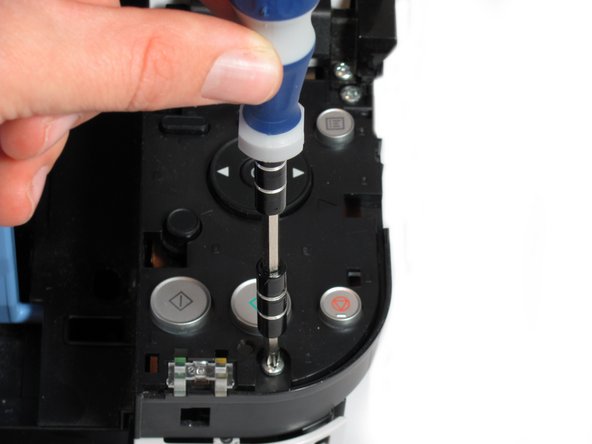
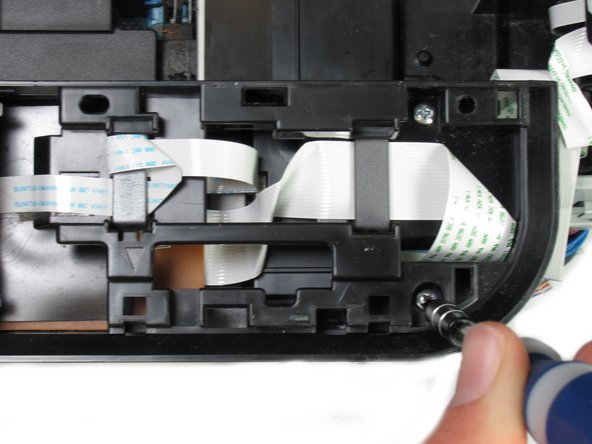
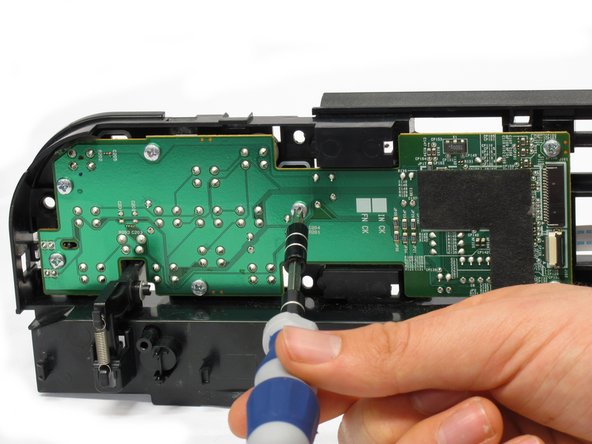
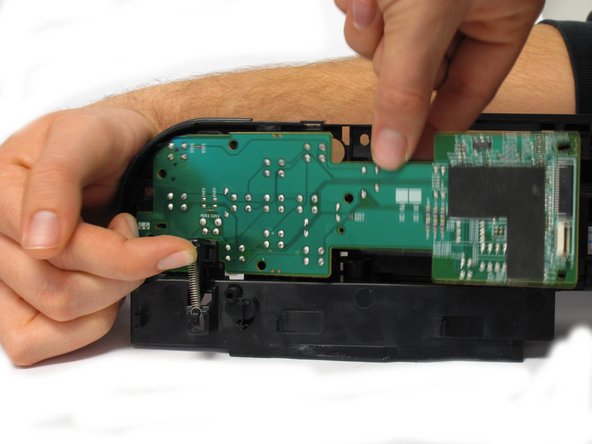
Please complete the dis-assembly guide before attempting to install new data ports, as it is a prerequisite.
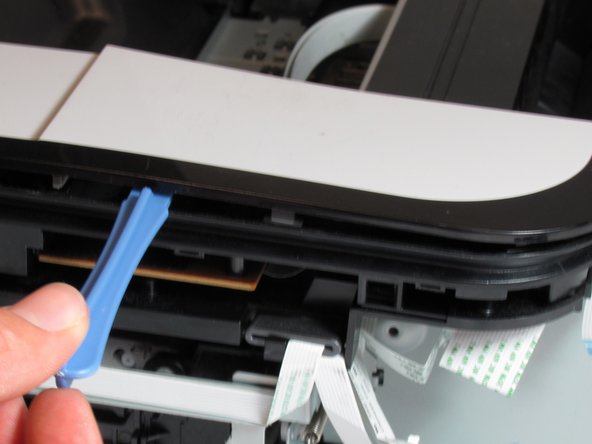
Use this guide to replace a broken data port to get your USB and card readers back.
必要な工具と部品


もう少しです!
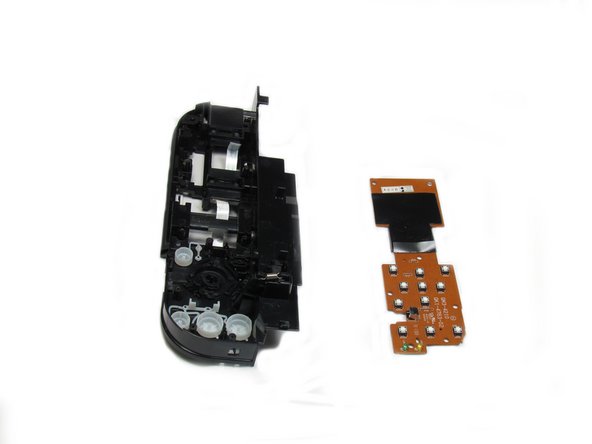
To reassemble your device, follow these instructions in reverse order.
終わりに
To reassemble your device, follow these instructions in reverse order.
チーム

Cal Poly, Team 19-41, Regan Winter 2013 Cal Poly, Team 19-41, Regan Winter 2013人のメンバー
CPSU-REGAN-W13S19G41
4 メンバー
6のガイドは作成済み