はじめに
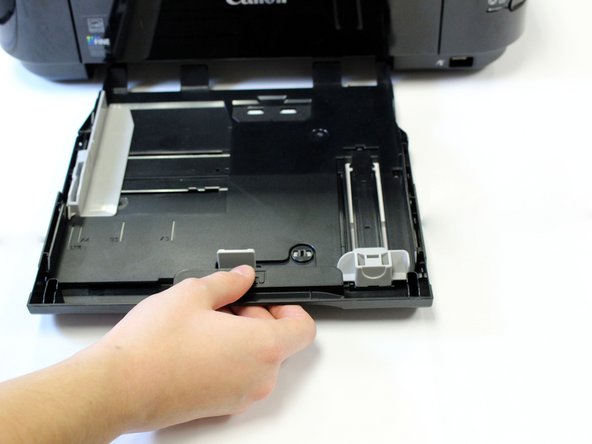
If your cassette is broken it is easy to take out and replace. The cassette may also need to be removed if paper is jammed. Removal is simple and does not require tools.


To reassemble your device, follow these instructions in reverse order.
To reassemble your device, follow these instructions in reverse order.
3 の人々がこのガイドを完成させました。
チーム

USF Tampa, Team 1-3, Leahy Fall 2014 USF Tampa, Team 1-3, Leahy Fall 2014人のメンバー
USFT-LEAHY-F14S1G3
3 メンバー
8のガイドは作成済み
3 件のコメント
Great idea for the printer……… nice job Caitlyn
Where i can able to buy this cassette tray ?
Nirmal T.M - 返信
Black ink not working, left color is working cannen g3000