メインコンテンツにスキップ

このバージョンは誤った内容を含んでいる可能性があります。最新の承認済みスナップショットに切り替えてください。

必要な工具と部品

  1. この手順は未翻訳です。 翻訳を手伝う。

    : 手順 1、 2の画像 1 : 手順 1、 2の画像 2
    • Locate the tabs on the top of the panel that hook down and into the black side panel.

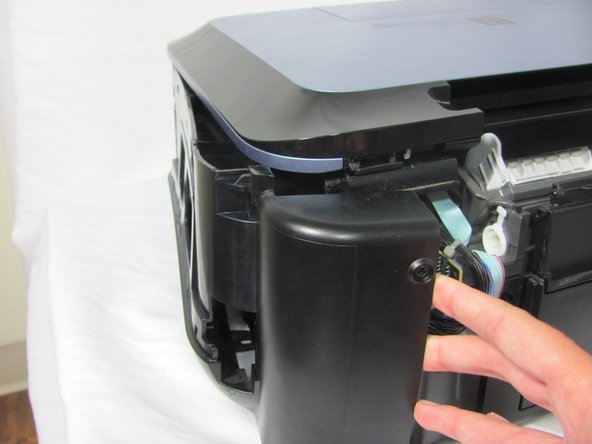
    • Insert the Spudger in-between the black panel and the blue panel as shown and pull the two pieces apart.

    • You will hear some snapping. Don't panic: this is just the hooks un-clipping.

  2. この手順は未翻訳です。 翻訳を手伝う。

    : 手順 2、 1の画像 1
    • Remove the two screws from the back right black panel using the Phillips #00 screwdriver.

  3. この手順は未翻訳です。 翻訳を手伝う。

    : 手順 3、 2の画像 1 : 手順 3、 2の画像 2
    • There is a tab you will have to push down to remove the part.

    • Once the tab is released, gently lift the cover away from the rest of the device to disengage the clips.

    • You will hear some snapping. Don't panic: this is just the clips un-clipping.

  4. この手順は未翻訳です。 翻訳を手伝う。

    : 手順 4、 1の画像 1
    • After unclipping all the hooks, pull off the black side panel to reveal the inner circuit boards.

  5. この手順は未翻訳です。 翻訳を手伝う。

    : 手順 5、 1の画像 1
    • Remove the two screws from the USB reader using the Phillips #00 screwdriver.

    • The angle for removing the screws can be somewhat challenging, try not to get too frustrated.

  6. この手順は未翻訳です。 翻訳を手伝う。

    : 手順 6、 1の画像 1
    • Disconnect the large white ribbon cable that leads to the USB reader. As you are pulling out the USB reader, carefully detach the ribbon.

ゴール

4 の人々がこのガイドを完成させました。

作成者

7人の作成者と共同で作成されました。

Val Fedorikhin

メンバー登録日: 10/12/14

860 ポイント

5のガイドは作成済み

チーム

Cal Poly, Team 6-21, Maness Fall 2014 Cal Poly, Team 6-21, Maness Fall 2014人のメンバー

CPSU-MANESS-F14S6G21

4 メンバー

10のガイドは作成済み

0 件のコメント

コメントを追加

統計データ:

過去 24時間: 2

過去 7 日: 6

過去 30 日: 9

今までの合計 739