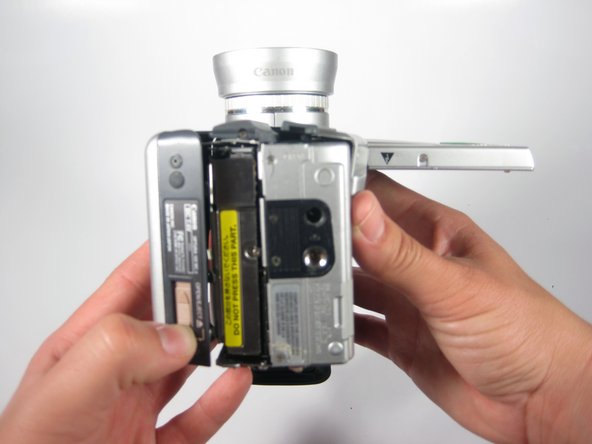
Orient the camera with the hand strap facing you.
Remove the two 4mm #00 Philips screws.
When the screws are removed, the black plate will easily come off as well as the two metal plates under it. Be careful to not let them fall or get lost.
Remove the plastic cover from the rear of the camcorder by gently pulling it towards you while holding the camera as shown.
The Battery Should be removed at this point, please ignore it in the picture.
Open the LCD by using the release switch.
Reorient the camera with the playback button pad and edge of LCD screen facing you.
Remove the 4mm #00 Phillips screw shown.
Reorient the camera with the top facing you. The side with the LCD screen should be on the right and the other side panel should be on the right.
Open the pop up flash on the top of the camcorder.
A loud clicking noise is expected.
Remove the 4mm #00 Phillips screw shown.
Reorient the camera with the bottom facing you, LCD screen on the right, side panel on the left.
Open the tape deck by sliding the switch and moving the deck cover to the left as shown.
Close the tape deck by gently pushing it toward the body of the camera.
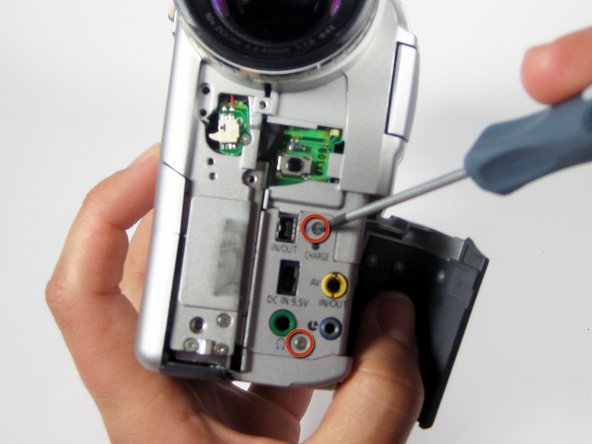
Slide and remove the plastic cover on the bottom right, exposing the interface shown.
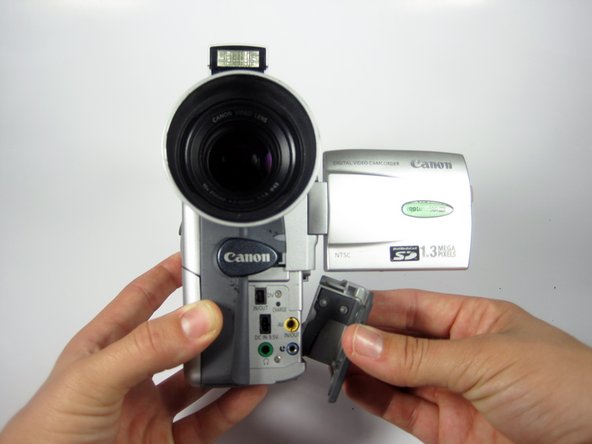
Reorient the camera so you are looking at the side of the camera with the viewfinder on the left and lens on the right.
Holding the camera as shown,remove the 4mm #00 Phillips screw.
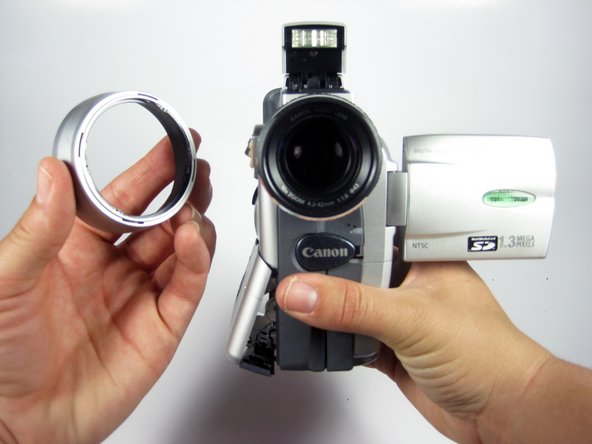
Reorient the camera with the lens facing you.
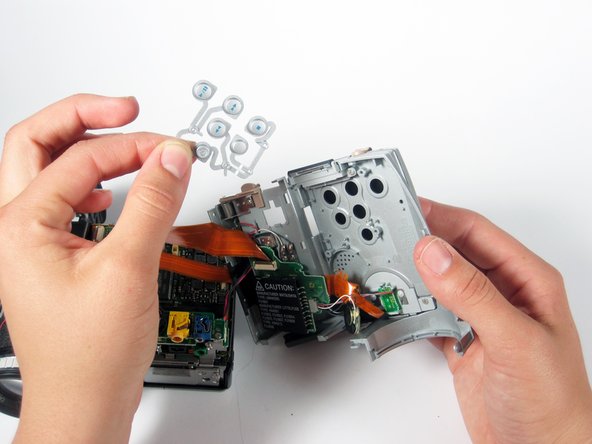
Gently pull the side panel of the camera to the right to remove.
Be aware that that there are wires connecting the cover to the body of the device, so the side cover will not come off entirely.
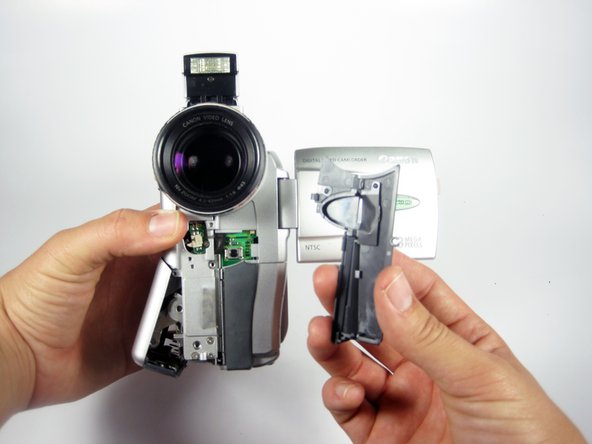
Remove the #00 Philips 3mm screw as shown holding the small circuit board on the side panel.
Hold the side panel and camera together, the orange ribbon cables and their ports are very fragile.
このガイドを埋め込む
サイズを選択し、以下のコードをコピーして、このガイドを小さなウィジェットとしてサイト/フォーラムに埋め込みます。
1つの手順
全ガイド
小サイズ - 600px
中サイズ - 800px
大サイズ - 1200px
プレビュー