はじめに
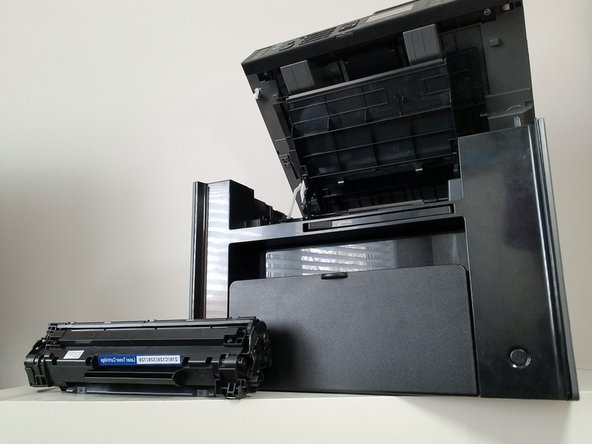
If your Canon MF4700n (alternate model: MF4770n) printer prints out an uneven or partially faded print, prints white spots, smudges, or splatter, or if the printer is out of ink, use this guide to replace the toner cartridge in the printer.
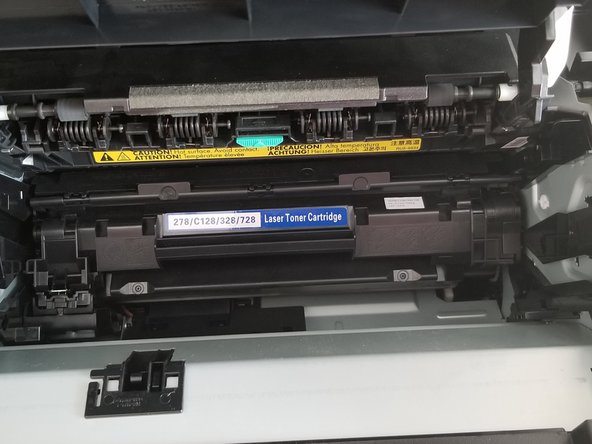
A toner cartridge, also known as a laser toner, is commonly used in laser printers. The cartridge contains toner powder which is a mixture of color agents and plastic particles that last longer than ink cartridges.
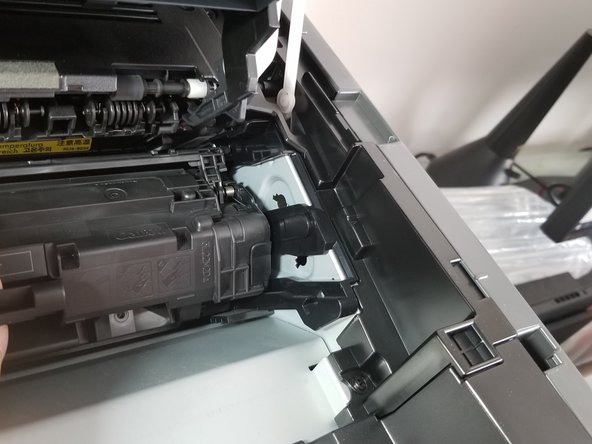
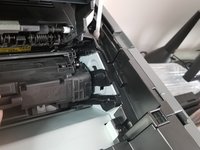
A leaking toner cartridge can leak inside the printer. The leaked toner can be cleaned using a dry, lint free cloth after taking out the cartridge from the printer. Although printer toner is not toxic, it can be harmful to sensitive organs such as the eyes. If printer toner gets on the body, wash it off with soap and water. If the toner gets into the eyes, flush the eyes with clean water.
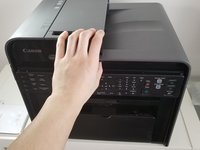
Before using this guide, make sure that the problem is the toner cartridge and not any other external issues.
必要な工具と部品


The Canon MF4700n Printer should print normally unless a different component is broken.
The Canon MF4700n Printer should print normally unless a different component is broken.
ある他の人がこのガイドを完成しました。

チーム

York University, Team S1-G21, Woodhouse Winter 2021 York University, Team S1-G21, Woodhouse Winter 2021人のメンバー
YORK-WOODHOUSE-W21S1G21
1 メンバー
2のガイドは作成済み