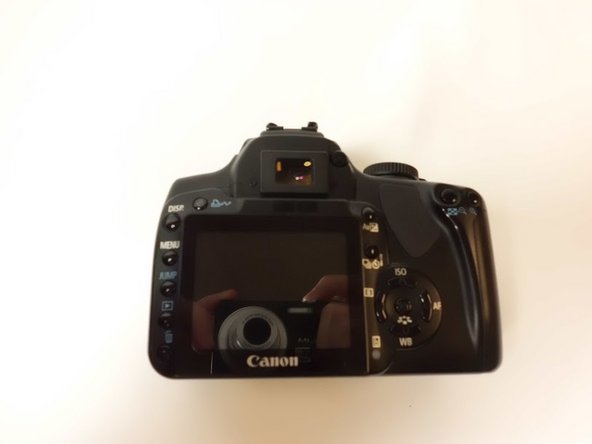
メインコンテンツにスキップ

Canon EOS Rebel XTi Flash Module Replacement

必要な工具と部品

  1. Canon EOS Rebel XTi Flash Module Replacement, Battery: 手順 1、 1の画像 1
    • Place the camera upside down, and position it to where the back of the camera is visible.

  2. Canon EOS Rebel XTi Flash Module Replacement: 手順 2、 1の画像 1
    • Pull the orange tab to the right to release the primary battery.

  3. Canon EOS Rebel XTi Flash Module Replacement: 手順 3、 1の画像 1
    • To remove the secondary battery, reposition the camera to where the display screen is facing upwards.

    • Place your finger inside the empty battery compartment and pull away from the camera on the ridged battery tab.

    I have the rebel xti as well, and have the same issue, and i have 2 new primary batteries, and 1 new secondary battery, and 1 new charger, yet the camera, still will not turn on. So, if not the battery or the battery charger, what could be the problem? Ty

    Rich Irons - 返信

    I had no idea my camera had a second battery!

    Terri - 返信

  4. Canon EOS Rebel XTi Flash Module Replacement, Memory Card: 手順 4、 1の画像 1
    • Place the camera on its side with the soft touch grip facing up and the top of the camera facing right.

  5. Canon EOS Rebel XTi Flash Module Replacement: 手順 5、 1の画像 1
    • Slide the memory card door in the direction of the arrow engraved on the camera.

    • Once the door has slid open to its full position, lift up on the door.

  6. Canon EOS Rebel XTi Flash Module Replacement: 手順 6、 1の画像 1
    • With the door open, push down the small black plunger next to the CF slot. The CF card will disengage from the slot and be ejected far enough that you can grasp it between thumb and forefinger and remove it from the slot.

    • The plunger will stay in its depressed position until a CF card is again inserted in the slot.

  7. Canon EOS Rebel XTi Flash Module Replacement, Top Casing: 手順 7、 3の画像 1 Canon EOS Rebel XTi Flash Module Replacement, Top Casing: 手順 7、 3の画像 2 Canon EOS Rebel XTi Flash Module Replacement, Top Casing: 手順 7、 3の画像 3
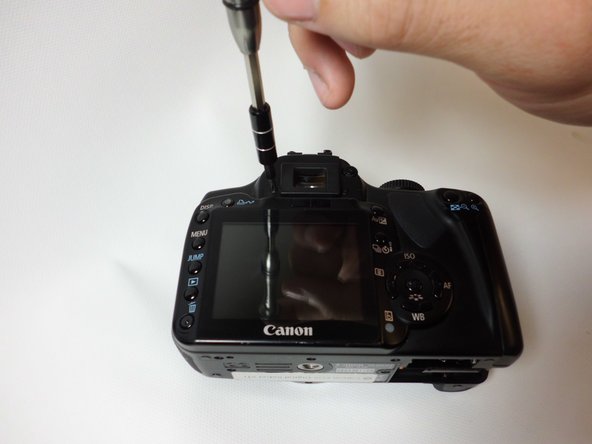
    • Remove the single 10 mm JIS #00 shoulder screw.

    • Remove the two 6 mm JIS #00 screws.

  8. Canon EOS Rebel XTi Flash Module Replacement: 手順 8、 1の画像 1
    • Separate the top casing from the electrical components enough to expose the wire harnesses that will need to be disconnected.

    • Ensure to remove the casing gently. There are several wire harnesses connecting the motherboard to components on the casing.

  9. Canon EOS Rebel XTi Flash Module Replacement: 手順 9、 1の画像 1
    • Unplug the yellow connector located on the top of the camera.

  10. Canon EOS Rebel XTi Flash Module Replacement: 手順 10、 1の画像 1
    • Disconnect the red connector located by the USB port.

  11. Canon EOS Rebel XTi Flash Module Replacement, Flash Module: 手順 11、 1の画像 1
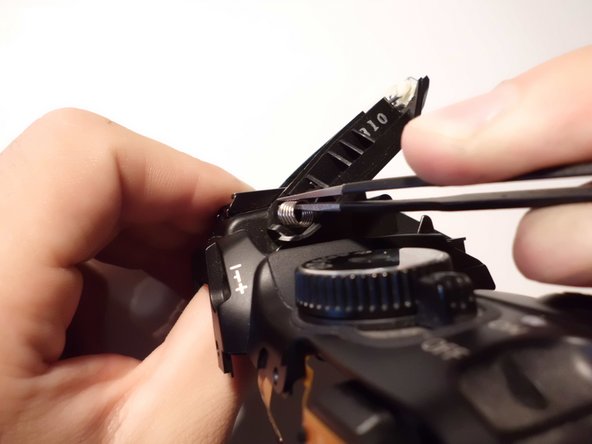
    • Use a J00 screwdriver to remove the two 3 mm screws on the retention arms. There is one arm on each side of the module.

    • Do not lose the washers.

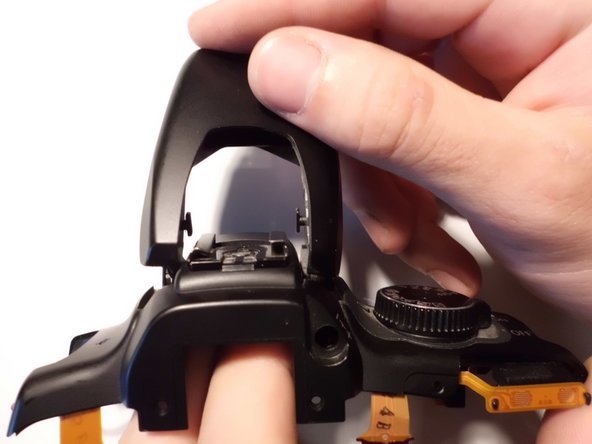
    • Remove the Retention Arms.

  12. Canon EOS Rebel XTi Flash Module Replacement: 手順 12、 2の画像 1 Canon EOS Rebel XTi Flash Module Replacement: 手順 12、 2の画像 2
    • Use a J00 screwdriver to remove the three 3 mm screws on the flash cap.

    • Remove the flash cap.

  13. Canon EOS Rebel XTi Flash Module Replacement: 手順 13、 2の画像 1 Canon EOS Rebel XTi Flash Module Replacement: 手順 13、 2の画像 2
    • Remove the 7 mm phillips head screw on the flash hinge.

    • Using the straight tweezers remove the spring from the hinge hole.

  14. Canon EOS Rebel XTi Flash Module Replacement: 手順 14、 1の画像 1
    • Lift the side of the flash module closest to the on/off button towards the opposite side of the camera.

    • Pull the wires gently through the top of the camera to completely remove the flash module.

    • Be Gentle with the wires, even though they have already been disconnected when removing the top casing

終わりに

To reassemble your device, follow these instructions in reverse order.

ある他の人がこのガイドを完成しました。

作成者

4人の作成者と共同で作成されました。

Luis Calle

メンバー登録日: 08/30/15

416 ポイント

3のガイドは作成済み

チーム

USF Tampa, Team 8-6, Eyestone Fall 2015 USF Tampa, Team 8-6, Eyestone Fall 2015人のメンバー

USFT-EYESTONE-F15S8G6

3 メンバー

18のガイドは作成済み

3 件のコメント

What is the part number for the Module, or where can it be readily found?

Scott - 返信

You have got to be kidding me.. my camera would never get to shoot another photo...

ssneed -

Between steps 7 and 8, you left out removing the rest of the body covers. The top won't come off without removing the front, back, and sides.

Marvin Weaver - 返信

コメントを追加

統計データ:

過去 24時間: 0

過去 7 日: 11

過去 30 日: 26

今までの合計 2,314