メインコンテンツにスキップ

Canon EOS Rebel XS 35mm LCD screen Replacement

必要な工具と部品

  1. Canon EOS Rebel XS 35mm LCD screen Replacement, Top Cover: 手順 1、 2の画像 1 Canon EOS Rebel XS 35mm LCD screen Replacement, Top Cover: 手順 1、 2の画像 2
    • Using a PH000 screwdriver bit, remove the three black screws shown in the two pictures that are all 4 mm in length and 1 mm in diameter.

  2. Canon EOS Rebel XS 35mm LCD screen Replacement: 手順 2、 1の画像 1
    • Using a Phillips #000 screwdriver, remove the two black screws shown in the picture that are both 6 mm in length and 1.25 mm in diameter.

  3. Canon EOS Rebel XS 35mm LCD screen Replacement: 手順 3、 1の画像 1
    • Pull off the front cover.

  4. Canon EOS Rebel XS 35mm LCD screen Replacement: 手順 4、 3の画像 1 Canon EOS Rebel XS 35mm LCD screen Replacement: 手順 4、 3の画像 2 Canon EOS Rebel XS 35mm LCD screen Replacement: 手順 4、 3の画像 3
    • Using an opening tool (you can also use your nails, but try not to use something potentially damaging to the camera such as metal), separate the top cover from the rest of the camera!

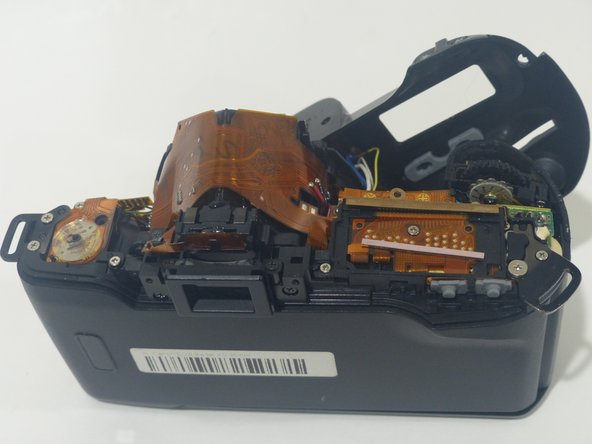
  5. Canon EOS Rebel XS 35mm LCD screen Replacement, LCD screen: 手順 5、 1の画像 1
    • Using a PH000 screwdriver bit, remove the tiny silver screw circled in the picture, which is 2 mm in length and 1 mm in diameter.

  6. Canon EOS Rebel XS 35mm LCD screen Replacement: 手順 6、 1の画像 1
    • With your fingers or tweezers, remove the brass-colored part.

  7. Canon EOS Rebel XS 35mm LCD screen Replacement: 手順 7、 2の画像 1 Canon EOS Rebel XS 35mm LCD screen Replacement: 手順 7、 2の画像 2
    • With your fingers (probably not tweezers or something similar, so you don't damage the screen), remove the LCD screen.

終わりに

To reassemble your device, follow these instructions in reverse order.

作成者

4人の作成者と共同で作成されました。

christiansvezia

メンバー登録日: 10/24/18

1,108 ポイント

10のガイドは作成済み

0 件のコメント

コメントを追加

統計データ:

過去 24時間: 0

過去 7 日: 0

過去 30 日: 3

今までの合計 360