はじめに
If you drop the camera and break the LCD screen, or if the screen just stops functioning, this guide will help you replace it.
Be sure to use a magnetic mat or small container for your screws, as they are very small and easy to misplace.
必要な工具と部品
-
-
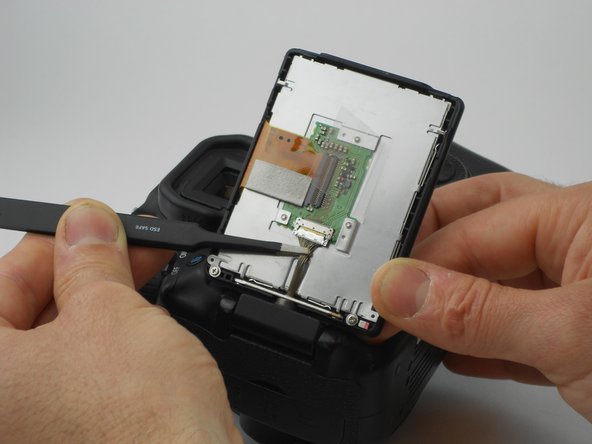
Take the LCD out of its place to expose the Phillips #PH00 screws.
-
Remove the two 2.5 mm Phillips #PH00 black screws on both sides of the LCD screen.
-
Next remove the two 3 mm Phillips #PH00 black screws near both sides of the base where the screen swivels.
-
-
-
-
Remove the two 2.5 mm Phillips #PH00 silver screws using the PH00 screwdriver.
-
Using the plastic Spudger opening tool, carefully lift up on the medal tabs next to where the screws were located.
-


To reassemble your device, follow these instructions in reverse order.
To reassemble your device, follow these instructions in reverse order.
3 の人々がこのガイドを完成させました。

チーム

USF Tampa, Team 16-6, Wollert Fall 2015 USF Tampa, Team 16-6, Wollert Fall 2015人のメンバー
USFT-WOLLERT-F15S16G6
3 メンバー
14のガイドは作成済み