メインコンテンツにスキップ

CPU Fan Replacement

必要な工具と部品

  1. CPU Fan Replacement, Back Panel: 手順 1、 2の画像 1 CPU Fan Replacement, Back Panel: 手順 1、 2の画像 2
    • Using the Phillips #1 screwdriver, remove the four 6mm screws on the back of the laptop.

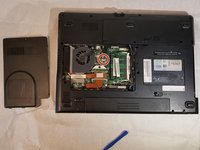
  2. CPU Fan Replacement: 手順 2、 2の画像 1 CPU Fan Replacement: 手順 2、 2の画像 2
    • Insert the plastic prying tool and pry the back panel off starting at an edge and moving your way around it.

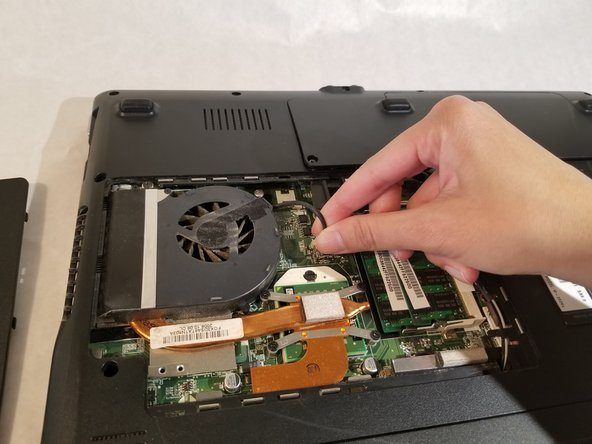
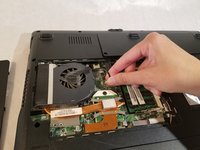
  3. CPU Fan Replacement, CPU Fan: 手順 3、 2の画像 1 CPU Fan Replacement, CPU Fan: 手順 3、 2の画像 2
    • Remove the header by pulling on it with two fingers.

  4. CPU Fan Replacement: 手順 4、 1の画像 1
    • Remove the six 2.5mm screws using a Phillips #1 screwdriver.

  5. CPU Fan Replacement: 手順 5、 1の画像 1
    • Remove the fan by moving it to the side and lifting it out of the computer.

終わりに

To reassemble your device, follow these instructions in reverse order.

ある他の人がこのガイドを完成しました。

作成者

3人の作成者と共同で作成されました。

Armani Tayeh

メンバー登録日: 03/19/18

432 ポイント

4のガイドは作成済み

チーム

UMass Dartmouth, Team S3-G2, Peak Spring 2018 UMass Dartmouth, Team S3-G2, Peak Spring 2018人のメンバー

UMASSD-PEAK-S18S3G2

2 メンバー

14のガイドは作成済み

0 件のコメント

コメントを追加

統計データ:

過去 24時間: 2

過去 7 日: 4

過去 30 日: 18

今までの合計 735