必要な工具と部品
-
-
Leverage the two plastic panels that are on each side of the radio, they are interlocking and by pulling gently with your fingers they come away.
-
The two torx screws must be unscrewed on each side, those on the side of the steering wheel require a "nano" screwdriver or an L-shaped key, it can be solved only with a few more seconds ...
-
-
-
...now you'll need to pull the radio Screen gently towards you and you'll notice that the central unit it's right behind there.
-
You can pull it out, after you remove the two torx screws that hold the central unit in place...
-
The display panel and central unit cables are also different in color and socket type, so it'll be easy to recognized the cables before reconnecting them. While the bigger and black connector is the usual type "fakra", common in all the french cars and more. To unplug it you'll need to lift the little leverage, it can be a little bit stiff.
-
-
-
-
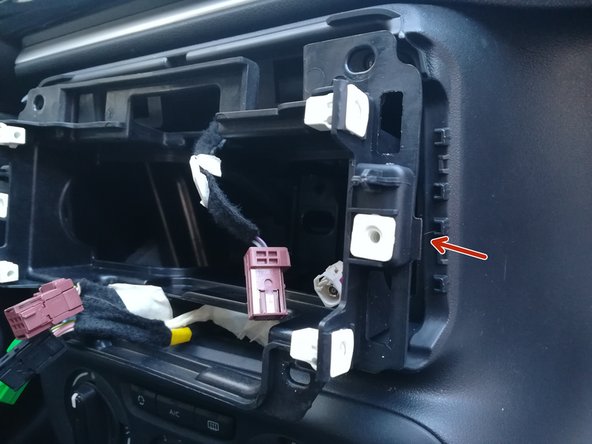
...Here is how the the center of the dashboard should look without the radio panel installed. To free up the space inside the radio compartment entirely , you'll need remove the support that hold the central unit in place, removing five screws.
-
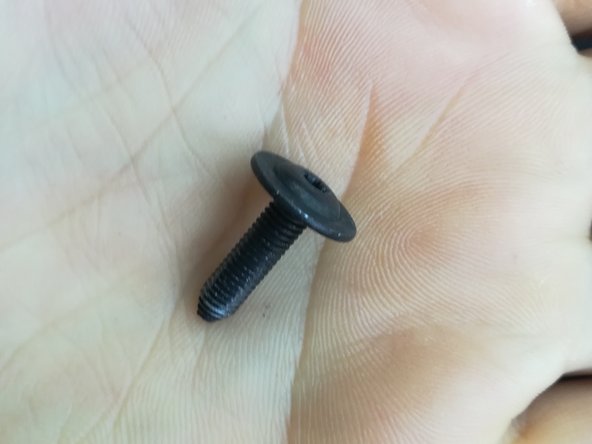
Four of them are on the external bezel and the other two ones are on the upper side and have narrow pitch threads.
-
While the two ones on the lower side have the large pich threads.
-
-
-
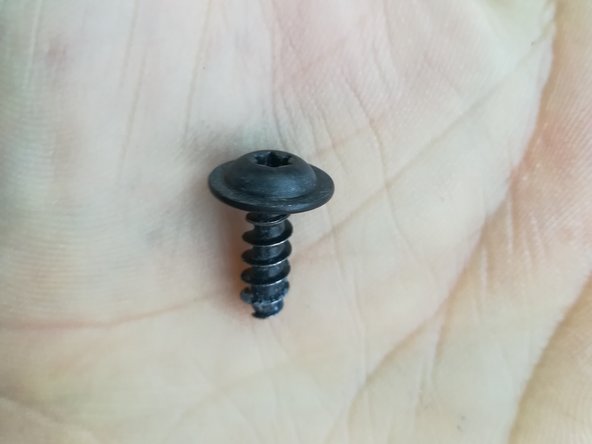
The fifth and last one is on the inner side and is also narrow pitch thread.
-
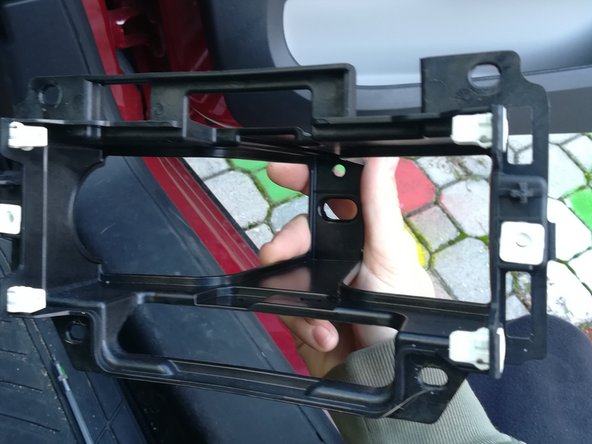
...this bracket have two little hooks on the external sides that need to be dislodged, pushing from the inside to the outside, on one side and than to the other being extremely careful...
-
...Once it's removed, it should look like this. It's the 1 din compartment where the central unit was located...
-


To reassemble your device, follow these instructions in reverse order.
To reassemble your device, follow these instructions in reverse order.
2 の人々がこのガイドを完成させました。
以下の翻訳者の皆さんにお礼を申し上げます:
100%


これらの翻訳者の方々は世界を修理する私たちのサポートをしてくれています。 あなたも貢献してみませんか?
翻訳を始める ›

9 件のコメント
Ottimo tutorial
Ferdinando - 返信
devo chiederti un consiglio, qual è la tua email?
Ferdinando - 返信
Ciao Enrico, l'operazione è fattibile ma non ha un costo "popolare". Mi ero informato e tra acquisto del pezzo, codifica dell'elettronica, conservazione dei comandi al volante, ecc ecc, si sfiorano i 400€. Su facebook c'è la pagina C3 club italia, uno dei membri ha il know how dell'argomento, a quanto pare lo ha eseguito diverse volte.